

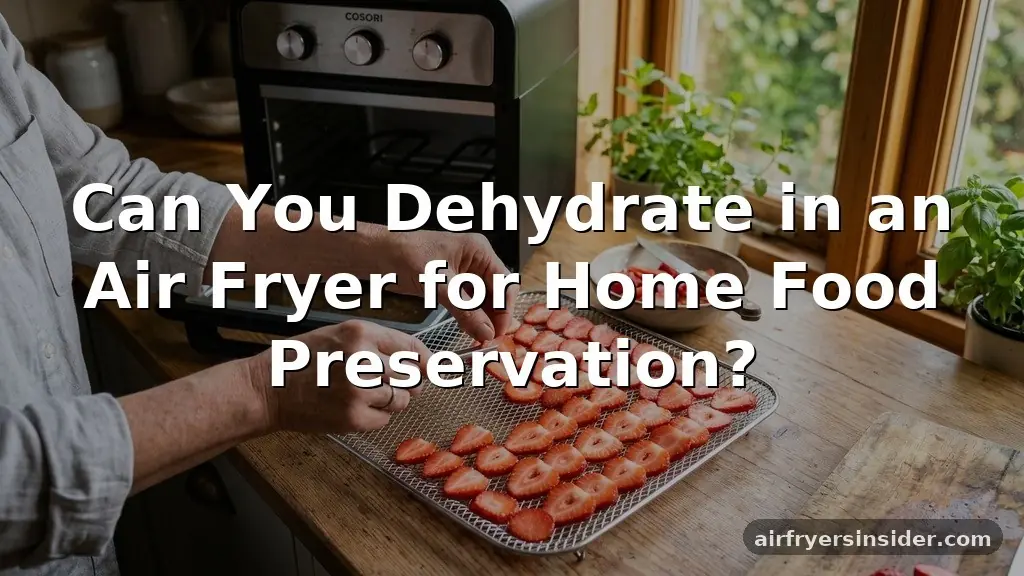
Many home cooks wonder if the versatile appliance sitting on their counter can perform tasks beyond crisping frozen fries or roasting chicken. The short answer is yes; you can absolutely dehydrate in an air fryer.
While air fryers are primarily designed for high-heat convection cooking, their fundamental mechanism—a powerful fan circulating hot air—is essentially the same technology used in traditional food dehydrators. By mastering the low-temperature settings, you can transform your kitchen gadget into a tool for long-term food preservation, creating healthy, shelf-stable snacks without needing to invest in bulky, single-use equipment.
The Mechanics of Air Fryer Dehydration
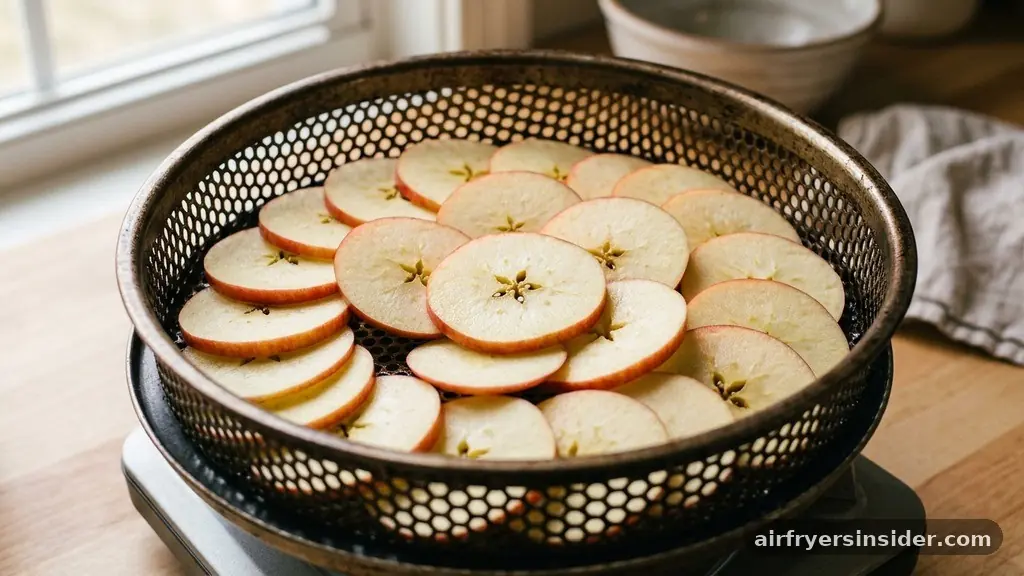
At its core, air fryer dehydration relies on the principles of convection heating. In a standard dehydrator, air is circulated at a consistent, low temperature to evaporate moisture from food over several hours.
Because an air fryer is essentially a high-powered convection oven, it can achieve similar results provided you have the ability to lower the temperature sufficiently. The goal of dehydration is to remove enough water content to inhibit bacterial growth and enzymatic activity while retaining the nutritional profile and flavor of the ingredients.
Most modern air fryers have a temperature range that starts around 120°F to 150°F. This range is the “sweet spot” for drying out produce, herbs, and proteins. If your air fryer defaults to a higher minimum temperature, you may find that the food cooks rather than dries, potentially leaving a moist center that could spoil later.
Achieving the perfect balance requires patience and experimentation. Unlike frying, which takes minutes, dehydration is a slow process that requires the steady removal of moisture without sealing the outer surface of the food. When the air circulation is balanced with the right heat, the moisture escapes evenly, allowing the item to harden further, eventually revealing the true texture of a shelf-stable snack.
Selecting and Preparing Ingredients for Success
To get the best outcome, preparation is just as important as the appliance settings. Because air fryers have smaller baskets than traditional dehydrators, you must be strategic about how you slice your ingredients. Consistency is the secret ingredient for uniform drying.
If your slices vary in thickness, some pieces will be bone-dry and brittle while others remain soft and potentially prone to mold. Using a mandoline slicer is highly recommended for fruits and vegetables; it ensures that every slice is identical in thickness, which is critical when dealing with the concentrated airflow of an air fryer.
When selecting fruit: apples, bananas, strawberries, choose produce that is ripe but firm. Overripe fruit has a high sugar content and a softer cellular structure, which can become sticky or burnt before it is fully dehydrated. For vegetables: kale chips, tomato slices, the prep is slightly different.
Kale should be thoroughly washed and dried, then massaged with a tiny amount of oil and seasoning before hitting the basket. Tomato slices should be patted dry with paper towels to remove excess surface moisture, which significantly reduces the total drying time.
For those handling meat, lean cuts of beef, turkey, or venison can be dehydrated into jerky. It is essential to trim away all visible fat, as fat does not dehydrate and can turn rancid quickly, ruining your batch.
Managing Time and Temperature for Consistent Results
Managing Time and Temperature is the most technical aspect of the process. Because every air fryer brand has a different fan speed and heating element intensity, there is no universal “dehydrate” button that guarantees perfection. Generally, you should aim for a temperature between 130°F and 160°F.
If you go too high, you risk “case hardening,” where the outside of the food dries out too quickly and seals the moisture inside. This is a common pitfall that leads to spoilage.
When you start the process, check your food every hour. Because air fryers are smaller than dedicated dehydrators, the air moves much faster, which can speed up the drying process significantly. You might find that what takes 10 hours in a traditional machine takes only 4 or 5 hours in an air fryer.
Keep a log of your trials. If you are drying herbs: fresh parsley, basil, you will find that these take significantly less time than fruits or meats—often just 30 to 60 minutes.
Herbs are delicate and can easily burn or lose their essential oils if the temperature is too high. Always start on the lowest setting your machine offers and adjust upward only if you notice no progress after the first hour.
Step-by-Step Process for Optimal Results
Following a consistent workflow will help you achieve professional-level results at home. The Step-by-Step Process for Optimal Results begins with cleanliness. Ensure your air fryer basket is free of any leftover grease from previous cooking sessions, as this can impart unwanted flavors to your dried snacks.
1. Clean and sanitize the air fryer basket and tray.
2. Prepare your food items by slicing them to a uniform thickness, ideally 1/8 to 1/4 inch.
3.
Arrange the food in a single layer. Overlapping will prevent proper airflow and result in uneven drying.
4. Set the air fryer to the lowest temperature setting, typically between 120°F and 140°F.
5.
Begin the drying cycle, checking the food frequently after the first hour.
6. Rotate the tray or flip the food halfway through if your air fryer does not have a rotisserie function or even heat distribution.
7.
Test for doneness: The food should feel leathery or brittle, with no visible moisture when squeezed.
8. Allow the food to cool completely before storage, as residual heat can create condensation inside the container.
Safety and Storage Tips for Dehydrated Goods
Safety and Storage Tips are paramount when preserving food at home. Properly dehydrated food is shelf-stable, but only if the moisture content has been sufficiently reduced. If you remove the food from the air fryer while it still feels slightly soft or cool to the touch, you are likely leaving behind moisture that will lead to mold growth in the jar. Always let your dehydrated items sit at room temperature for at least 30 minutes to ensure they are fully cooled and that the moisture has equalized.
Storage containers should be airtight. Glass mason jars are ideal because they allow you to see if any condensation forms inside; if you see moisture on the glass, your food is not ready for long-term storage and should be put back in the air fryer for another cycle. For long-term preservation, you can also use vacuum-sealing bags.
Store your snacks in a cool, dark place away from direct sunlight, which can degrade the vitamins and colors of your dried fruits and vegetables. If you notice any signs of mold, discoloration, or an “off” smell, discard the entire batch immediately—it is never worth the risk of foodborne illness.
Comparing Dehydration Methods
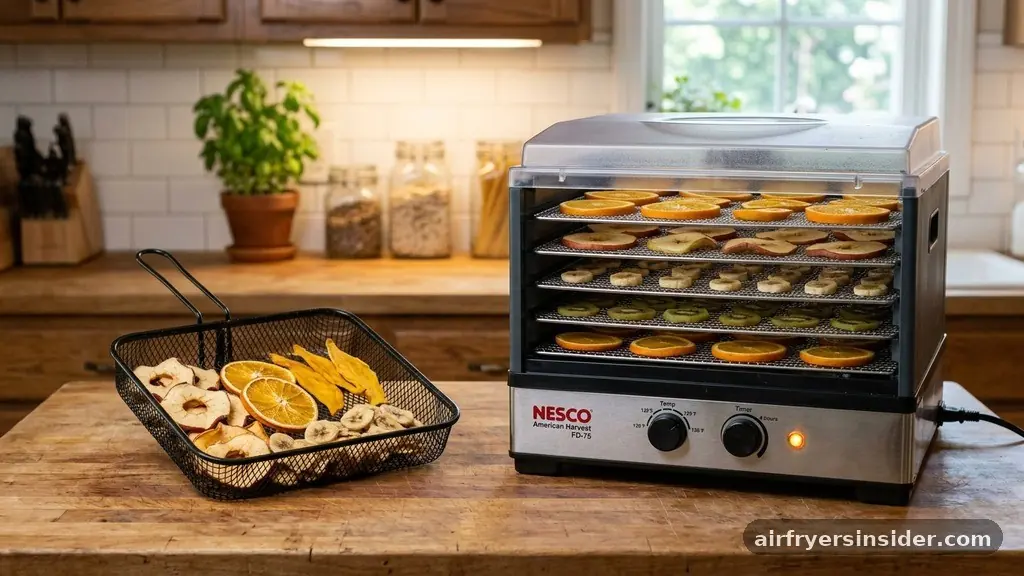
It is helpful to understand how air fryer dehydration stacks up against other methods. The following table provides a quick look at how the air fryer compares to other common techniques for preserving food.
| Method | Efficiency | Texture Consistency | Capacity |
|---|---|---|---|
| Air Fryer | High (Fast) | Moderate | Low (Limited space) |
| Dehydrator | Low (Slow) | High (Uniform) | High (Multiple trays) |
| Oven | Very Low | Low (Risk of burning) | Moderate |
| Sun Drying | Very Low | Variable | High (Outdoor space) |
As shown in the table, the air fryer is the most efficient method for small, quick batches. While a dedicated dehydrator offers more capacity for large harvests, the air fryer wins in terms of speed and convenience for the average home cook who wants to make a quick snack.
Addressing Topical Gaps: Common Misconceptions
A common point of confusion is whether air fryer dehydration is truly “dehydration” or just “baking at a low temperature.” While the result is technically the same—moisture removal—some purists argue that the high-velocity fan of an air fryer dries the surface too aggressively compared to the gentle, passive airflow of a dehydrator. However, for most home applications, the difference is negligible.
Another gap in common knowledge is the use of parchment paper. Many users try to line their baskets with parchment paper to make cleanup easier, but this often blocks the air vents at the bottom of the basket, effectively turning your air fryer into a standard oven and ruining the dehydration process. Always use a wire rack or mesh insert specifically designed for air fryers to ensure airflow remains unobstructed.
Furthermore, people often ask if they need to pretreat fruits like apples to prevent browning. While not strictly necessary for safety, soaking your apple slices in a mixture of lemon juice and water for a few minutes before drying will keep them looking vibrant. This is a simple step that improves the aesthetic quality of your shelf-stable snacks without affecting the flavor profile significantly.
The Versatility of Dehydrated Snacks
Once you master the art of air fryer dehydration, your kitchen options expand significantly. You are no longer limited to store-bought, processed snacks that are often loaded with preservatives, excessive salt, and added sugars.
Instead, you can create custom blends that cater to your specific dietary needs. For example, making your own kale chips allows you to control the oil content and seasoning, resulting in a much healthier alternative to the bags sold in grocery stores.
Similarly, drying your own herbs like fresh parsley, basil, or even cilantro allows you to preserve the bounty of your garden or those leftover bunches that usually wilt in the refrigerator drawer. Dehydrated herbs have a much more intense flavor than store-bought dried versions because you are starting with fresh ingredients and controlling the drying process yourself. You can also experiment with fruit leathers by pureeing berries and spreading them on a silicone liner, or creating savory vegetable powders by grinding your dried tomato or bell pepper slices into a fine dust to use as a seasoning base for soups and stews.
Maximizing the Utility of Your Appliance
The beauty of using your air fryer for this purpose is that it encourages a “zero-waste” lifestyle. How many times have you thrown away a half-empty bag of spinach or a few browning apples?
Dehydration allows you to salvage these items, turning potential waste into delicious, nutrient-dense snacks. It is a way to respect the food you buy and maximize the value of your groceries.
As you become more comfortable with the process, you will likely find yourself reaching for the dehydrate function more often than the fry function. It transforms the air fryer from a weekend treat machine into a daily tool for healthy eating.
Whether you are prepping for a hiking trip, packing school lunches, or just looking for a low-calorie crunch, the ability to control the moisture content of your food provides a level of freedom that few other kitchen appliances can match. Remember, the key is to be patient, monitor your progress, and always prioritize food safety by ensuring your items are thoroughly dried before they are put away for long-term storage.
Frequently Asked Questions
Can I use parchment paper when dehydrating in an air fryer?
It is generally not recommended. Parchment paper blocks the airflow from the bottom of the basket, which is critical for the dehydration process. Instead, use a stainless steel mesh rack or a silicone insert specifically designed with holes to allow air to circulate freely around the food.
How do I know when the food is fully dehydrated?
The food should feel leathery, dry, or brittle, depending on the item. There should be no visible moisture when you bend or squeeze it. If the item feels soft, spongy, or cool to the touch, it needs more time. Always let it cool completely before testing.
Why is my fruit turning brown during dehydration?
Browning is a natural oxidation process that happens when the fruit is exposed to air. To prevent this, you can dip your fruit slices in a solution of water and lemon juice or ascorbic acid before placing them in the air fryer. This preserves the color without impacting flavor.
Is it safe to dehydrate raw meat in an air fryer?
Yes, provided you follow strict safety protocols. Ensure your meat is sliced very thinly and that the air fryer maintains a temperature of at least 145°F to 160°F to kill bacteria. Always store homemade jerky in a sealed container and consume it within a few weeks for maximum safety.
Conclusion
Dehydrating food in an air fryer is a highly effective, space-saving way to preserve ingredients and create healthy, shelf-stable snacks at home. By leveraging the convection heating technology inherent in your air fryer and carefully managing time and temperature, you can turn everything from apples, bananas, and strawberries to kale chips, tomato slices, and lean cuts of beef or venison into delicious, long-lasting treats. While it requires a bit of experimentation to master the specific settings for your appliance, the result is a significant reduction in food waste and a pantry stocked with nutritious, preservative-free snacks.
Remember to focus on uniform prep work, unobstructed airflow, and proper cooling before storage to ensure every batch is a success. With these techniques, your air fryer becomes much more than a fryer—it becomes an essential component of a sustainable and health-conscious kitchen.


