

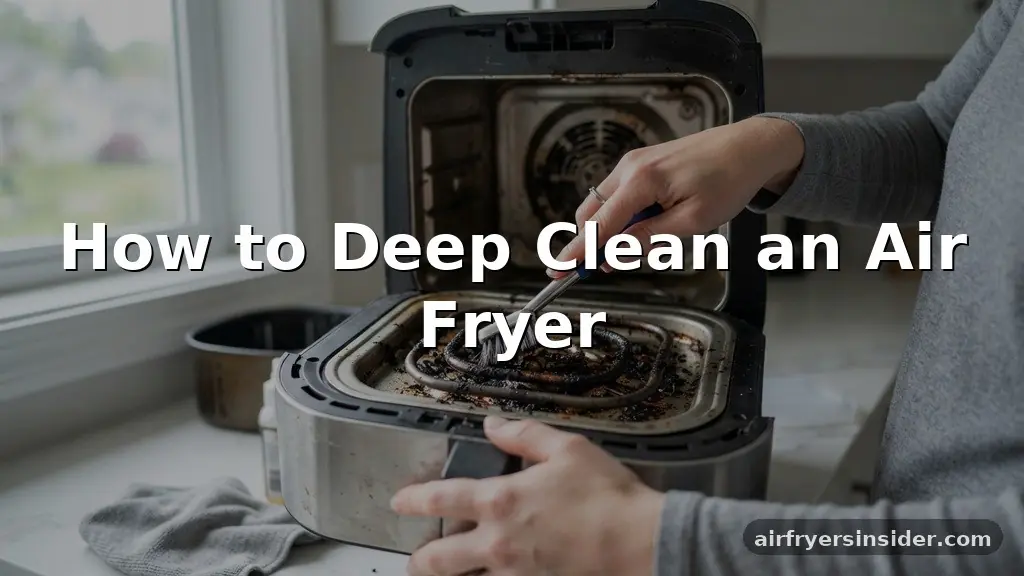
Learning how to deep clean an air fryer is essential for keeping your favorite kitchen appliance running efficiently and ensuring your food tastes exactly as it should. Over time, frequent use leads to a buildup of stubborn grease and food particles that can affect cooking performance, create unwanted smoke, and even harbor bacteria.
By adopting a consistent maintenance routine, you protect the non-stick coating of your basket and prevent the heating element from getting clogged with debris. This guide provides the practical techniques needed to restore your machine to its original condition, helping you extend the lifespan of your appliance while keeping your cooking environment sanitary and safe.
Why Regular Air Fryer Maintenance Matters
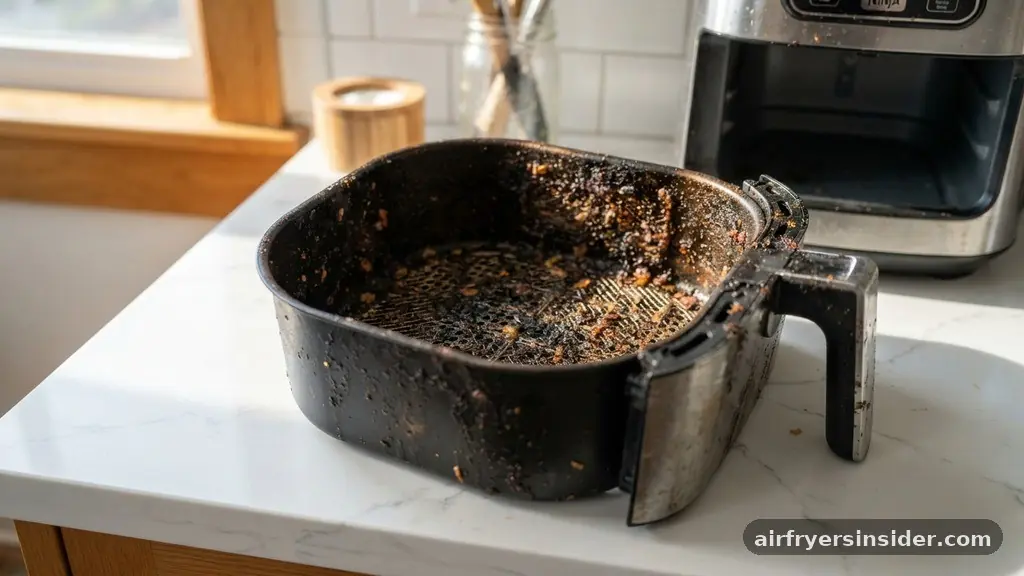
Neglecting the interior of your air fryer leads to more than just aesthetic issues. When you fail to clean the unit, you allow burnt-on grease to accumulate on the walls and the heating element.
This residue acts as an insulator, preventing the appliance from maintaining the precise temperatures required for optimal crisping. Eventually, this trapped grease can start to smoke during operation, which ruins the flavor of your meals and fills your kitchen with an unpleasant odor.
Beyond the smoke, there is the issue of appliance maintenance and longevity. The non-stick coating on your air fryer basket is delicate; if you allow acidic foods or heavy carbon deposits to sit on the surface for extended periods, the finish will begin to flake off.
Once this happens, food sticks more easily, leading to a cycle of scrubbing that further damages the surface. By performing a deep clean every few weeks, you remove grime before it becomes a permanent fixture, ensuring your machine remains a reliable tool in your daily cooking routine.
Essential Supplies for a Thorough Clean
You do not need expensive, industrial-grade chemicals to get your air fryer sparkling again. In fact, most of the best tools for the job are likely already in your pantry or under your kitchen sink. The goal is to use items that are effective at breaking down oil without damaging the sensitive internal components.
- Baking soda for creating a gentle, abrasive paste to lift heavy stains.
- White vinegar to help dissolve mineral deposits and cut through lingering grease.
- Dish soap, preferably a grease-fighting variety, for general cleaning.
- A soft-bristle brush or an old toothbrush to reach tight corners and crevices.
- A high-quality microfiber cloth for wiping down surfaces without leaving lint behind.
- A non-abrasive scrubbing pad to tackle stubborn spots without scratching the metal.
Avoid using steel wool or harsh metallic scrapers. These will destroy the non-stick coating on your basket and rack, rendering the surface ineffective. Even if you are dealing with significant carbon buildup, patience and a good soak are far better than aggressive mechanical scraping.
Preparing the Unit for Deep Cleaning
Safety is the first priority when working with electrical appliances. Before you begin, ensure the air fryer is completely unplugged and has had ample time to cool down. Attempting to clean the unit while it is still warm is not only dangerous for your hands but can also cause thermal shock to the components if you introduce cold water or cleaning solutions too quickly.
Once the unit is cold, remove the air fryer basket and any removable racks or trays. If these components are dishwasher safe, you might be tempted to just throw them in, but hand washing is almost always better for preserving the life of the non-stick finish. Set the base of the air fryer on a flat, stable surface.
Take a moment to inspect the convection fan and the upper housing to see where the majority of the splatter has accumulated. Knowing exactly where the mess is located will help you focus your efforts during the cleaning process.
Tackling the Basket and Removable Parts
The basket is where the vast majority of food residue collects. Because this area is exposed to the highest temperatures, the grease often turns into a hard, sticky layer. To start, fill your sink with warm water and a generous amount of liquid dish soap.
Let the basket soak for at least 15 to 20 minutes. This soak is crucial; it softens the debris, making it significantly easier to remove without scrubbing until your arms hurt.
After the soak, use a kitchen sponge or a soft-bristle brush to gently work away the softened food. If you notice persistent dark spots that won’t budge, create a thick paste using baking soda and a few drops of water. Apply this paste directly to the stubborn areas and let it sit for another ten minutes.
The mild alkalinity of the baking soda helps neutralize the acidity of the charred fats, allowing you to wipe them away with minimal pressure. Always finish by rinsing the parts thoroughly with clean water to ensure no soap or residue remains before you dry them completely.
Cleaning the Heating Element Safely
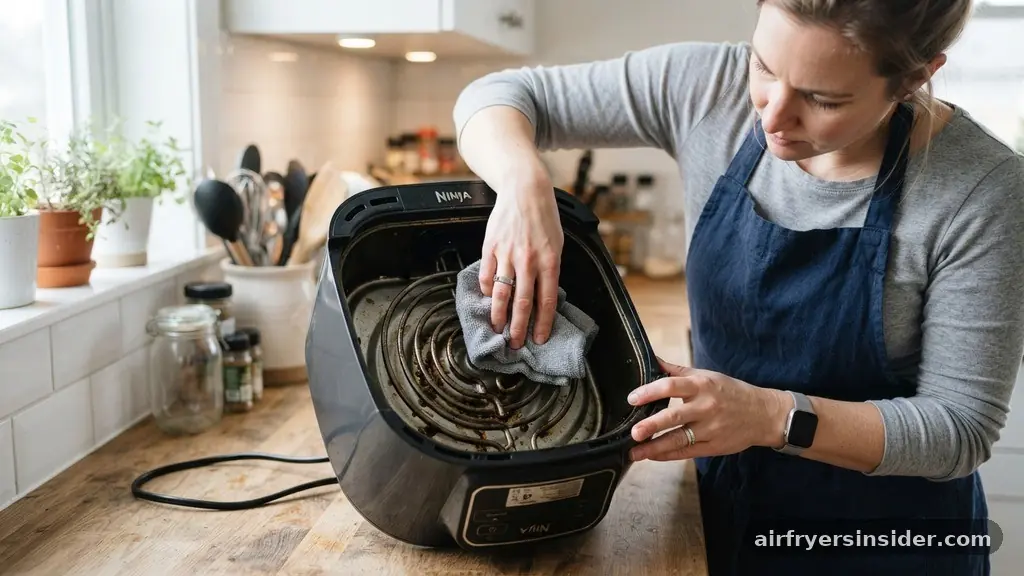
The heating element is the most sensitive part of the appliance, and it requires a delicate touch. Because this component is responsible for the heat transfer that makes air frying possible, it is often the most overlooked part of the device. Over time, oil vapors rise and coat the element, which can cause a burning smell even when no food is inside.
To clean it, turn the air fryer upside down or on its side so you have a clear view of the top interior. Use a damp microfiber cloth or a sponge dipped in a diluted white vinegar solution to wipe the element. Be extremely careful not to use too much liquid, as you do not want water dripping into the internal wiring.
If there is heavy carbon buildup on the element, use a toothbrush to gently dislodge the flakes. Never use metal tools or sharp objects, as you risk damaging the delicate coils or the protective coating on the element. Once you have wiped it down, follow up with a fresh damp cloth to remove any vinegar traces, then let it air dry completely before turning the unit back on.
Removing Grease from the Interior Walls
The interior walls of the air fryer often collect a layer of baked-on oil from the convection fan circulating air. This area can be tricky to reach, but keeping it clean prevents the buildup of smoke.
A mixture of equal parts water and vinegar is your best friend here. Spray the mixture lightly onto the walls, or dip a cloth into the solution and wipe the surfaces.
If the walls are particularly greasy, you may need a dedicated degreaser or a stronger concentration of dish soap. Wipe the interior in circular motions, paying close attention to the corners where debris tends to hide. Use a paper towel to absorb the excess moisture and grease as you go.
If you find the grease is still stubborn, repeat the process. The key is to avoid letting any liquid pool at the bottom of the unit near the electrical connections. Always keep the appliance tilted slightly so that any excess liquid runs toward the front opening rather than into the back of the machine.
Addressing Topical Gaps in Maintenance
Many users wonder how to handle the convection fan specifically, as it is often tucked behind the heating element. To clean this area, you can use a small, soft brush to flick away any loose particles that have become stuck in the blades.
If the fan is heavily coated, a cotton swab dipped in rubbing alcohol can be used to gently wipe the edges of the blades. This is an effective way to remove sticky residue without having to disassemble the unit.
Another common gap in knowledge is how often this deep clean should occur. While a quick wipe of the basket should happen after every use, a full deep clean—including the heating element and the interior housing—should be performed every 3 to 4 weeks depending on frequency of use. If you notice your food starting to smell like burnt oil, that is a clear signal that the grime has reached a point where it is affecting the air quality inside the unit.
| Part | Cleaning Frequency | Best Cleaning Method |
|---|---|---|
| Air Fryer Basket | Every use | Soak in warm soapy water |
| Heating Element | Monthly | Vinegar solution with soft brush |
| Interior Walls | Monthly | Wipe with degreaser or vinegar |
| Exterior Housing | Weekly | Damp cloth with mild soap |
Drying and Reassembling the Unit
Once every component is clean, the drying stage is perhaps the most important part of the entire process. Never reassemble or plug in your air fryer while the interior is still damp.
Moisture trapped inside can lead to corrosion or, in the worst-case scenario, electrical shorts. Use a clean, dry microfiber cloth to wipe every surface you have reached.
For the basket and racks, ensure they are completely air-dried before placing them back into the unit. You can leave them on a drying rack for an hour to be certain. If you are in a rush, use a paper towel to dry the crevices of the basket carefully.
Once you are confident that everything is dry, slide the basket back into the base. Do a final check of the power cord to ensure it is clean and free of any grease that might have splattered during cooking.
Proactive Tips to Prevent Future Buildup
The best way to minimize the time you spend cleaning is to change how you cook. Using parchment paper liners or silicone mats can significantly reduce the amount of splatter that reaches the basket and the base of the fryer. These liners catch crumbs and dripping oils, which you can simply remove and discard or wash separately.
Another trick is to avoid overcrowding your basket. When food is packed too tightly, it doesn’t cook evenly, and excess moisture or oil is more likely to escape and coat the walls of the machine. By giving your food space to breathe, you ensure better airflow, crisper results, and a much cleaner appliance.
Finally, wipe down the exterior of the air fryer after every use while it is still slightly warm. A simple wipe-down prevents oil from setting on the plastic housing, which can be notoriously difficult to remove once it has hardened over several cooking sessions.
Frequently Asked Questions
How do you clean a really dirty air fryer?
For a heavily soiled unit, start by soaking the basket in a sink full of hot, soapy water. Use a baking soda paste on the interior walls to break down hardened grease, then gently scrub the heating element with a vinegar-soaked cloth to remove any burnt-on debris.
What is the best cleaner for the inside of an air fryer?
A mixture of white vinegar and warm water is generally the safest and most effective cleaner. It cuts through grease and sanitizes the interior without leaving behind harsh chemical residues. For stubborn spots, a paste made of baking soda and water provides the necessary gentle abrasion.
Can I put my air fryer basket in the dishwasher?
While many air fryer baskets are labeled as dishwasher safe, frequent dishwasher use can damage the non-stick coating over time. The high heat and harsh detergents often lead to flaking. Hand washing with a soft sponge and mild dish soap is the best way to maintain the coating.
How do I stop my air fryer from smoking?
Smoking is usually caused by leftover grease or food particles burning on the heating element or the bottom of the basket. Ensure you clean the heating element regularly and empty the crumb tray or basket base after every use to prevent oil buildup from reaching high temperatures.
Conclusion
Deep cleaning your air fryer is a straightforward process that pays dividends in both food quality and appliance longevity. By following these steps, you prevent the accumulation of carbon and grease that leads to smoke and uneven cooking. Remember that the secret to a stress-free cleaning routine is consistency; a few minutes spent wiping down the unit periodically keeps the heavy-duty scrubbing to a minimum.
Keeping your appliance well-maintained ensures that you can continue to enjoy your favorite crispy meals without the worry of lingering odors or degraded performance. When you take care of your equipment, it consistently delivers the results you expect, making your time in the kitchen both more efficient and more enjoyable every single day.


