

Many home cooks wonder if they can make potato chips in an air fryer to achieve that elusive, store-bought crunch without the hassle of deep-frying. The answer is a resounding yes, though the process requires a bit more finesse than simply tossing spuds into a basket.
By mastering the delicate balance of moisture control and precise heat, you can transform humble ingredients into a satisfying, healthier snack. Whether you are craving a salty treat or looking to impress guests with homemade appetizers, understanding the science behind the air fryer’s convection power is the first step toward achieving the perfect golden brown results you desire.
Selecting the Ideal Potato Variety
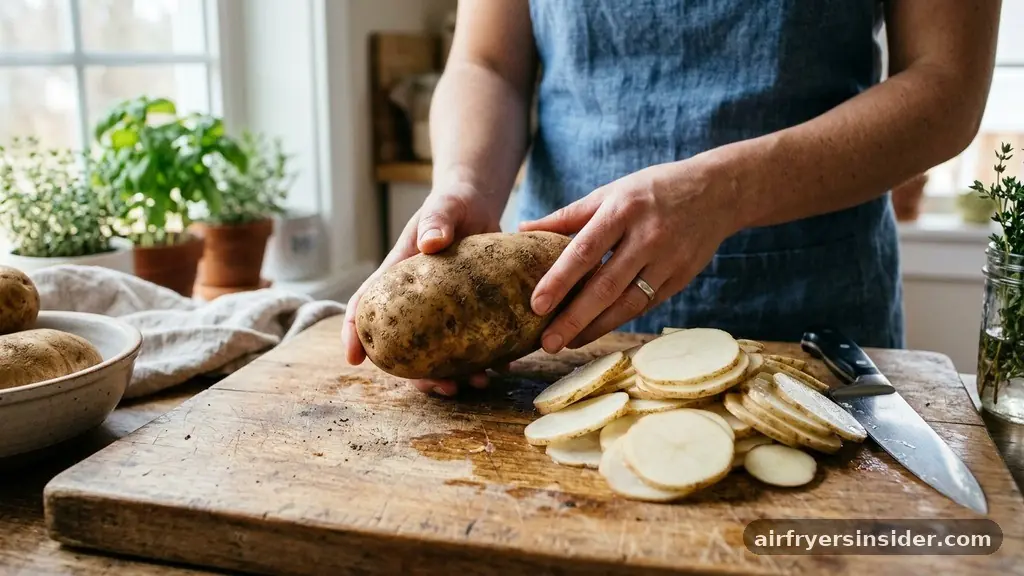
The secret to a successful batch of homemade chips begins in the produce aisle. Not all potatoes behave the same way under intense heat, and choosing the wrong type can lead to limp, soggy slices rather than the crisp texture you are after.
For the best outcome, you should prioritize high-starch potatoes. Russet potatoes are widely considered the gold standard for chips because their high starch content and low moisture profile allow them to crisp up beautifully.
When you use a high-starch variety, the cell structure of the potato holds up better during the rapid evaporation process caused by the air fryer’s fan. Waxy potatoes, such as red or fingerling varieties, contain more sugar and moisture, which often results in chips that burn before they become crisp.
If you are aiming for that classic, shattering crunch, always reach for a classic baking potato. The size of the potato also matters; larger specimens allow you to create uniform, wide slices that are easier to handle and arrange in your basket for even cooking.
Mastering Uniformity with a Mandoline Slicer
Consistency is the enemy of uneven cooking. If your slices vary in thickness, some will turn dark brown and bitter while others remain soft and undercooked.
While a steady hand and a sharp chef’s knife can work, using a mandoline slicer is the most effective way to achieve paper-thin, uniform results every single time. A mandoline allows you to control the thickness down to the millimeter, which is essential for ensuring that every chip dehydrates at the same rate.
If you do not own a mandoline, a food processor with a slicing attachment is a viable alternative for processing large quantities quickly. However, manual slicing remains the most reliable method for maintaining control. Aim for a thickness of about 1/16th of an inch.
If the slices are too thick, they will retain too much internal moisture; if they are too thin, they may curl up excessively or burn within seconds. Once you have achieved that perfect, translucent slice, you are ready to move on to the most critical step in the preparation process.
The Importance of Starch Removal and Soaking
Many beginners skip the soaking phase, only to be disappointed by chips that stick together or turn out chewy. Starch removal is a non-negotiable step if you want maximum crispiness.
When you slice your potatoes, you expose the starch trapped within the cell walls. If this starch remains on the surface, it acts like glue, causing the chips to adhere to one another and preventing the hot air from circulating around each piece.
After slicing, place your potato rounds into a large bowl filled with cold water. Let them soak for at least 30 minutes. You will notice the water turning cloudy as the excess starch leaches out.
For even better results, rinse the slices under cold running water until the water runs clear. This process effectively lowers the surface starch content, which is the primary factor in preventing that unwanted “gummy” texture. After the soak, drain the water thoroughly and move to the drying phase, which is just as vital as the soak itself.
Drying Techniques for Maximum Crispiness
Moisture is the primary obstacle to achieving a satisfying crunch. Even if you have soaked your potatoes perfectly, any water lingering on the surface will create steam inside the air fryer, resulting in a soft or leathery chip.
After draining your slices, lay them out in a single layer on clean paper towels or a lint-free kitchen cloth. Use an additional layer of paper towels to pat the tops of the slices firmly.
Take your time with this step. Ensuring the potatoes are bone-dry before they hit the heat allows the oil to coat the surface evenly and encourages the dehydration process to start immediately. If you have the patience, let them air-dry for another 10 to 15 minutes after patting them down.
The goal is to remove all surface moisture so that the convection heat can focus exclusively on crisping the potato tissue. Skipping this step often leads to uneven browning and a lack of that signature, light texture.
Selecting and Applying the Right Oil
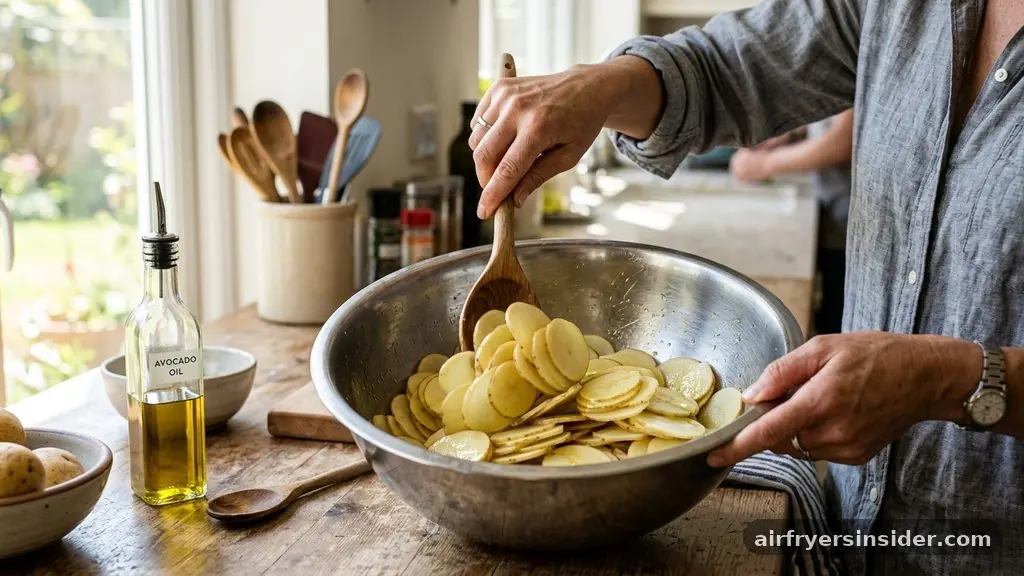
While you can technically make air-fried chips without oil, using a small amount significantly improves the flavor and the final texture. The key is to select an oil with a high smoking point to ensure it doesn’t break down or impart a bitter taste at higher temperatures.
Avocado oil is an excellent choice for this, as it is neutral in flavor and can handle the heat required for crisping. Alternatively, a high-quality light olive oil spray works well, provided you use it sparingly.
Do not drench the potatoes. Instead, place your dried slices in a large mixing bowl and drizzle a tiny amount of oil over them, then toss gently with your hands to ensure a light, even coating. If you prefer using a spray, lay the slices out on a baking sheet or cutting board, give them a quick mist, flip, and mist the other side.
A light coating is all you need to facilitate heat transfer and help the seasoning adhere to the surface. Remember, the air fryer works by circulating air; too much oil will pool at the bottom, creating a mess rather than a crispy snack.
Optimizing Air Circulation in the Basket
The biggest mistake home cooks make is overcrowding the air fryer basket. Air circulation is the fundamental mechanism that makes this appliance work.
If you stack the potato slices on top of one another, the hot air cannot reach the center of the pile, and you will end up with a mix of burnt edges and raw, soggy centers. You must arrange the slices in a single layer, or at most, a slightly overlapping pattern that still allows for significant airflow.
If you are cooking for a crowd, you will need to embrace the concept of batch cooking. It might take longer, but the quality of the final product is directly tied to how much space the potatoes have to breathe.
If your air fryer has a rack, you can utilize it to create multiple levels of cooking space, which helps increase your capacity without sacrificing the airflow. Always keep an eye on the edges of the basket, as these areas often receive the most direct heat and may cook faster than the center.
Temperature Control and Cooking Time
Finding the perfect cooking temperature is a balancing act between dehydration and browning. If the temperature is too high, the outside of the chip will darken and potentially burn before the moisture has fully evaporated from the center.
If the temperature is too low, the chips will take forever to cook and may become tough. A temperature setting between 350°F and 375°F (175°C to 190°C) is generally the sweet spot for most air fryers.
Recommended Cooking Guidelines
| Process Step | Time/Action |
|---|---|
| Soaking | 30-60 minutes in cold water |
| Drying | Pat until completely moisture-free |
| Cooking Temp | 360°F (180°C) |
| Shaking | Every 5 minutes for even results |
Start checking your chips at the 10-minute mark. Because every air fryer model has different fan speeds and heating element intensities, your first batch will essentially be a test run. Use this time to observe how quickly your specific appliance browns the potatoes.
If you find they are browning too fast, drop the temperature by 25 degrees. The goal is a light, consistent golden brown color across the entire surface of every chip.
Seasoning Strategies for Professional Results
Seasoning is where you can truly make these chips your own, but timing is everything. If you add salt or spices before cooking, they may burn or fall off during the process. The best strategy is to season the chips immediately after they come out of the air fryer, while they are still hot and the residual oil is tacky enough to hold the spices.
- Classic Sea Salt: Keep it simple for a clean, potato-forward flavor.
- Smoked Paprika: Adds a lovely color and a subtle, woodsy depth.
- Garlic Powder: Pairs perfectly with the natural sweetness of the russet potato.
- Cracked Black Pepper: Provides a sharp contrast to the salt.
- Dried Herbs: Rosemary or thyme can offer a gourmet twist to your snack.
For a more complex flavor profile, try blending your own spices. A mixture of onion powder, garlic powder, and a touch of chili powder creates a savory blend that rivals any commercial bag.
Be sure to toss the chips in a bowl with your seasoning mix while they are still hot to ensure an even distribution. If you find the seasoning isn’t sticking, a very light spritz of oil post-cooking can help the spices adhere better to the crisp surface.
Addressing Common Troubleshooting Issues
Even with the best instructions, you might encounter a few hurdles along the way. If your chips are not crisping up, the most common culprit is residual moisture. Always double-check that your slices are thoroughly dry before they enter the basket.
If they are limp, it means they were not cooked long enough or the temperature was too low to effectively drive off the remaining water. Simply return them to the air fryer for an additional 2 to 3 minutes, checking frequently to prevent burning.
Another issue is chips blowing around in the basket. Because the air fryer uses high-velocity fans, thin slices can sometimes fly up and hit the heating element, which is a fire hazard and creates a burnt taste. If this happens, try using a metal rack or a piece of parchment paper designed for air fryers to weigh the slices down.
Never use standard parchment paper unless it is specifically perforated for air fryers, as it can block the airflow and disrupt the cooking process. If you find your chips are consistently uneven, consider rotating the basket halfway through the cook time to ensure all areas receive consistent exposure to the convection heat.
Frequently Asked Questions
Why are my air fryer potato chips not crispy?
The most likely reason is excess moisture on the surface of the potatoes. Ensure you have soaked them to remove starch and patted them completely dry with paper towels. Also, avoid overcrowding the basket, as this creates steam instead of the dry, hot environment needed for crisping.
Can I make potato chips in an air fryer without oil?
Yes, you can, but the texture and flavor will be different. Oil helps conduct heat and encourages the browning process. If you skip it, the chips may be more prone to drying out or burning. A very light misting is recommended for the best balance of texture and health.
What is the best potato variety for air fryer chips?
Russet potatoes are the top choice due to their high starch and low moisture content. This combination allows them to crisp up effectively during the short cooking time of an air fryer, whereas waxy or high-sugar potatoes often turn soft or burn too quickly before they can crisp.
How do I prevent the chips from blowing around?
If your air fryer has a powerful fan, thin slices might fly up. You can use a dedicated air fryer rack to hold them down or place a perforated parchment paper sheet on top of the slices to keep them in a single, stable layer throughout the cooking process.
Conclusion
Mastering the art of making potato chips in an air fryer is a rewarding culinary experiment that bridges the gap between convenience and quality. By selecting the right potato variety, ensuring proper starch removal, and respecting the need for airflow, you can consistently produce a snack that rivals anything you would find in a bag, minus the excessive oils and additives. The key lies in patience—specifically during the soaking and drying phases—and in adjusting your technique based on the unique behavior of your specific air fryer.
As you become more comfortable with the timing and temperature, feel free to experiment with bold seasonings and different slicing thicknesses to suit your personal preferences. Give this method a try during your next snack craving, and enjoy the satisfaction of creating something truly delicious from scratch.


