

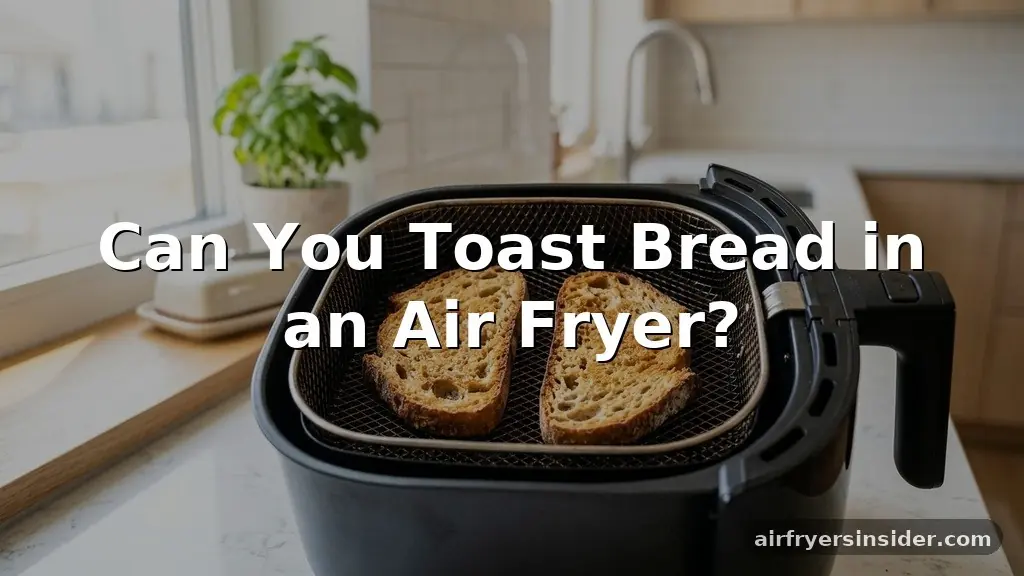
Many home cooks find themselves wondering if they can toast bread in an air fryer when their traditional toaster is occupied or broken. The short answer is yes, and for many, the results are actually superior to conventional methods. By leveraging the intense, concentrated heat of this popular kitchen appliance, you can achieve a perfectly crunchy exterior while keeping the center soft.
Since an air fryer works through powerful convection cooking, it creates a unique environment for browning bread slices quickly. Understanding how to manage the temperature and timing is the key to getting that ideal golden brown finish without drying out your favorite loaf.
Understanding the Mechanics of Air Fryer Toasting
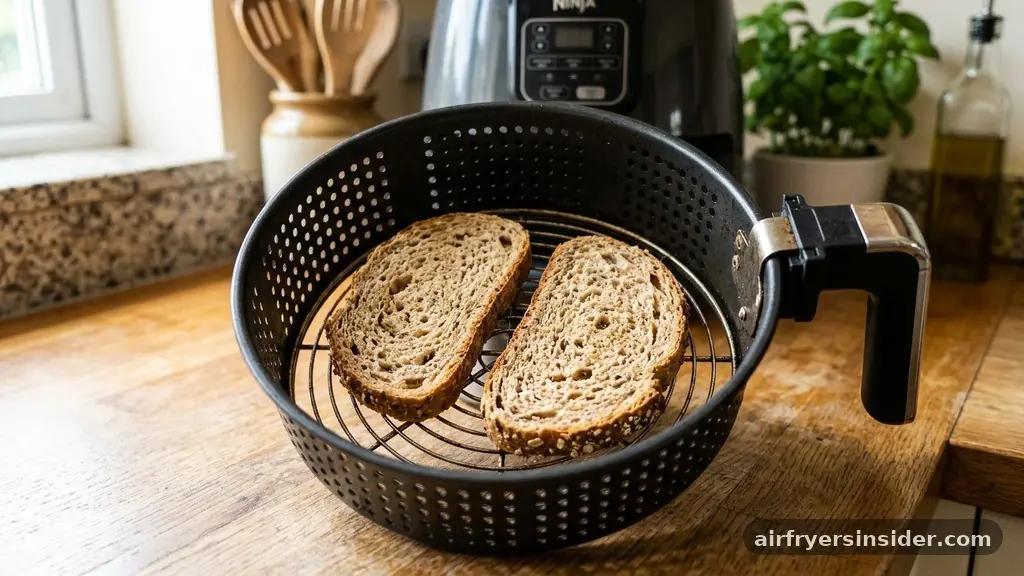
At its core, an air fryer is essentially a high-powered countertop convection oven. When you place bread slices inside, the internal fan circulates hot air at high speeds, which is significantly more efficient than the static heating element found in a standard pop-up toaster.
This movement of air facilitates the Maillard reaction, the chemical process responsible for the complex flavors and browning associated with toasted starches. Because the heat is distributed so evenly, the bread toasts uniformly across the entire surface rather than just in the patches near the heating coils.
The primary difference you will notice is the toast texture. While a traditional toaster uses radiant heat to dry out the bread from the inside out, the air fryer uses dry heat and forced air to crisp the surface rapidly. This results in a crust that is often more robust and substantial.
If you prefer your morning bagel or English muffin with a distinct crunch that can stand up to heavy toppings like avocado or thick nut butter, the air fryer is an excellent tool. The process is fast, but it requires vigilance because the high-speed air can turn a slice from perfectly golden to burnt in a matter of seconds.
Optimal Temperature and Timing Settings
Achieving the perfect slice requires a bit of experimentation because every kitchen appliance varies in wattage and airflow intensity. For most bread types, a temperature between 350°F and 400°F (175°C – 200°C) is ideal.
If you are using a standard white or wheat loaf, 370°F for about three to four minutes usually hits the sweet spot. Thicker varieties, such as sourdough or artisan loaves, may require an extra minute or two to ensure the heat penetrates deep enough to warm the center before the exterior becomes too dark.
It is helpful to view the cooking time as a range rather than a fixed rule. Start on the lower end of the time spectrum and check the bread frequently. Because the internal fan is so powerful, it can easily blow light weight bread around the basket.
If you find your slices are flying around, you might need to weigh them down slightly or choose a thicker-cut loaf. Always remember that the air fryer temperature should be adjusted based on the density of the bread; a dense, moisture-heavy sourdough will always take longer than a thin, airy slice of sandwich bread.
Addressing the Challenge of Flying Crumbs
One of the most common frustrations users face when they ask can you toast bread in an air fryer is the issue of loose crumbs. Because the internal fan moves air with such force, small particles can be lifted from the bread and circulated throughout the chamber.
This is not just a nuisance; it can sometimes lead to smoking if crumbs land directly on the hot heating element. To mitigate this, ensure your basket is clean before starting and avoid overloading the unit with multiple layers of bread.
If you are toasting very dry or brittle bread, you can place a small piece of parchment paper at the bottom of the basket to catch any debris. However, do not place parchment paper on top of the bread, as it will likely get caught in the fan or lift up and burn. Another effective trick is to lightly butter your bread before placing it in the basket.
The weight of the butter helps keep the slice anchored, and it also promotes a more even, decadent browning effect. Just be cautious with excess butter, as it can drip and create smoke if it hits the bottom of the pan.
Comparing Air Fryer Toasting to Traditional Methods
When deciding between a toaster and an air fryer, it helps to look at the functional differences in a structured way. Each appliance has its own strengths depending on what you are trying to achieve with your breakfast or snack.
| Feature | Traditional Toaster | Air Fryer |
|---|---|---|
| Heat Source | Radiant (Heating Coils) | Convection (Fan + Element) |
| Texture | Uniformly dry | Crispy exterior, soft center |
| Versatility | Limited to slices | Handles bagels, thick rolls, sandwiches |
| Speed | Fast | Fast, but requires preheating |
As shown in the table, the air fryer offers much greater versatility. While a toaster is restricted to thin slots, an air fryer allows you to toast irregular shapes like unevenly cut sourdough or thick-sliced brioche.
If you are making garlic bread, the air fryer is vastly superior because it can melt the butter and cheese while toasting the bread simultaneously. A standard toaster simply cannot accommodate these thicker, topped items without creating a significant mess or fire hazard.
Creative Uses for Air Fryer Toasting
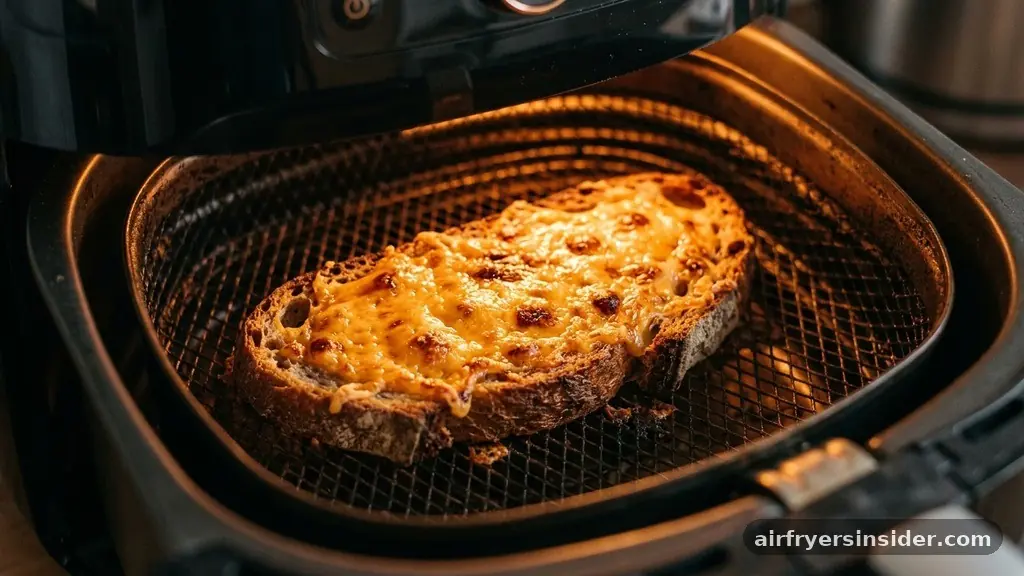
Once you master basic bread, you can expand your horizons to more complex recipes. Cheese toast is a classic example of where this appliance shines.
By placing a slice of bread topped with cheddar or gruyère into the basket at 350°F, you get a perfectly melted, bubbly top with a crisp base in under five minutes. You can also toast English muffins, which often suffer from uneven toasting in standard units; the air fryer ensures the nooks and crannies get that essential crunch throughout.
Another popular application is making homemade croutons or bagel chips. Simply cut your bread or bagels into cubes, toss them in olive oil and seasonings, and air fry at 375°F for about five to seven minutes, shaking the basket halfway through.
The result is a snack that is far fresher than anything from a bag. Whether you are using a Ninja Foodi or a Cosori model, the principle remains the same: the convection environment turns simple carbohydrates into gourmet-level additions for your soups and salads.
Topical Gaps: Why Some Slices Burn Faster
A common question that often goes unanswered in basic tutorials is why certain breads burn faster than others. The answer lies in sugar content and moisture levels.
Bread with honey, molasses, or high sugar content will undergo the Maillard reaction much faster than plain white bread. If you are toasting brioche or cinnamon raisin bread, reduce your heat by 25 degrees to prevent the sugars from caramelizing into a bitter, burnt mess.
Another factor is the age of the bread. Stale bread has lower moisture content, meaning it will crisp up and burn significantly faster than fresh bread. If you are trying to revive slightly older bread, you can lightly mist it with water before putting it in the air fryer.
This adds a tiny bit of hydration, preventing the bread from turning into a rock-hard crouton while it toasts. Understanding these variables allows you to customize your technique for every single loaf you bring home from the bakery.
Essential Tips for Uniform Results
To ensure every slice comes out with a consistent golden brown color, consider the layout of your basket. If you are toasting multiple slices, do not overlap them. The air circulation relies on the hot air hitting the surface of the bread directly.
If slices are stacked, the bottom one will remain soft and pale while the top one might scorch. For the best results, arrange them in a single layer with a small amount of space between each piece to allow for maximum airflow.
If you have a large air fryer, you might be tempted to fill it to capacity, but this often leads to uneven cooking. It is better to toast in batches if you are feeding a family. Additionally, if your model allows for a preheat cycle, use it.
While many people skip preheating, having the chamber at the target temperature before the bread enters ensures the toasting starts immediately. This reduces the total time the bread spends in the machine, which helps preserve the moisture inside the slice.
Safety Considerations for Your Kitchen Appliance
Safety should always be a priority when operating high-heat kitchen equipment. Never leave bread unattended, especially when you are first learning the timing of your specific machine.
Because bread is thin and dry, it can ignite if it gets too close to the heating element at the top of the unit. If you find your bread is blowing around, use a metal rack designed for air fryers to hold the slices down, or simply choose a heavier, denser bread.
Furthermore, keep the area around your air fryer clear. These machines vent hot air, often from the back, and require several inches of clearance to operate safely.
If you are toasting bread that is heavily topped with cheese or butter, ensure the drip tray at the bottom of the basket is clean. Accumulated grease from previous cooking sessions can smoke when exposed to high heat, which will impart an unpleasant flavor to your toast and potentially trigger your smoke alarm.
Advanced Techniques: Infusing Flavor
Toasting is more than just browning; it is an opportunity to infuse flavor. You can brush your bread with garlic-infused oil, sprinkle it with dried herbs, or dust it with cinnamon sugar before toasting.
Because the air fryer uses dry heat, these seasonings adhere well to the surface of the bread as it crisps. This is particularly effective for garlic bread, where the heat gently toasts the garlic aromatics into the crust.
Consider the following list of items that are perfect for air fryer toasting:
- Thick-cut sourdough for avocado toast
- Bagels with cream cheese (toasted separately, then assembled)
- English muffins with a smear of butter
- Leftover baguette slices for crostini
- Multigrain bread with a light drizzle of honey
Experimenting with these options will help you understand how different textures and densities react to the intense heat. You will quickly find that the air fryer offers a level of control that traditional toasters simply cannot match, especially when you start incorporating toppings that require melting or light roasting.
Frequently Asked Questions
Yes, you can prevent bread from moving by choosing heavier, thicker-cut slices or by using a metal rack to weigh the bread down. If the slices are very light, consider brushing them with a small amount of butter or oil, which adds enough weight to keep them stationary during the cooking process.
What is the ideal temperature for toasting bread in an air fryer?
The ideal temperature is typically between 350°F and 400°F. Start at 370°F for most standard sandwich breads. If you are using a thicker, artisan-style bread or a bagel, you may want to stick to the lower end of that range to ensure the center warms through before the surface becomes too dark.
Does air fryer toast taste different than regular toaster toast?
Air fryer toast often has a crispier, more robust exterior compared to the uniform dryness of a pop-up toaster. Because of the convection airflow, the edges become very crunchy while the interior remains softer and more bread-like, providing a texture that is often preferred for gourmet sandwiches or topped snacks.
Is it safe to put parchment paper in the air fryer?
It is safe to use parchment paper to catch crumbs, provided it is weighed down by the food and cannot fly up into the heating element. Never use parchment paper on top of the bread, as it can easily be lifted by the fan, potentially causing a fire hazard.
Conclusion
Mastering the art of using an air fryer for your daily toast is a straightforward process that rewards experimentation. By focusing on temperature control, proper placement, and awareness of your bread’s unique density, you can achieve professional-quality results right on your kitchen counter. Whether you are aiming for a simple golden slice to accompany your morning coffee or crafting an elaborate cheese toast for a midday snack, this versatile appliance provides the speed and precision required for the job.
Start with a conservative time estimate and adjust based on your specific model to find your perfect toast texture. As you become more comfortable with the process, you will likely find that your traditional toaster becomes a relic of the past, leaving you with more counter space and better-tasting bread.


