

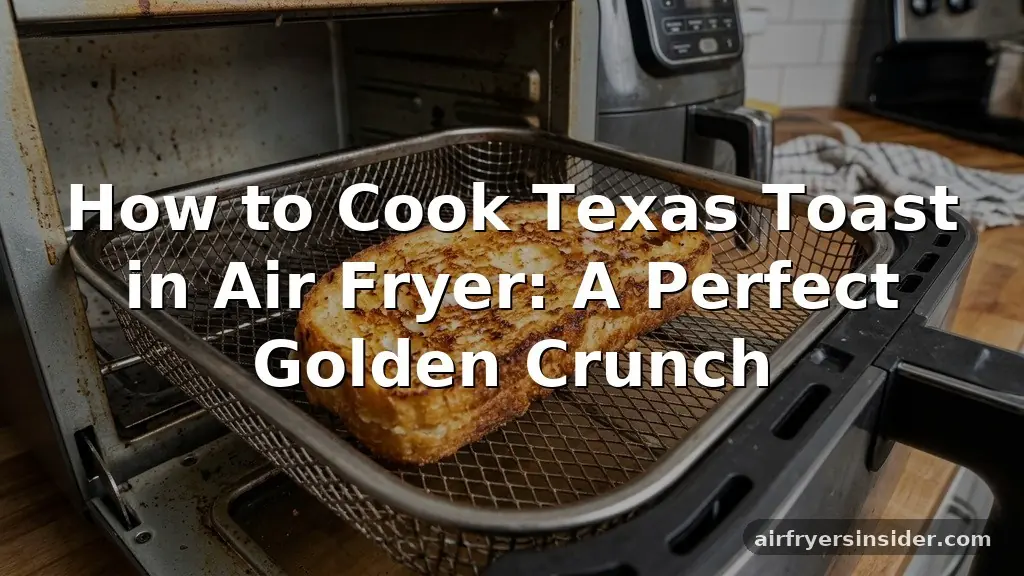
Mastering the art of cooking Texas toast in an air fryer is one of the simplest ways to upgrade your weeknight dinner. Unlike a traditional oven, which can take ages to preheat, the air fryer delivers that signature crispy exterior and soft, buttery center in just a few minutes.
Whether you are looking to achieve the perfect golden brown finish or simply trying to avoid heating up your entire kitchen on a hot summer evening, understanding how to manage your appliance settings is key. By following a few precise techniques, you can ensure your frozen bread slices come out perfectly toasted every single time without burning the edges.
Understanding the Mechanics of Air Frying Bread
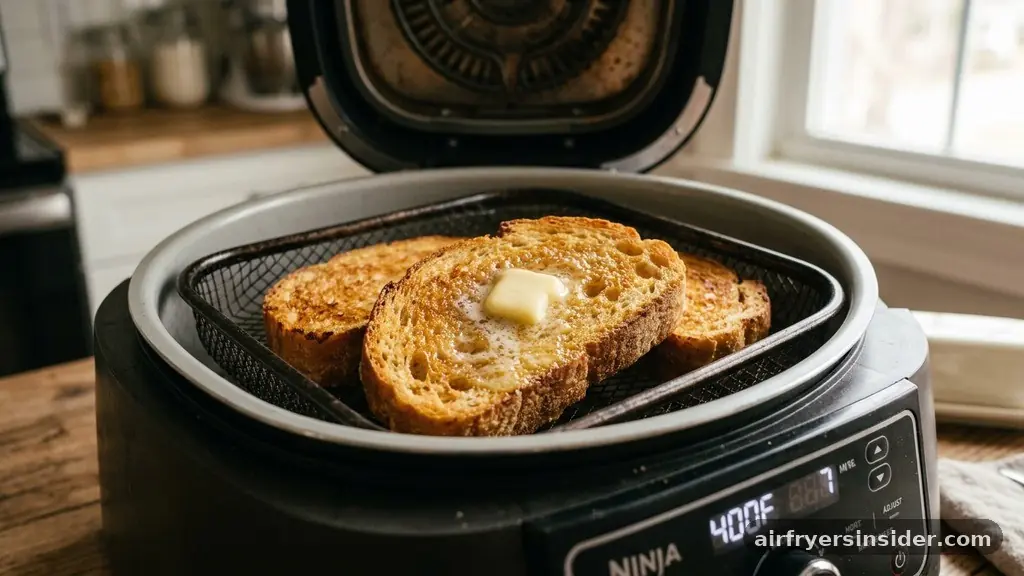
The primary reason air fryers excel at transforming frozen bread into a gourmet side dish is the intense convection heat they generate. Unlike a standard toaster, which relies on radiant heating elements, an air fryer uses a powerful fan to drive hot air directly against the surface of the food.
This rapid air circulation is responsible for the signature crispiness that makes Texas toast so appealing. Because Texas toast is significantly thicker than standard sandwich bread, the air fryer acts as a mini convection oven, ensuring that the butter spread penetrates deep into the crumb while the outer layer hardens into a delightful crust.
When you place your toast in the food basket, the hot air moves around the entire surface area of the bread simultaneously. This uniformity is why you get such consistent browning. However, because the appliance works so quickly, it is easy to overshoot the mark.
The bread thickness dictates how much heat reaches the center, so it is vital to monitor the cooking time closely. If the air circulation is blocked by overcrowding the basket, you may end up with uneven results where some parts remain doughy while others become overly dark.
Selecting the Right Temperature and Time
Finding the sweet spot for cooking Texas toast in an air fryer usually involves a balance between temperature and duration. Most brands of frozen garlic toast perform best at temperatures between 350°F and 375°F.
At 350°F, you allow the heat to penetrate the thick center of the bread before the garlic butter on the surface has a chance to turn bitter or burn. If you prefer a faster, crunchier result, bumping the heat to 375°F is acceptable, provided you reduce the time accordingly.
Generally, you should plan for a cooking time of four to six minutes. It is a common mistake to assume that because it is bread, it needs to cook for a long time. In reality, the high-velocity air does the work in a fraction of the time required by a toaster oven.
Start checking your toast at the four-minute mark. If you see the edges turning a deep golden brown, it is likely ready to come out. Remember that the bread will continue to firm up slightly for thirty seconds after you remove it from the heat, so pulling it out just before it looks “perfect” is often the best strategy for an ideal bread texture.
The Importance of Preheating and Appliance Settings
Many home cooks wonder if they really need to preheat their air fryer when preparing frozen items. While many modern models, such as the Ninja Foodi or Cosori, reach temperature almost instantly, preheating still plays a role in achieving that initial sear. When you drop frozen bread slices into a cold basket, the butter spread has a moment to melt and soak into the bread before the browning process begins.
This can sometimes lead to a soggy bottom. A quick three-minute preheat ensures that the air circulation is already at peak efficiency the moment the toast hits the rack.
If your appliance has specific settings, use the “Air Fry” or “Roast” function. Avoid “Bake” if you want a crunchier crust, as the fan speed is usually lower on the bake setting. You should also consider the placement of the toast.
If you are using a basket-style air fryer, place the slices in a single layer. If you have to stack them, you will inevitably end up with uneven browning. The goal is to maximize the surface area exposed to the hot air, which is exactly why air fryers are so effective at creating that professional-grade toast finish.
Managing Bread Thickness and Quality
Not all Texas toast is created equal. The thickness of the bread is the most significant variable when determining how long to cook it. Thick-cut varieties require slightly more time to ensure the internal temperature is high enough that the bread is warm and soft, rather than just having a hot crust and a frozen center.
If you are buying premium, extra-thick frozen loaves, you might need to add one extra minute to your cooking cycle. Conversely, thinner slices can dry out quickly, becoming more like a hard crouton than a soft, buttery side.
The quality of the garlic butter spread also impacts the final result. Some brands use real butter, while others rely on oil-based spreads. High-butter content spreads tend to caramelize more deeply under the influence of convection heat.
If you notice your toast is browning too fast, it is likely the sugars in the butter or the garlic seasoning. In these cases, dropping the temperature by 25 degrees will help you achieve the desired golden brown color without risking a burnt flavor profile.
Preventing Messes and Improving Cleanup
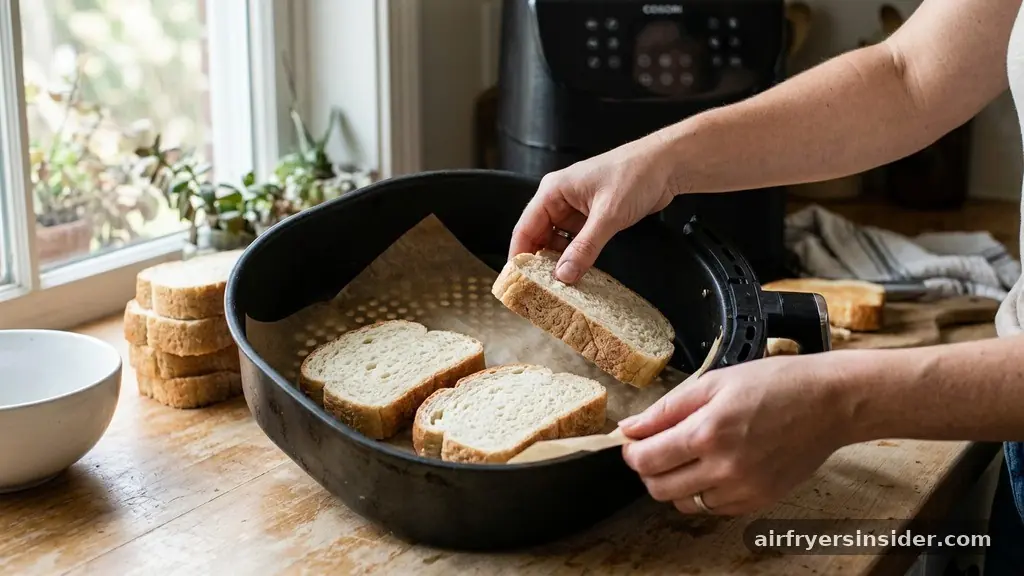
Using an air fryer can sometimes lead to a messy basket, especially when dealing with melting butter. While you don’t strictly need liners, using a piece of parchment paper can make cleanup significantly easier.
Ensure that the parchment paper is properly weighted down by the bread, or the fan may blow it into the heating element, which is a potential fire hazard. Never use wax paper, as it is not designed to withstand the high temperatures of an air fryer.
Non-stick spray is another tool in your arsenal, though it is often unnecessary for Texas toast because the bread is already coated in fat. If you are worried about the bread sticking to the rack, a very light mist of oil can help. However, be cautious; excessive oil can cause smoking during the cooking process.
If you find that your food basket is difficult to clean, it is usually a sign that you are cooking at too high a temperature or leaving the residue to cool before washing. Cleaning the basket while it is still slightly warm makes removing stubborn garlic butter much easier.
Addressing Common Cooking Challenges
Even experienced cooks run into issues when learning how to cook Texas toast in an air fryer. One of the most frequent problems is the “soggy center” syndrome. This happens when the outside of the bread cooks too quickly, sealing the surface before the moisture inside has a chance to evaporate.
To fix this, ensure your air fryer is not overloaded. If you are cooking for a crowd, do it in batches rather than cramming six slices into a space meant for four.
Another challenge is the “burnt edge” phenomenon. This often occurs when the toast is placed too close to the heating element in the top of the unit. If you have a smaller air fryer, your toast might be within an inch of the coils.
If this is the case, lower the temperature to 320°F and extend the time by a minute or two. This gentler heat will toast the bread thoroughly without turning the corners into charcoal. If you notice the edges browning much faster than the middle, try flipping the slices halfway through the cycle to ensure even heat distribution.
Topical Gaps: Safety and Reheating
There is often confusion regarding food safety and the reheating of bread products. When cooking frozen bread, the main concern is ensuring the center reaches a safe temperature. While bread is generally shelf-stable, the garlic butter spread often contains dairy, which must be heated through to maintain quality.
If you are reheating leftover toast, the process is much faster than the initial cook. Use a lower temperature, around 300°F, for about two minutes. This refreshes the texture without drying out the crumb.
Regarding safety, always ensure that your air fryer is placed on a heat-resistant surface with adequate clearance for ventilation. The air circulation requires the exhaust ports to remain clear. If the appliance is pushed up against a wall, the heat can build up, leading to inconsistent cooking and potential damage to your kitchen counters.
When it comes to food safety, never cook frozen bread that has been left out on the counter to thaw for more than two hours. Always move it directly from the freezer to the air fryer to prevent bacterial growth in the butter layer.
Comparative Cooking Methods
To understand why the air fryer is often preferred, it helps to compare it to other common kitchen appliance settings. The following table highlights the differences between common methods for preparing toasted bread products.
| Cooking Method | Time Required | Texture Result | Ease of Use |
|---|---|---|---|
| Air Fryer | 4-6 Minutes | Crispy edges, soft center | High |
| Toaster Oven | 8-12 Minutes | Uniformly toasted | Medium |
| Standard Oven | 15-20 Minutes | Dry, sometimes hard | Low |
As shown, the air fryer provides the most efficient balance. While the toaster oven is excellent for larger quantities, it lacks the raw power of the air fryer’s fan, which is what gives the toast its specific “bite.” The standard oven is simply too slow for a side dish, often resulting in bread that loses too much moisture, leading to a hard, cracker-like texture rather than the soft, pillowy interior characteristic of good Texas toast.
Serving Suggestions and Flavor Enhancements
Once you have mastered the basic technique, you can elevate your Texas toast with simple additions. Because the air fryer is so efficient, you can add toppings during the last minute of cooking without burning them.
A light sprinkle of parmesan cheese or a dash of dried parsley can transform a standard slice of frozen bread into a restaurant-quality side. If you are feeling adventurous, consider adding a thin slice of mozzarella cheese during the final thirty seconds to create a quick garlic cheese bread.
When serving, consider the accompanying meal. Texas toast is a classic partner for hearty dishes like pasta or grilled steaks, but it also works well as a base for open-faced sandwiches. If you are making a quick lunch, you can top the toasted bread with sliced tomatoes and a drizzle of balsamic glaze.
The key is to keep the toppings light so they don’t weigh down the crisp crust you worked so hard to achieve. By experimenting with these small additions, you turn a convenient freezer staple into a versatile component of your weekly menu.
Frequently Asked Questions
Do I need to flip the toast while it is in the air fryer?
Flipping is not strictly necessary if your air fryer has excellent airflow, but it does help ensure an even golden brown color. If you notice one side is browning faster, flip the slices halfway through the cooking time to guarantee consistency across both sides.
Can I cook multiple slices of Texas toast at once?
Yes, you can cook multiple slices, provided they are in a single layer. Avoid stacking them, as this blocks the air circulation and results in uneven cooking. If you need to cook a larger quantity, it is better to do so in two separate batches.
What should I do if the garlic butter starts to smoke?
Smoking usually indicates that the butter or seasonings are burning. This often happens if the temperature is set too high or if crumbs are burning at the bottom of the basket. Lower the temperature to 325°F and ensure the basket is clean before your next batch.
Is it possible to overcook frozen Texas toast?
Absolutely. Because air fryers use high-intensity convection heat, bread can go from perfectly toasted to burnt in less than a minute. Always keep a close eye on the toast as it nears the end of the recommended cooking time to prevent it from becoming too dry.
Conclusion
Perfecting the method for cooking Texas toast in an air fryer is a valuable skill for any home cook looking to save time without sacrificing quality. By focusing on consistent air circulation, keeping a close eye on the cooking time, and adjusting the temperature to suit your specific appliance, you can achieve that sought-after balance of a crispy, golden brown exterior and a soft, flavorful center. Remember that the secret lies in the details, such as not overcrowding the basket and monitoring the browning process closely during the final minutes.
With these techniques, you are well-equipped to turn a simple frozen item into a highlight of your next meal. Enjoy experimenting with different toppings and find the perfect rhythm that works for your kitchen setup.
Meta Description: Learn how to cook Texas toast in an air fryer for the perfect golden crunch. Discover tips on temperature, timing, and achieving that soft, buttery center.


