

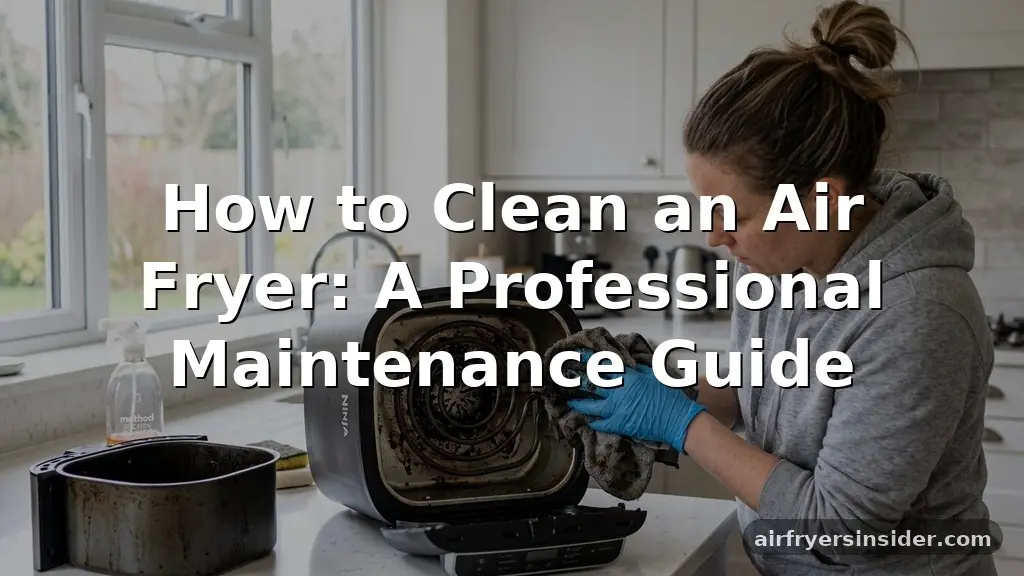
Maintaining your kitchen appliances ensures they operate efficiently and last for years, and knowing how to clean an air fryer is a critical part of that routine. While the convenience of rapid hot air circulation makes these devices a favorite for quick meals, they are notorious for accumulating stubborn grease and charred bits.
Regular sanitation prevents smoke during operation, eliminates lingering odors, and ensures your food retains its intended flavor. By following a systematic approach to degreasing and sanitizing both the removable components and the delicate interior housing, you can keep your unit in peak condition without damaging its performance-enhancing surfaces.
Why Consistent Air Fryer Maintenance Matters
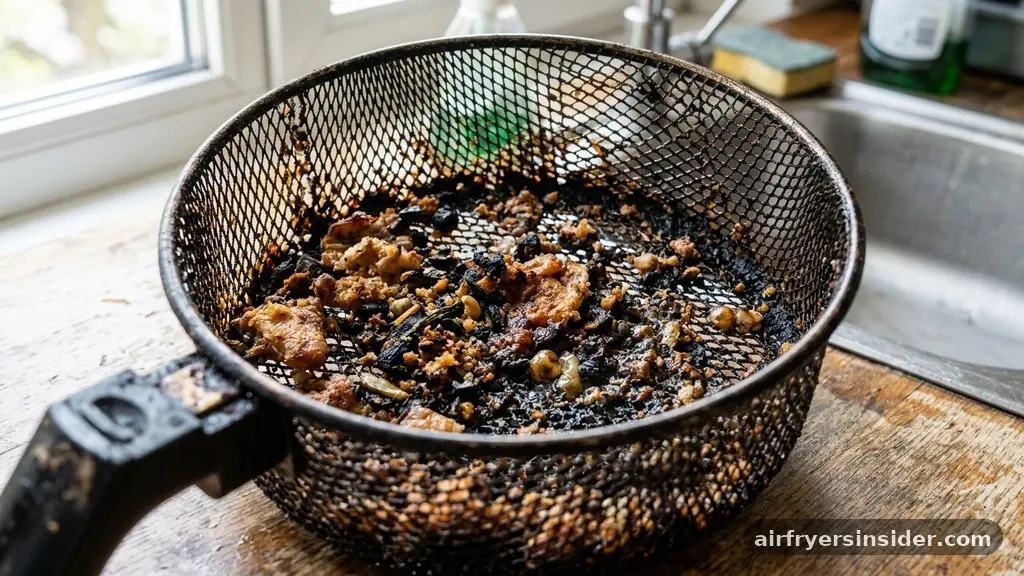
The primary reason for prioritizing the upkeep of your appliance is the prevention of smoke and fire hazards. When food particles and oil droplets settle inside the device, they become carbonized residue during subsequent cooking cycles.
This buildup not only produces an acrid, unpleasant smell but can also lead to excessive smoking, which is a common complaint among owners who neglect deep cleaning. Beyond safety, keeping the unit sanitary preserves the integrity of the non-stick coating often found on the air fryer basket and tray.
When grease is allowed to sit, it becomes increasingly difficult to remove, often requiring harsh scrubbing that can strip the protective finish. By establishing a frequent cleaning schedule, you avoid the need for abrasive scrubbing, which keeps the basket slick and easy to use.
Furthermore, a clean unit provides better airflow. When the fan blades and the heating area are clear of debris, the convection current remains consistent, ensuring your food cooks evenly and remains crispy rather than soggy.
Essential Supplies for Safe Cleaning
You do not need expensive proprietary chemicals to keep your device spotless. In fact, most manufacturers recommend simple, mild solutions that protect the finish of your appliance.
The core items required for effective appliance maintenance are usually already sitting in your pantry or under your kitchen sink. Using the correct tools is just as important as using the right cleaning agents, as you want to avoid damaging the internal components.
- Dish soap: A high-quality grease-cutting liquid is your best defense against oil buildup.
- Baking soda: Excellent for creating a paste to lift stubborn, stuck-on grime.
- White vinegar: Natural acidity helps dissolve mineral deposits and light grease.
- Soft-bristle brush: Ideal for reaching into tight corners without scratching surfaces.
- Microfiber cloth: Perfect for wiping down exterior surfaces and interior walls.
- Non-abrasive cleaner: Essential for maintaining the longevity of the non-stick coating.
Cleaning the Air Fryer Basket and Tray
The basket and tray are the components that encounter the most direct contact with food and oil. Because these parts are often coated in a non-stick material, you must avoid using steel wool or heavy-duty scouring pads, as these will permanently ruin the surface.
Start by removing the basket from the main housing. If the unit is still warm, wait for it to cool completely before attempting to wash it.
Soaking is often the most effective method for loosening grease buildup. Fill your sink with warm water and a generous amount of mild dish soap. Let the basket and tray soak for at least 15 to 20 minutes.
If there is particularly stubborn burnt-on food, create a paste using baking soda and a small amount of water. Apply this paste to the affected areas and let it sit for another 10 minutes before gently scrubbing with a soft sponge. Always rinse thoroughly to ensure no soap residue remains, which could impart a chemical taste to your next meal.
Tackling the Interior Chamber and Fan
The interior chamber is often the most overlooked part of the device. Over time, oil mist accumulates on the walls and the ceiling near the heating element.
To clean this area, ensure the unit is unplugged and completely cool. Use a damp microfiber cloth or a soft-bristle brush dipped in a mixture of warm water and a small amount of grease-cutting soap.
Be extremely careful when working around the heating element. Never use sharp objects to scrape this area, as you risk damaging the delicate coils. If there is significant buildup on the fan, you may need to use a damp cloth wrapped around a tool to reach the blades.
Always ensure the unit is completely dry before plugging it back in. Leaving moisture inside the housing can lead to electrical issues or corrosion over time. If you notice a persistent smell, a mixture of equal parts water and white vinegar can act as a natural degreaser when wiped onto the interior walls.
Removing Stubborn Carbonized Residue
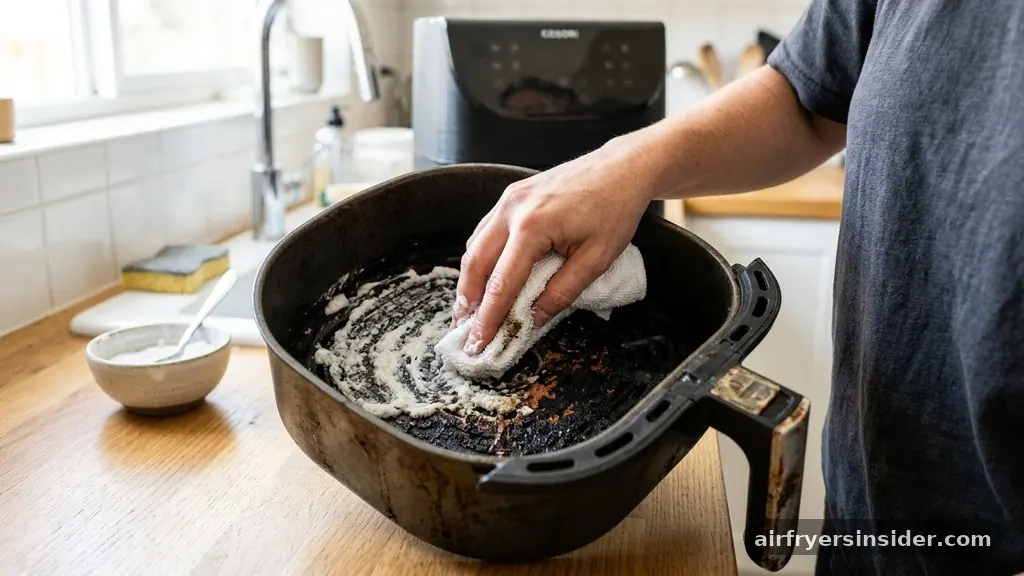
If you find that standard washing isn’t clearing the dark, baked-on spots, you are dealing with carbonized residue. This happens when oils reach their smoke point and bond to the metal or plastic surfaces.
Rather than resorting to abrasive force, use a chemical-free approach to lift the grime. A thick paste of baking soda and water applied to the spot and left to sit for half an hour will often soften the bond, allowing you to wipe it away with a damp cloth.
For extreme cases, placing a bowl of water with a few drops of lemon juice inside the basket and running the unit for a few minutes at a low temperature can help. The steam generated by this process softens the dried-on food particles inside the interior chamber, making them significantly easier to wipe away once the unit has cooled down. Always be mindful of the ventilation holes; never spray cleaning liquids directly into the vents or the fan housing, as this can introduce moisture into the sensitive electrical components.
Comparing Cleaning Methods
Different cleaning agents serve different purposes depending on the severity of the mess. The following table provides a quick reference for choosing the right approach based on the type of residue you are facing.
| Residue Type | Recommended Solution | Application Method |
|---|---|---|
| Light Grease | Warm Water + Dish Soap | Wipe with soft cloth |
| Stuck-on Food | Baking Soda Paste | Apply, soak, and scrub |
| Lingering Odors | White Vinegar | Wipe down interior walls |
| Heavy Buildup | Steam/Soak Method | Soak in warm soapy water |
Avoiding Common Cleaning Mistakes
Many users inadvertently shorten the lifespan of their air fryers by using improper cleaning techniques. One of the most common mistakes is the use of metal utensils to scrape off food.
Even if the food seems stuck, metal tools will scratch the non-stick coating, causing it to flake off into your food and eventually leading to more sticking. Stick to silicone, wood, or plastic tools when removing food or cleaning the basket.
Another frequent error is submerging the main unit in water. The main housing contains the motor, the heating element, and the electrical controls; it is not designed to be waterproof. Never put the main body of the air fryer in a dishwasher or sink.
Only the removable parts—the basket, the tray, and sometimes the rack—are typically dishwasher safe, but even then, hand washing is often recommended to extend the life of the non-stick coating. Finally, avoid using harsh industrial cleaners or bleach, as these can react with the materials of the appliance or leave toxic residues.
Addressing Topical Gaps: Safety and Long-term Care
A common concern involves how to clean the heating element specifically, as this is where most smoke originates. The best approach is to turn the unit upside down and use a damp cloth to wipe the coils gently. If you see black carbon spots, do not use an abrasive sponge or steel wool.
Instead, use a soft toothbrush dampened with a very mild soap solution to gently loosen the debris. Once the debris is loosened, wipe it away with a clean, damp cloth and then a dry paper towel.
Another gap in maintenance knowledge is the use of cooking spray. Many people spray their food while it is inside the basket, which leads to oil buildup on the basket sides and the interior walls.
To minimize cleaning time, spray your food with oil before placing it in the basket, or use a brush to apply oil lightly. This simple change in habit significantly reduces the amount of grease that ends up on the appliance surfaces, making your routine maintenance much faster and easier to manage.
Frequently Asked Questions
How often should I clean my air fryer?
For optimal performance and safety, you should clean the basket and tray after every use. A deep clean of the interior chamber, including the area around the heating element, should be performed once every two weeks or whenever you notice a buildup of grease or an unpleasant burning smell.
Is it safe to use a dishwasher for the basket?
Many air fryer baskets are labeled as dishwasher safe, but high heat and harsh detergents can degrade the non-stick coating over time. Hand washing with mild dish soap and a soft sponge is the recommended method to ensure the longevity of your appliance’s non-stick surfaces and overall structure.
What should I do if my air fryer smells like smoke?
A smoke-filled kitchen usually indicates that grease has accumulated on the heating element or in the bottom of the basket. Unplug the unit, let it cool, and perform a deep clean of the interior chamber and heating element. Ensure all food particles are removed to prevent further smoking.
Can I use a commercial oven cleaner on my air fryer?
No, you should avoid commercial oven cleaners. These products are often too harsh for the materials used in air fryers and can strip the non-stick coating or damage plastic components. Stick to mild dish soap, baking soda, and vinegar for a safe, effective, and food-safe cleaning process.
Maintaining Your Appliance for Longevity
Keeping your device in top shape comes down to consistency rather than intensity. By integrating a quick wipe-down into your post-cooking routine, you prevent the accumulation of grease that leads to difficult cleaning sessions later. Remember that the longevity of your air fryer depends entirely on how you treat its internal components, specifically the delicate non-stick surfaces and the heating element.
When you prioritize gentle cleaning methods and avoid abrasive tools, you ensure that your appliance remains a reliable, smoke-free tool in your kitchen for years to come. If you stay diligent with these small habits, you will find that the process of cleaning an air fryer is a simple, manageable task that supports a healthier and more enjoyable home cooking experience.


