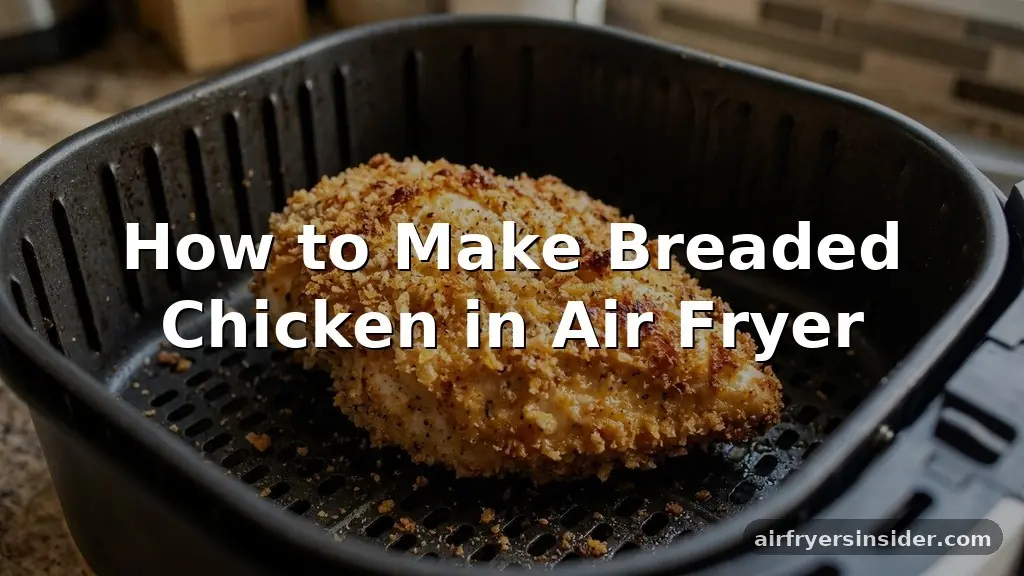
Learning how to make breaded chicken in air fryer allows you to enjoy the crunch of deep-fried food with significantly less oil. This method relies on hot air circulation to mimic the effects of a deep fryer, resulting in a texture that remains satisfyingly crisp while keeping the meat juicy. By following a few simple techniques regarding preparation and timing, you can transform standard poultry into a restaurant-quality meal right in your own kitchen.
The Science of Air Frying Chicken
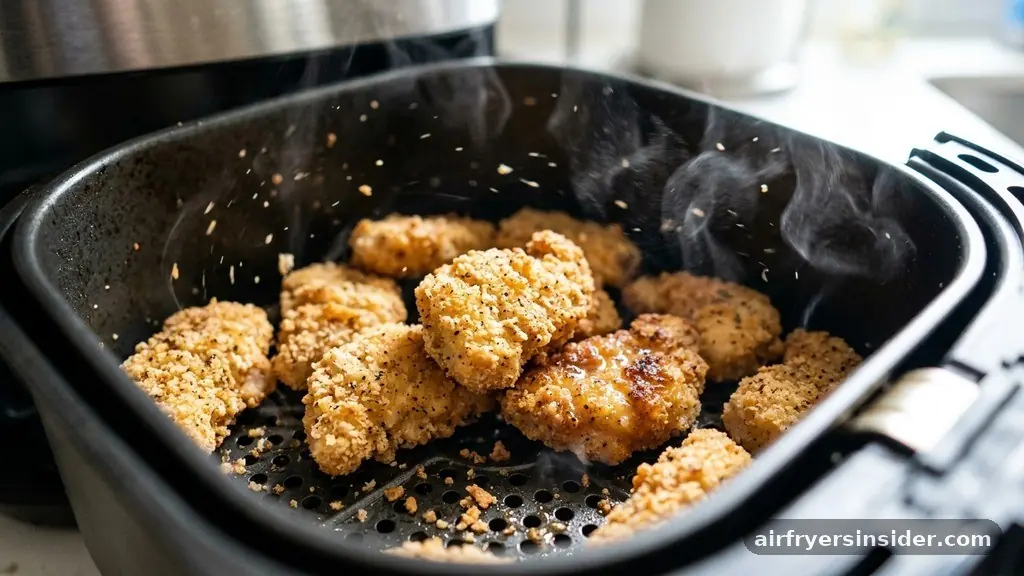
The secret behind a perfect crust lies in convection cooking. Unlike a traditional oven that relies on radiant heat, an air fryer uses a powerful fan to move superheated air rapidly around the food.
This intense air circulation is what triggers the Maillard reaction, the chemical process that browns the exterior of your protein and creates those complex, savory flavors we associate with fried food. When you are breading chicken for this process, the coating acts as a barrier that locks in moisture while the heat works to crisp the surface.
Achieving that signature golden brown finish requires more than just high temperatures. You must ensure the surface of the meat is relatively dry before applying your coatings to prevent a soggy crust.
Additionally, the use of an olive oil spray is essential. Because the air fryer doesn’t submerge the food in fat, a light misting of oil helps conduct heat more efficiently to the breadcrumbs, ensuring they toast evenly rather than drying out.
Setting Up an Efficient Breading Station
Consistency is key when preparing breaded proteins. To avoid messy fingers and uneven coatings, always organize a breading station before you begin.
You need three shallow bowls lined up in a specific order: the first for all-purpose flour, the second for beaten large eggs, and the third for your breadcrumbs. This assembly line approach ensures that each piece of chicken breast or chicken tenders is coated thoroughly without leaving gaps that might burn during the cooking process.
When dredging the chicken, start by coating it lightly in flour, shaking off the excess. This thin layer of flour acts as a glue, helping the egg wash cling to the meat.
Next, dip the piece into the egg, ensuring full coverage, and finally, press it firmly into the breadcrumbs. Using one hand for the wet ingredients and one hand for the dry ingredients will prevent your fingers from becoming coated in a thick, clumpy batter, which keeps the station clean and the breading process efficient.
Choosing the Right Coating Ingredients
The quality of your breading determines the final texture and flavor profile of your meal. While standard breadcrumbs work, using panko breadcrumbs is the gold standard for air frying.
These Japanese-style flakes are larger and airier, which allows more hot air to reach the surface of the chicken, resulting in a much crunchier bite. If you want to elevate the flavor, consider mixing in Parmesan cheese, Italian seasoning, garlic powder, or paprika.
You can also experiment with different binding agents or thickeners. For an even crispier result, some chefs add a tablespoon of cornstarch to the flour mixture.
This helps draw moisture away from the surface of the meat, ensuring that the crust stays rigid and crunchy even after the chicken is removed from the heat. Don’t be afraid to season your flour and breadcrumb layers separately; a little salt and pepper in each bowl ensures the flavor is layered throughout the entire crust rather than just sitting on the surface.
Optimal Temperature and Preheating Requirements
Many home cooks skip the preheating phase, but for the best results, it is a non-negotiable step. Just like a conventional oven, an air fryer needs to be at the target temperature the moment the food enters the basket.
By running the machine empty for three to five minutes at 375°F or 400°F, you ensure that the immediate contact with the heat source begins the crisping process instantly. This prevents the breading from absorbing too much oil or becoming gummy before it has a chance to set.
The ideal cooking temperature for most breaded chicken is between 375°F and 385°F. This range is high enough to induce browning without burning the exterior before the interior is fully cooked.
If you set the temperature too high, the breadcrumbs will darken prematurely, leaving the center of the chicken undercooked. If you set it too low, the chicken may dry out during the extended cook time needed to achieve a crispy exterior.
Managing Cook Times for Different Cuts
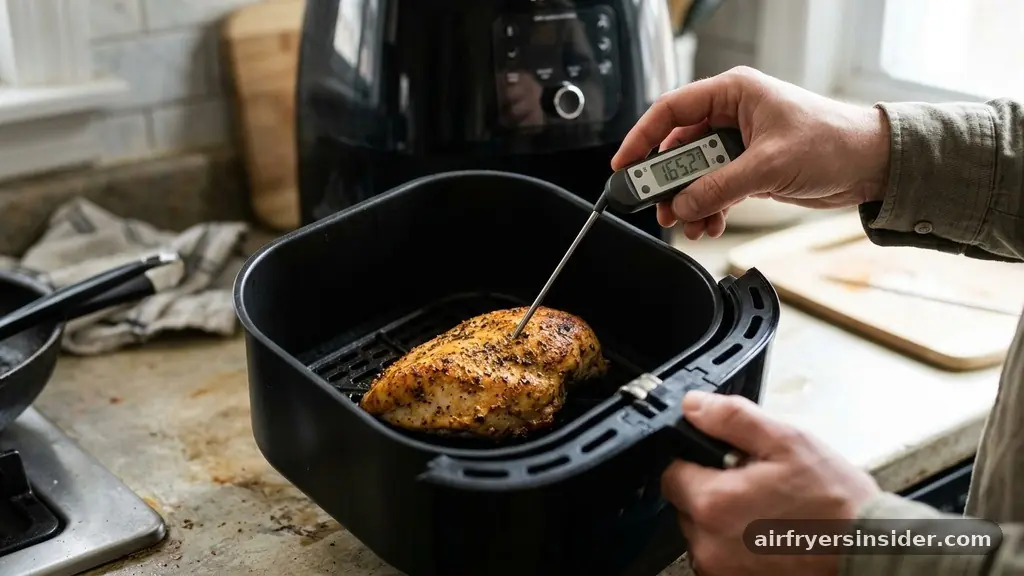
The amount of time your chicken spends in the air fryer depends heavily on the thickness of the meat. A whole chicken breast will obviously take longer than thin strips or tenders.
Generally, you should aim for a cook time of 12 to 18 minutes, flipping the pieces halfway through to ensure even browning. Below is a quick reference table to help you gauge the timing for common cuts.
| Chicken Cut | Estimated Time | Internal Temp |
|---|---|---|
| Chicken Tenders | 8-10 Minutes | 165°F |
| Thin Breast Cutlets | 10-12 Minutes | 165°F |
| Thick Chicken Breast | 15-18 Minutes | 165°F |
Regardless of the estimated time, always rely on a meat thermometer to verify that the chicken has reached an internal temperature of 165°F. This is the only way to guarantee food safety and avoid the risks associated with salmonella.
Insert the thermometer into the thickest part of the meat, avoiding the bone if present, to get an accurate reading. Relying on visual cues like color is never as safe as using a probe thermometer.
Avoiding Common Air Frying Pitfalls
Even with the best ingredients, air frying can be finicky if you don’t respect the physics of the machine. One of the most common mistakes is overcrowding the basket.
The air fryer works by forcing air through the gaps between food items; if the basket is packed too tightly, the air cannot circulate properly, and the chicken will steam rather than crisp. Always leave at least an inch of space between each piece to ensure every side gets hit by the hot air.
Another issue is the tendency for breading to blow off during cooking. Because the internal fan is quite powerful, it can sometimes lift the edges of the breadcrumbs.
To mitigate this, ensure you have pressed the breadcrumbs firmly into the egg wash during the dredging process. If you find the breading is still loose, try placing a small piece of parchment paper at the bottom of the basket, but be careful not to cover the entire surface, as this will block the airflow and defeat the purpose of the air fryer.
Addressing Topical Gaps in Air Fryer Cooking
You might wonder how to handle leftovers or how to reheat breaded chicken without making it mushy. The good news is that the air fryer is the ultimate tool for reheating. To restore the crunch, place the cold chicken back into the basket at 350°F for about 3 to 5 minutes.
The rapid heat will crisp up the exterior without overcooking the meat inside. Another common gap is the “white spot” issue, where breading looks pale. This usually happens when the oil spray doesn’t reach the underside of the chicken.
To solve this, flip the chicken once during the process and give the basket a quick shake or a light second misting of oil. If you are cooking a large batch, do it in shifts rather than cramming the basket.
Keeping your pieces in a single layer is the golden rule of air frying. If you are struggling with the chicken sticking to the basket, a light coating of cooking spray on the metal grate itself before you add the chicken is a simple and effective trick.
Seasoning and Flavor Profiles
While classic breaded chicken is delicious, you have a blank canvas when it comes to seasoning. You can adjust your dry mix to match almost any cuisine. For a Mediterranean flair, add dried oregano and lemon zest to your breadcrumbs.
If you prefer a spicy kick, mix cayenne pepper or chili flakes into the flour. Adding herbs like dried thyme or rosemary to the panko can also provide a sophisticated aroma that permeates the kitchen while the chicken cooks.
Remember that the egg wash is also a great place to add flavor. Whisking in a teaspoon of Dijon mustard or hot sauce can add a subtle depth that complements the breading.
Because air frying intensifies flavors, you don’t need to go overboard; a little goes a long way. Start with modest amounts of dry spices and taste your mixture before adding the chicken to ensure the balance is exactly where you want it.
Essential Tips for Success
- Always pat the chicken dry with paper towels before starting the breading process to ensure better adhesion.
- Use an oil spray with a high smoke point, like avocado or grapeseed oil, to avoid burning.
- If the chicken is too thick, pound it to an even thickness using a meat mallet to ensure it cooks at the same rate.
- Let the chicken rest for 2-3 minutes after removing it from the air fryer to allow the juices to redistribute.
- Avoid using wet batters like tempura, as they will drip through the basket; stick to flour-egg-crumb coatings for the best results.
Following these guidelines will help you master the process of making breaded chicken in air fryer. It is a rewarding skill that changes how you approach weeknight dinners, offering a healthier, faster, and often tastier alternative to traditional frying methods.
Frequently Asked Questions
How do I make sure the breading stays on the chicken?
To keep the breading intact, ensure the chicken is dry before flouring it. Press the breadcrumbs firmly into the egg-coated surface rather than just sprinkling them on. Avoiding overcrowding the basket also prevents the pieces from rubbing against each other, which keeps the crust crisp and firmly attached.
Can I use frozen breaded chicken in an air fryer?
Yes, you can cook frozen breaded chicken in an air fryer. Simply increase the cook time by about 25-50% compared to the package instructions for an oven. Ensure the internal temperature reaches 165°F to confirm it is fully cooked through and safe to eat.
Do I really need to use oil when air frying breaded chicken?
While you can technically cook without oil, using a light mist of olive oil spray is highly recommended. The oil helps the breadcrumbs brown and crisp up by conducting heat evenly. Without it, the breading may look pale, dry, or powdery rather than golden and crunchy.
What is the best way to prevent the chicken from drying out?
To keep the meat succulent, don’t overcook it. Use a meat thermometer to pull the chicken as soon as it hits 165°F. Additionally, using chicken thighs instead of breasts can provide more natural moisture, though breasts work perfectly fine if you monitor the timing closely and avoid excessive heat.
Final Thoughts
Mastering the art of making breaded chicken in air fryer is a game-changer for any home kitchen. By combining the right preparation steps—such as setting up a proper breading station and ensuring your chicken is dry—with the power of convection cooking, you can achieve professional results every time. Remember to prioritize food safety by using a thermometer and allow the meat to rest before serving.
This technique is not only efficient but also highly customizable, allowing you to experiment with various spices and breading textures to suit your personal preferences. Start with these foundational techniques, and you will soon find that you prefer this method over traditional frying. Enjoy your crispy, perfectly cooked chicken, and don’t hesitate to share your favorite seasoning combinations with friends and family.
Meta Description: Learn how to make breaded chicken in air fryer with this guide. Master the techniques for a crispy, golden crust and juicy meat every single time.