

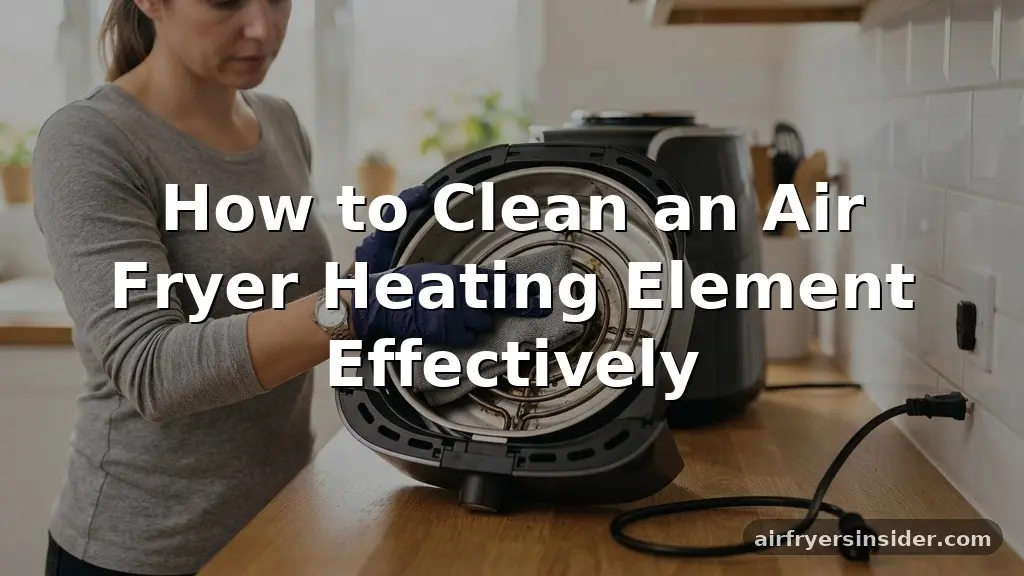
Cleaning an air fryer heating element often gets overlooked because it sits tucked away at the top of the unit, hidden from casual view. Over time, however, grease buildup and carbonized residue accumulate on these coils, which can lead to unpleasant smells, excessive smoke during operation, and uneven cooking performance.
Regularly maintaining this component is essential for both the longevity of your machine and the quality of your meals. By learning how to clean an air fryer heating element properly, you ensure your appliance runs efficiently while preventing the persistent odor of burnt fat from tainting your food.
Prioritizing Safety Before Maintenance
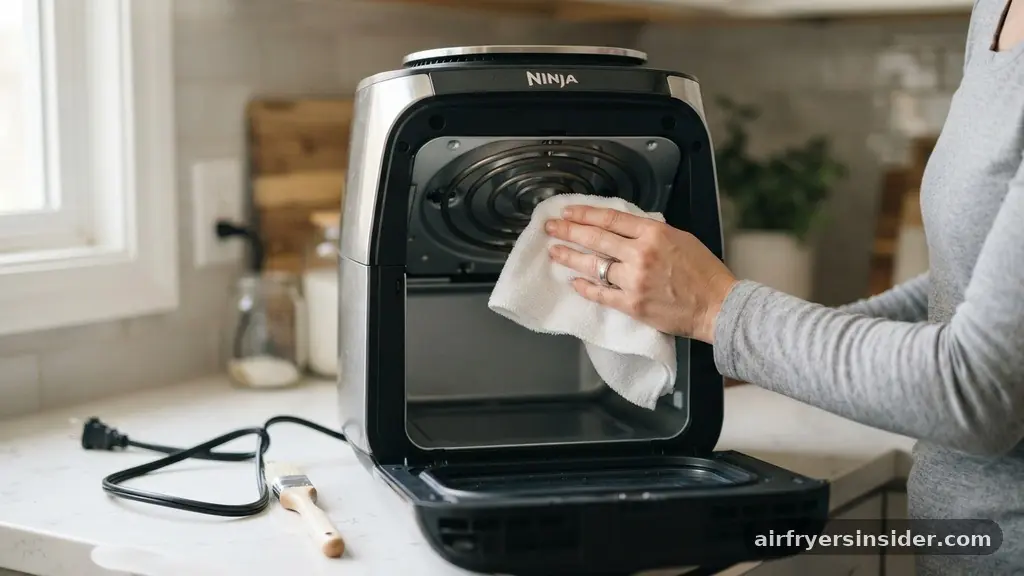
Before you touch any part of your appliance, you must prioritize electrical safety. The most critical step is unplugging the appliance from the wall outlet entirely. Never attempt to clean the heating coils while the device is plugged in, as this presents a significant shock hazard.
Furthermore, you must allow for a sufficient cooling period after your last cooking session. The metal components can reach extremely high temperatures, and attempting to clean them while they are still hot will cause burns and potentially damage your cleaning tools.
Once the unit is cool and disconnected, place it in a well-lit area where you have easy access to the interior roof of the chamber. Some users find it helpful to flip the air fryer upside down or on its side to get a better vantage point, but ensure the unit is stable before you begin.
Never submerge the main body of the air fryer in water, as this will destroy the electrical components and render the machine useless. Always treat the interior as a dry zone that requires manual, targeted cleaning rather than a full rinse.
Gathering the Right Cleaning Supplies
You do not need harsh chemicals to effectively remove baked-on debris. In fact, gentle, non-toxic cleaners are often better for the delicate metal surfaces of the heating coils.
Gather a few household essentials before you start: a small soft-bristled brush, a microfiber cloth, and a spray bottle filled with a mixture of warm water and a small amount of dish soap. If you are dealing with particularly stubborn stains, a paste consistency made from baking soda and water serves as a powerful, mild abrasive that won’t scratch the metal.
Avoid using steel wool or heavy-duty metal scrapers, as these will strip the protective coating off the heating element and lead to faster corrosion. A non-abrasive sponge is also useful for wiping down the surrounding walls of the chamber.
Having a few dry paper towels on hand is essential for final drying and ensuring that no moisture remains trapped near the electrical connections. Preparing your workspace with these items beforehand ensures that you won’t have to scramble for supplies once you are halfway through the process.
Removing Loose Food Debris
Before applying any liquid, start by removing the loose bits of food debris that may have gathered around the coils. Use your soft-bristled brush to gently dislodge any crumbs or charred particles that are stuck to the metal.
You might be surprised at how much loose material falls away simply by brushing the coils in a gentle, circular motion. If the debris is dry and flaky, it should come off quite easily.
If you cannot reach all angles, use a flashlight to inspect the back of the heating element. It is common for food particles to get trapped in the tight bends of the coils, where air circulation is restricted. Do not use excessive force, as you do not want to bend or misshape the coils.
If a particular piece of debris is stuck fast, do not pry at it with a metal object. Instead, focus on the areas you can reach and prepare to address the stuck-on residue with a cleaning solution in the next phase.
Managing Stubborn Grease Buildup
Grease buildup is the primary culprit behind smoke and odors during the cooking process. When fat splatters onto the hot coils, it turns into carbonized residue that is notoriously difficult to remove.
To tackle this, apply your cleaning solution—either a specialized degreaser or a mild soap-and-water mix—directly to a microfiber cloth rather than spraying it directly into the unit. This prevents excess liquid from dripping into the internal electrical components where it could cause a short circuit.
If you are using baking soda, apply the paste to the coils with your fingers or a soft brush and let it sit for about 10 to 15 minutes. The baking soda acts as a mild abrasive that helps lift the burnt fat without damaging the underlying metal. After the wait time, use the damp cloth or sponge to wipe the paste away.
You may need to repeat this process several times if the grease has been building up for months. Consistency is key here; it is much easier to perform a light cleaning once a month than to scrub away heavy, hardened layers of grime once a year.
Using Vinegar for Deep Sanitation
White vinegar is an excellent, non-toxic cleaner for air fryers because it cuts through grease and helps neutralize lingering food smells. If your heating coils have a persistent burnt odor, a vinegar-based treatment can be highly effective.
Mix equal parts white vinegar and warm water in a spray bottle. Lightly mist your microfiber cloth—again, never spray directly into the unit—and scrub the coils gently.
The acidity of the vinegar helps break down the chemical bonds of the burnt fat, making it easier to wipe away. If you find the smell of vinegar too strong, rest assured that it evaporates quickly and will not leave a scent on your food once the appliance is fully dried.
This method is particularly useful for those who prefer to avoid commercial chemical degreasers. Always follow up with a plain water rinse on a clean cloth to ensure no acidic residue is left on the coils before you turn the heat back on.
Cleaning the Surrounding Chamber
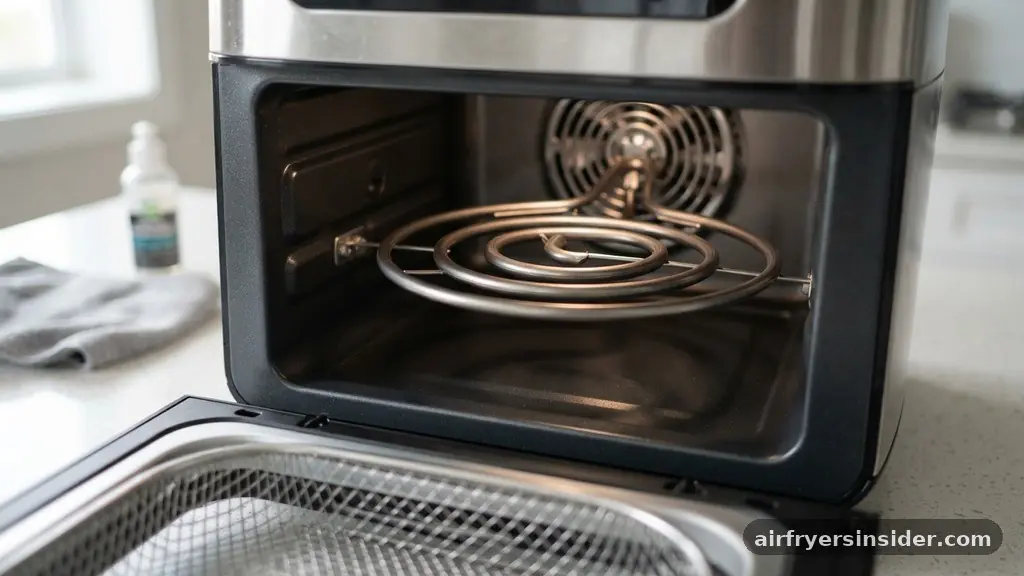
While you are focusing on the heating element, take a moment to clean the entire interior roof of the air fryer. Heat and air circulation often carry grease upward, coating the ceiling and the fan guard.
If you leave the ceiling dirty, it will continue to smoke, even if the coils themselves are clean. Use your non-abrasive sponge and a bit of warm soapy water to wipe down these surfaces thoroughly.
Be cautious around the fan blades, as they are often made of thin metal and can be fragile. Wipe each blade carefully and ensure no soap residue remains behind.
If the ceiling is heavily coated, you can use the same baking soda paste technique mentioned earlier. The goal is to return the entire interior chamber to a clean, reflective state, which improves the efficiency of heat reflection and ensures your food cooks evenly every time.
When to Avoid Harsh Solvents
Many people wonder if they can use isopropyl alcohol to clean their air fryer heating element. While alcohol is a fantastic disinfectant and evaporates rapidly, you must use it with extreme caution.
If you choose to use it, ensure the appliance is completely cool and that the area is well-ventilated. Only use a tiny amount on a cloth to spot-clean specific, stubborn grease patches.
Never soak the heating element in alcohol, as it can be flammable if the unit is turned on before the liquid has completely evaporated. Furthermore, some manufacturers advise against using strong solvents on their specific heating materials, as it could degrade the finish.
If you are unsure, stick to dish soap and baking soda. These are universally safe for almost all air fryer models and provide excellent results without the risks associated with volatile chemical solvents.
Comparison of Cleaning Methods
Different cleaning agents offer varying levels of efficacy depending on the type of residue you are facing. Use the table below to decide which approach is best for your current situation.
| Cleaning Method | Best For | Safety Level |
|---|---|---|
| Dish Soap & Water | Light, daily maintenance | Very High |
| Baking Soda Paste | Heavy, burnt-on carbonized residue | High |
| White Vinegar Solution | Removing odors and light grease | High |
| Isopropyl Alcohol | Final sanitizing (use sparingly) | Moderate |
Topical Gaps: Addressing Common Concerns
A common question that often goes unanswered is how to handle a heating element that has become slightly misshapen or loose. If the coils appear to be drooping or touching each other, you should consult your manufacturer’s manual before attempting to bend them back. In many cases, the coils are designed to have a slight flex, but they should never touch the metal housing of the unit.
If you suspect an electrical fault, such as the element not heating up at all or sparking during use, do not attempt to clean it or repair it yourself. These symptoms indicate a failure of the internal wiring, which requires professional servicing or a full replacement of the unit.
Another common concern involves the smoke point of the residue left on the coils. When you cook at high temperatures, any remaining food particles will reach their smoke point quickly, leading to that characteristic acrid smell.
If your air fryer smokes during normal operation, it is almost certainly a sign that the heating element or the ceiling of the chamber needs a thorough cleaning. By maintaining a schedule of cleaning every 5 to 10 uses, you can prevent the residue from ever reaching the point where it becomes a fire hazard or a nuisance.
Troubleshooting and Maintenance Habits
To keep your appliance in top shape, consider adopting a few simple habits that minimize the need for heavy scrubbing. First, always ensure your food is not overfilled in the basket.
When food is too close to the heating element, it is prone to splattering grease upward, which leads to faster buildup. If you are cooking fatty foods like chicken wings or bacon, consider placing a small piece of parchment paper or a metal splatter guard beneath the basket if your model allows for it.
Furthermore, always allow the air fryer to run for a minute or two after removing your food. This helps the fan circulate air through the empty chamber, which can help dry out any moisture or light grease droplets that settled on the coils during cooking. If you notice a persistent smell even after deep cleaning, check the air intake vents on the back of the unit.
Sometimes, dust and grease collect in the vents, which can also contribute to the smell of burning during operation. Keeping the exterior and vents clean is just as important as maintaining the internal heating element.
Frequently Asked Questions
Can I use water to clean the heating element?
Yes, you can use a damp cloth, but never pour water directly onto the heating element. Always ensure the cloth is wrung out so it is merely damp, not dripping. Moisture must never enter the internal electrical components, as this can cause permanent damage and safety hazards.
How often should I clean the heating element?
You should inspect the heating element every 5 to 10 cooking sessions. If you notice visible grease or dark carbonized residue, it is time to clean it. Regular maintenance prevents heavy buildup, which is much easier to remove than hardened, baked-on grease that has accumulated over several months.
Is it safe to use a knife to scrape off burnt food?
No, you should never use a knife or any metal tool to scrape the heating element. Metal tools will scratch or strip the protective coating on the coils, which can lead to corrosion and future performance issues. Always use a soft-bristled brush, a microfiber cloth, or a non-abrasive sponge.
What if my air fryer still smells like burnt food after cleaning?
If the smell persists, you may have missed residue on the ceiling of the chamber or the fan blades. Thoroughly wipe down the entire interior roof. If the smell remains after a deep cleaning of the internal surfaces, check the air intake and exhaust vents for trapped debris or grease.
Conclusion
Maintaining your kitchen appliances is a simple way to improve the quality of your cooking and extend the life of your equipment. Learning how to clean an air fryer heating element is a straightforward process that pays off in fresher, better-tasting food and a safer kitchen environment. By using gentle, non-toxic methods like baking soda and vinegar, you can effectively manage grease and carbon buildup without the need for harsh chemicals.
Remember to prioritize safety by unplugging the unit and ensuring it is fully cooled before you begin. With consistent attention and a soft touch, your air fryer will continue to provide delicious results for years to come. If you have any specific tips or tricks that have worked for your particular model, feel free to share your experiences and keep the conversation going.
Meta Description: Learn how to clean an air fryer heating element effectively using safe, non-toxic methods to remove grease buildup and prevent smoke during cooking.


