

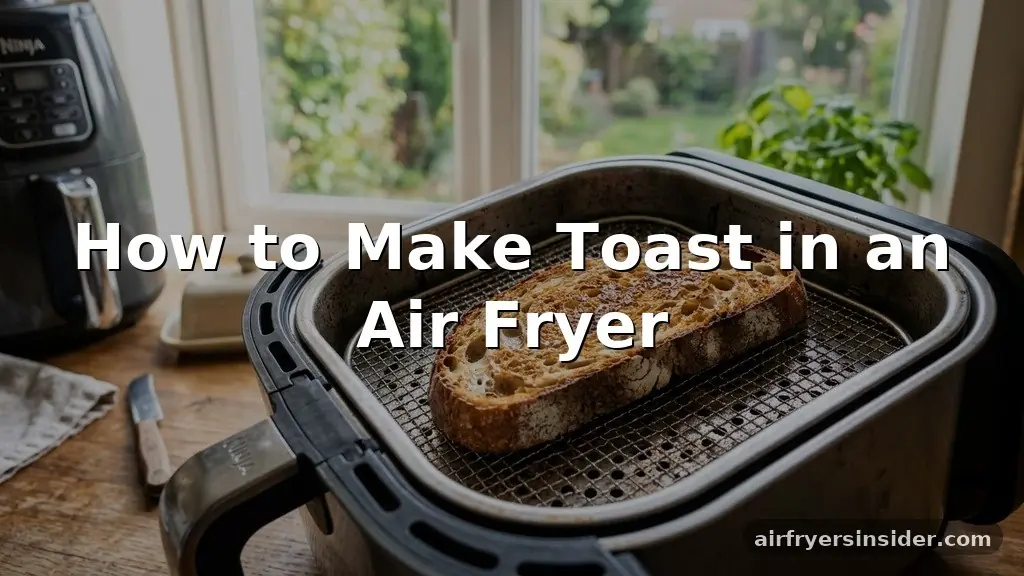
Learning how to make toast in an air fryer is a surprisingly effective way to upgrade your breakfast routine, especially if your traditional toaster is on the fritz or you want more control over the texture. By leveraging the intense, rapid airflow of a convection-style appliance, you can achieve a level of crunch that standard heating elements often struggle to replicate.
Whether you are looking for a quick slice of plain toast to pair with jam or you want to experiment with gourmet toppings, the air fryer offers a versatile environment for browning bread perfectly. This method works by circulating hot air around the slice, ensuring that every edge receives equal attention.
The Mechanics of Air Frying Bread
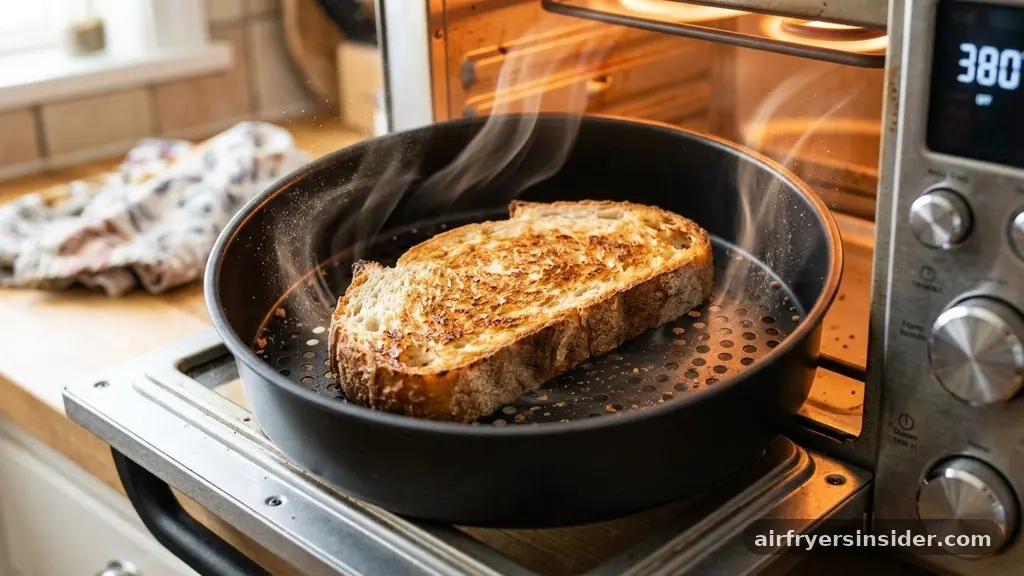
At its core, an air fryer acts like a high-powered mini convection oven. Unlike a standard toaster that uses radiant heat from wire coils, an air fryer uses a powerful fan to drive hot air into every corner of the cooking chamber.
This constant movement of heat is what makes the surface of your bread so uniformly crispy. When you place a slice of bread inside, the intense airflow rapidly evaporates moisture from the outer layer, creating that desirable golden-brown exterior while keeping the center relatively soft.
Understanding this process is vital for success. Because the air circulation is so efficient, bread can go from perfectly toasted to burnt in a matter of seconds. You are essentially using forced convection to dehydrate the surface of the bread quickly.
This is why you must pay close attention to the cooking duration. If you leave the basket unattended, the high-velocity air might cause the bread to flutter or even fly up and hit the heating element, which is a common hazard when dealing with lightweight slices. Always ensure your bread is substantial enough to stay put or use a rack to hold it down.
Determining Temperature and Cooking Time
Mastering the balance of temperature and time is the most critical skill for anyone learning how to make toast in an air fryer. Most air fryers are pre-set with aggressive heating profiles, so you usually do not need to use the maximum temperature setting.
For the best results, aim for a temperature between 350°F and 375°F. This range is high enough to facilitate the Maillard reaction—the chemical process that gives toasted bread its flavor and color—without scorching the surface before the heat can penetrate.
Cooking duration varies depending on your specific appliance’s wattage and the thickness of the bread. As a general rule, start with three minutes. Check the progress, flip the slice if necessary, and add another minute if you prefer a darker, crunchier finish.
Thinner slices of white bread will naturally toast much faster than a thick, hearty slice of sourdough or a dense piece of rye. Always monitor the browning process during that last minute to ensure you hit your personal preference for crispiness.
Selecting the Right Bread Types
Not all bread is created equal when it comes to the air fryer environment. While standard sandwich bread works perfectly fine, the appliance truly shines when you use it for heartier options.
Artisan bread, with its open crumb and thick crust, develops a wonderful texture when exposed to the intense heat of an air fryer. Sourdough is another fantastic candidate because its natural tang and structural integrity hold up well against the rapid airflow.
If you are using very thin, light bread, you might find that it dries out too quickly, becoming hard rather than toasted. To combat this, consider slightly increasing the temperature and reducing the time.
Conversely, if you are working with thick, moisture-rich loaves, you may need to extend the cooking duration slightly. Below is a quick comparison of how different bread types generally behave in the air fryer:
| Bread Type | Optimal Temp | Estimated Time |
|---|---|---|
| Standard White | 350°F | 2–3 minutes |
| Sourdough | 375°F | 3–4 minutes |
| Artisan Loaf | 375°F | 4–5 minutes |
Tips for Even Browning
Achieving a uniform color across the entire surface of the bread can be tricky due to the way air flows in the basket. The air typically enters from the top, meaning the top side of the bread will brown significantly faster than the side touching the bottom of the basket.
To fix this, always flip your bread halfway through the cooking cycle. This simple action ensures both sides get equal exposure to the hot air, leading to a much more professional-looking result.
Another way to improve your results is to avoid overcrowding the basket. If you stack slices or overlap them, the airflow is restricted, which prevents the heat from reaching every part of the bread. This leads to “soggy spots” where the bread remains pale and soft.
Give each piece enough space to breathe. If you are making toast for a large group, it is much faster to cook in batches than it is to try and force too many slices into the unit at once.
Addressing Topical Gaps: Safety and Maintenance
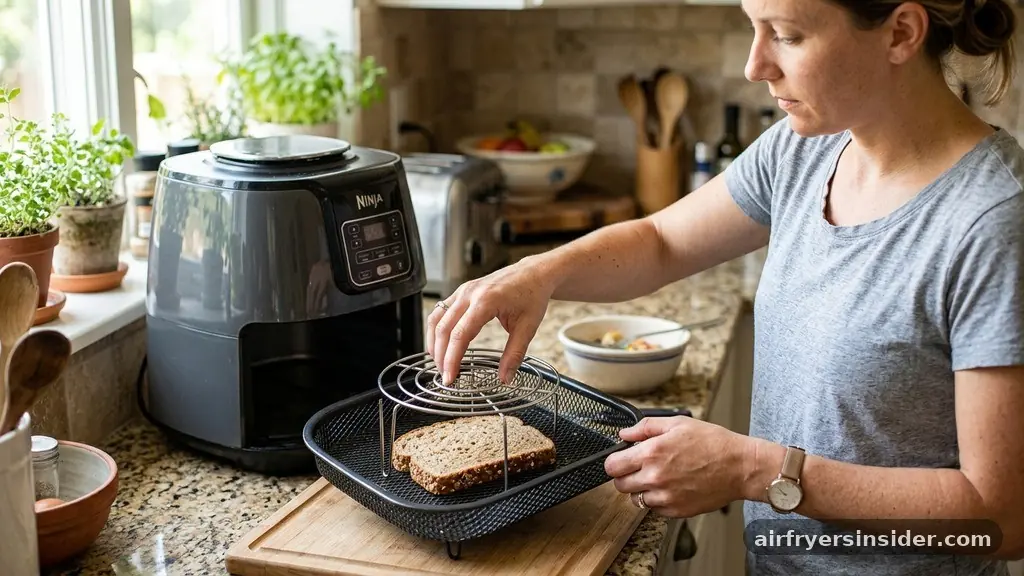
One common concern when learning how to make toast in an air fryer is the risk of the bread becoming airborne. Because the fan is so powerful, light slices can get caught in the updraft and hit the heating element, which creates a fire hazard and leaves a burnt, smoky taste.
To prevent this, you can place a small metal rack or a specialized air fryer accessory on top of the bread to weigh it down. This keeps the slice stationary while still allowing the hot air to circulate around it.
Another often-overlooked point is the cleanliness of your basket. If there are crumbs left over from previous meals, they can burn and create smoke during the toasting process. Always wipe out the basket before you start.
Additionally, some people wonder if they should use parchment paper. While it is useful for sticky foods, it is generally unnecessary for toast. In fact, if the paper is not weighted down by the bread, it can also get sucked into the heating element, which is a significant safety risk.
Cheese Toast and Melts
To make cheese toast in an air fryer is to discover one of the appliance’s greatest hidden talents. Unlike a toaster, which can only heat the bread, the air fryer can toast the bread and melt the cheese simultaneously.
To get the best results, toast your bread for about two minutes first to get it started. Then, carefully pull the basket out, add your cheese, and return it to the air fryer for another minute or two until the cheese is bubbling and slightly browned.
If you are adding toppings like thinly sliced tomatoes or meats, place them on the bread alongside the cheese. The air circulation will crisp the edges of the toppings while ensuring the cheese melts perfectly into the bread.
This technique is excellent for quick lunches or late-night snacks. Just be sure to watch the cheese closely, as it can go from melted to burnt very quickly once the moisture has evaporated.
Adding Toppings and Variations
Once you have mastered the basic technique, the possibilities for variations and specialty toasts are nearly endless. You can treat the air fryer like a small oven to roast seeds, nuts, or even garlic to spread on your toast before or after it browns.
For sweet versions, try brushing the bread with a little melted butter and cinnamon sugar before toasting. The butter helps create a deeper golden-brown color and adds a rich, savory component that elevates the final product.
You can also experiment with different oils or spreads. Olive oil works beautifully for savory toast, providing a nice crunch and a subtle flavor that pairs well with herbs.
If you prefer buttered toast, it is often better to apply the butter after the toasting process to prevent it from dripping into the bottom of the basket and causing unnecessary smoke. However, if you want that deep, fried-bread texture, a light coating of butter beforehand can work, provided you keep a close eye on the heat.
Essential Tools for Success
While you do not need much to get started, a few basic tools can make the process easier. A pair of silicone-tipped tongs is essential for flipping your bread without scratching the non-stick coating of your air fryer basket.
If your appliance has a large basket, having a small, heat-safe metal rack can help keep your bread in place. This is especially helpful if you are toasting smaller pieces like bagels or English muffins, which are more susceptible to being moved by the fan.
* Silicone tongs for safe handling.
* A heat-resistant metal rack to keep bread flat.
* A small brush for applying butter or oil evenly.
* A set of heat-proof gloves for removing the hot basket.
Using these tools ensures that you maintain control over the cooking process and keeps your equipment in good condition. By treating the air fryer with the same care you would a traditional oven, you can consistently produce high-quality toast that rivals anything made in a conventional appliance.
Frequently Asked Questions
Is it better to air fry or toast bread?
Air frying is generally better if you want a very specific texture or if you are making cheese toast. It provides a more uniform, convection-style crunch compared to a standard pop-up toaster. However, a traditional toaster is faster for simple, plain slices.
How long do you air fry a piece of toast?
On average, you should air fry a slice of bread for 3 to 4 minutes at 350°F to 375°F. The exact duration depends on the thickness of the bread and your personal preference for color. Always check it after the first two minutes.
Is there a toast setting on an air fryer?
Most air fryers do not have a dedicated “toast” button. You must manually set the temperature and time. Use the manual settings to control the heat levels, as the standard air fry mode is perfectly capable of browning bread effectively.
Can I put butter on the bread before air frying?
Yes, but you must be careful. Butter can drip into the bottom of the basket, creating smoke. It is often safer to apply butter after toasting, but if you want that specific fried texture, use a very light coating and monitor the bread closely.
Mastering how to make toast in an air fryer is a simple way to get more utility out of your kitchen appliances. By understanding the importance of airflow, monitoring your cooking duration, and using the right bread types, you can achieve a consistent, golden-brown crunch every single time. The ability to melt cheese or add toppings makes the air fryer a far more versatile tool than a standard toaster, allowing you to move beyond basic breakfast slices and into more creative culinary territory.
As you become more comfortable with the process, you will likely find that this method becomes your preferred way to prepare bread, especially when you need that perfect, crispy finish. Keep experimenting with different temperatures and bread varieties to find your ideal toast, and don’t hesitate to share your favorite topping combinations with others.
Meta Description: Learn how to make toast in an air fryer with this detailed guide covering temperature, timing, bread types, and tips for achieving the perfect crunch.


