

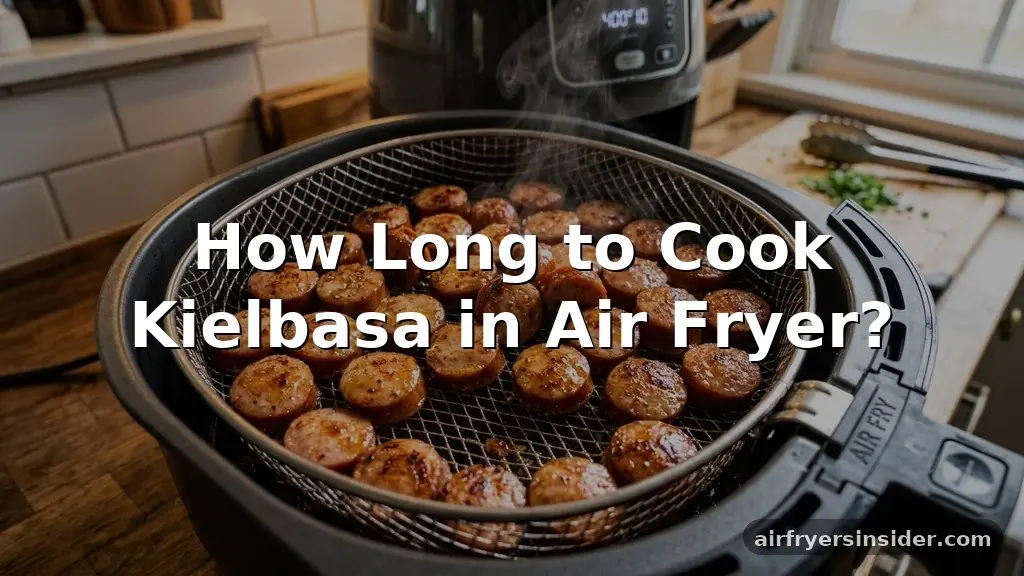
Figuring out exactly how long to cook kielbasa in air fryer units doesn’t have to be a guessing game. Because kielbasa is usually pre-cooked, your primary goal is to heat it through while achieving that signature crispy casing. Whether you are prepping a quick weeknight dinner or a savory snack, mastering the timing ensures you get the perfect texture without drying out the interior.
By following a few straightforward steps, you can transform this humble sausage into a meal that feels intentional and delicious. Let’s look at the best methods for getting it right every single time you fire up your appliance.
Understanding the Basics of Air Frying Kielbasa
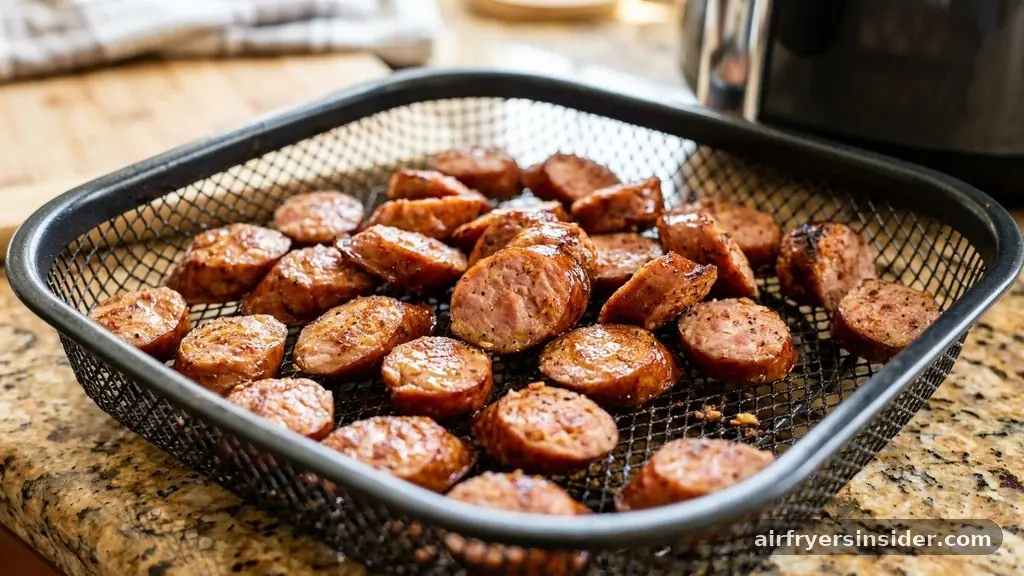
When you decide to cook kielbasa, you are likely working with a versatile ingredient that is already smoked or cured. Because it is pre-cooked, you aren’t fighting the clock to ensure internal safety in the same way you would with raw chicken or ground pork.
Instead, your focus shifts to texture. You want the outside to develop a slight snap and a golden-brown hue while the inside stays juicy and warm.
Most air fryers circulate hot air rapidly, which makes them essentially high-powered convection ovens. This environment is perfect for sausage. The fat content in kielbasa renders slightly, basting the meat from the inside out.
If you leave it in for too long, however, the casing can become tough or leathery. If you pull it too early, you lose that satisfying crunch. Finding the sweet spot is key to a restaurant-quality finish at home.
Optimal Cooking Times and Temperatures
To achieve the best results, you should aim for a temperature of 375°F (190°C). This setting provides enough heat to crisp the skin quickly without scorching the exterior before the center is heated through. If you prefer a more aggressive char, you can bump the heat up to 400°F, but you must reduce the time significantly to prevent burning.
A standard whole rope of kielbasa usually takes about 8 to 12 minutes to reach the ideal level of crispness. If you slice the sausage into coins, the surface area increases, allowing for faster cooking.
Sliced kielbasa typically only needs 5 to 7 minutes. Regardless of how you cut it, shaking the basket halfway through is essential to ensure even airflow and consistent browning on all sides of the meat.
| Cut Style | Temp | Time |
|---|---|---|
| Whole Rope | 375°F | 8-12 Minutes |
| Sliced Coins | 375°F | 5-7 Minutes |
| Chunks/Pieces | 375°F | 6-8 Minutes |
Preparation Steps for Maximum Flavor
Even with a simple process, preparation matters. Before you place the sausage in the air fryer, pat it dry with a paper towel. Moisture is the enemy of crispness.
If the surface of the kielbasa is wet, it will steam rather than sear, leading to a limp or rubbery casing. If you are slicing the sausage, try to keep the pieces roughly the same size so they finish at the same time.
Some people prefer to lightly coat the sausage in a very small amount of oil, although this is optional. Because kielbasa is naturally fatty, it usually produces enough of its own oil to crisp up nicely. However, if you are adding other ingredients like potatoes or peppers to the basket, a light toss in olive oil can help those vegetables roast properly alongside the meat.
Common Mistakes to Avoid
One of the most frequent errors is overcrowding the basket. If you stack the pieces of sausage, the air cannot flow around them. This leads to uneven heating where some pieces are burnt and others are barely warm.
Always arrange the kielbasa in a single layer. If you have a large amount to cook, it is better to do it in two batches rather than forcing it all into one.
Another mistake is ignoring the internal temperature check if you are unsure. While most kielbasa is pre-cooked, some varieties come raw. If you are using fresh, raw kielbasa, you must use a meat thermometer.
The internal temperature should reach at least 160°F to ensure it is safe to eat. Don’t rely solely on the color of the casing, as smoke-cured sausages can look darker than they actually are.
Serving Suggestions and Pairings
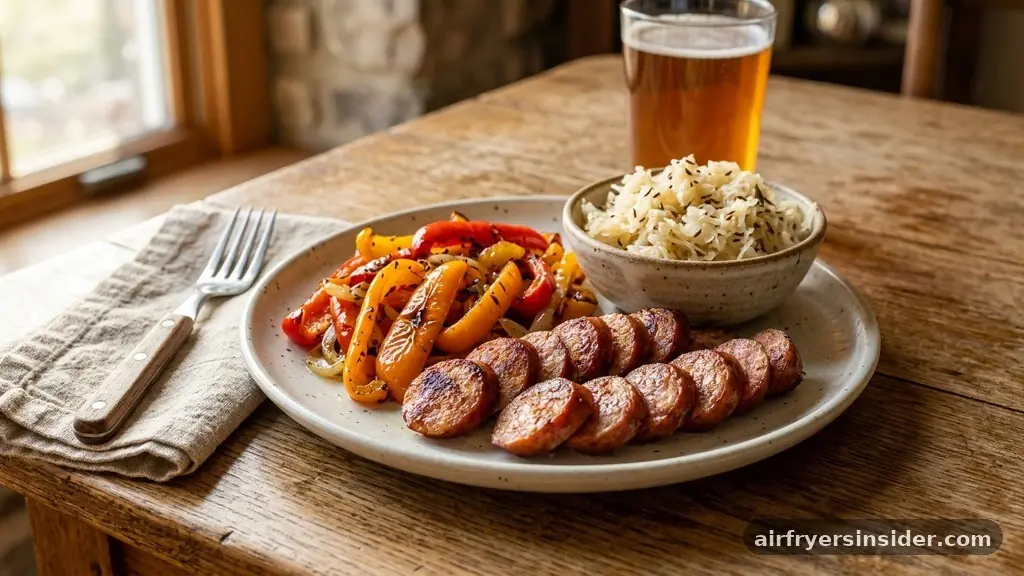
Once the kielbasa is perfectly browned, consider serving it alongside classic accompaniments that complement its savory profile. Because the sausage is salty and rich, it pairs beautifully with acidic or sweet sides that balance the palate. Mustard is a traditional condiment, but you can get creative with your plating.
- Roasted Vegetables: Bell peppers, onions, and zucchini all benefit from the drippings of the sausage.
- Grain Salads: A cold quinoa or farro salad provides a nice textural contrast to the hot, crispy meat.
- Sauerkraut or Pickled Cabbage: The sharp tang cuts through the fat, highlighting the smoky notes of the meat.
- Potato Salad: A vinegar-based German-style potato salad works better than a heavy mayo-based version.
Addressing Topical Gaps: Raw vs. Pre-Cooked
A common point of confusion is the difference between handling smoked, pre-cooked kielbasa and fresh, raw versions. If you are buying your sausage from a deli or a butcher, always ask which type it is. Pre-cooked varieties are essentially ready to eat, so your time in the air fryer is purely for texture and flavor development.
Raw kielbasa, on the other hand, requires careful monitoring. You cannot rush the process. If you cook it at too high a temperature, the outside will char while the inside remains raw.
Start with a lower temperature of 350°F for the first 10 minutes, then increase to 390°F for the final 3-4 minutes to crisp the skin. This two-stage approach ensures the sausage is cooked through safely while still achieving that desirable snap.
Achieving the Perfect Texture
Texture is what separates a good air-fried meal from a mediocre one. The goal is to reach a state where the casing has a distinct “pop” when you bite into it.
If you find the skin is too soft, you can add an extra minute or two at the end, but watch it closely. The transition from crispy to burnt can happen in seconds.
To maintain the quality of the meat, avoid using high-sugar glazes until the very end. If you want to brush the sausage with a barbecue sauce or a honey mustard glaze, do it during the last 2 minutes of cooking. Adding sugars too early will result in a burnt, sticky mess that clings to the bottom of the air fryer basket rather than staying on the meat.
Enhancing the Smoky Profile
Kielbasa is famous for its depth of flavor. If you want to amplify those smoky notes of the meat, you can experiment with how you season the environment. A small sprinkle of smoked paprika or garlic powder on the sausage before cooking can enhance the natural spices already present.
You can also place a small amount of liquid or aromatics at the very bottom of the basket—under the rack—if your specific air fryer model allows. Placing a few sprigs of fresh rosemary or thyme in the basket can infuse the circulating air with a subtle herbal aroma. This simple trick adds a layer of complexity that makes the meal feel much more sophisticated than standard fried sausage.
Ensuring Every Bite Remains Succulent
The biggest fear when air frying any meat is that it will dry out. Because kielbasa has a high fat content, it is generally forgiving, but you still need to be mindful.
If you are cooking thin slices, they will lose moisture faster than a whole rope. If you notice your slices are getting too dry, consider adding a tablespoon of water or broth to the bottom of the air fryer.
This creates a gentle steam during the first few minutes of cooking, which helps keep the interior moist while the circulating air works on the exterior. By the time the moisture evaporates, the air fryer will be hot enough to finish the crisping process. This technique is particularly useful for smaller, thinner pieces of sausage that might otherwise become tough during the cooking cycle.
Frequently Asked Questions
How can I tell if the kielbasa is finished cooking?
You are looking for a golden-brown, slightly blistered casing that feels firm to the touch. If you are using a meat thermometer, ensure the internal temperature has reached at least 160°F. The sausage should be hot all the way through, with the fat rendered and slightly glistening.
Can I cook frozen kielbasa directly in the air fryer?
Yes, you can. You will need to add about 3 to 5 minutes to the total cooking time. It is important to start at a lower temperature—around 350°F—for the first few minutes to ensure the center thaws and heats up before the outside becomes too dark or crispy.
What should I do if the casing starts to split?
A little splitting is normal and often desired, as it allows the fat to render out and creates extra crispy edges. However, if the pieces are falling apart, your temperature is likely too high. Reduce the heat by 25 degrees and continue cooking until they are heated through.
Is it necessary to flip the kielbasa while it cooks?
While shaking the basket is usually sufficient for smaller pieces, flipping whole ropes or large chunks halfway through is recommended. This ensures that the underside, which often rests against the basket, gets equal exposure to the hot air and browns evenly alongside the top.
Final Thoughts on Air Frying Kielbasa
Mastering the art of how long to cook kielbasa in air fryer units allows you to enjoy a classic comfort food with minimal cleanup and maximum flavor. By focusing on consistent temperature control and proper preparation, you can avoid common pitfalls like leathery casings or uneven cooking. Whether you prefer your sausage sliced thin for a quick snack or cooked whole for a hearty main dish, the air fryer provides the perfect balance of convenience and quality.
Experiment with different seasonings and sides to find your favorite pairing, and don’t be afraid to adjust your timing based on the thickness of your specific sausage. With these techniques, you’ll be able to serve up perfectly succulent, crispy kielbasa that is sure to be a hit at your next meal.
Meta Description: Learn how long to cook kielbasa in air fryer for the perfect crisp. Get tips on temperatures, preparation, and serving suggestions for the best results.


