

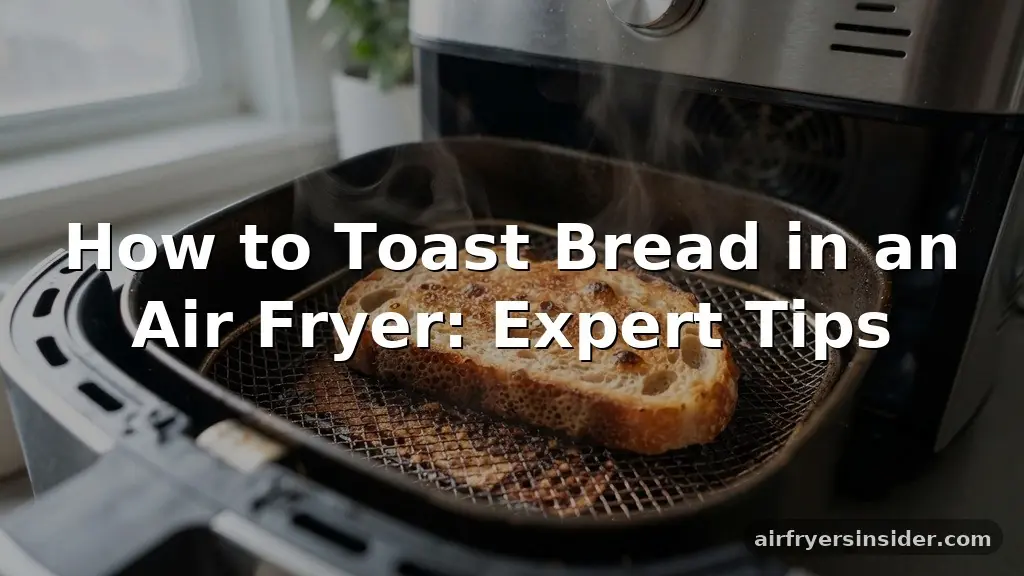
Learning how to toast bread in an air fryer transforms your morning routine by providing a perfectly even crunch that traditional pop-up toasters often miss. While many people rely on standard kitchen gadgets for their morning slice, utilizing the powerful convection capabilities of an air fryer ensures consistent browning across the entire surface.
Whether you are working with thick-cut sourdough or a standard whole wheat loaf, mastering this technique is straightforward once you understand the relationship between airflow and heat. By adjusting your settings correctly, you can achieve that elusive golden brown finish without drying out the center of your bread.
Understanding the Convection Advantage
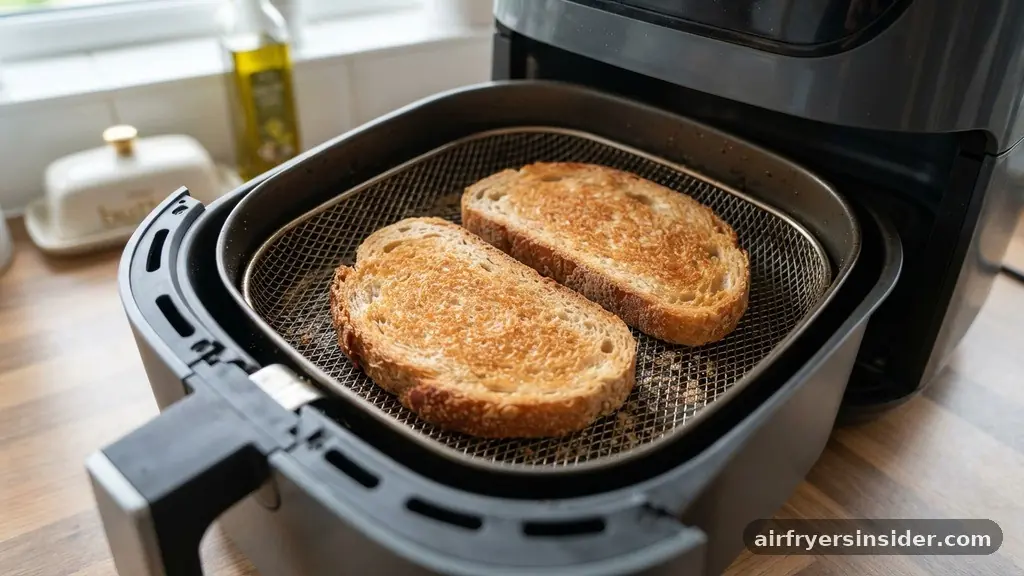
The secret behind why an air fryer creates such superior toast lies in its reliance on convection cooking. Unlike a standard toaster, which uses radiant heat from wires located close to the bread, an air fryer uses a powerful fan to circulate hot air rapidly around the food.
This constant movement of air ensures that the heating element works efficiently, creating a uniform environment within the cooking chamber. Because the heat is distributed evenly, you avoid the uneven “zebra stripes” often seen on slices coming out of a traditional toaster.
This process facilitates the Maillard reaction more effectively than static heat. As the surface temperature of the bread rises, the amino acids and reducing sugars react to create complex, savory flavors and a deep, appetizing color. Because the air is constantly moving, the surface moisture evaporation occurs rapidly, which is the key to achieving maximum crispiness.
You aren’t just heating the bread; you are strategically dehydrating the exterior while keeping the crumb soft and flavorful. This creates a texture profile that feels professional and artisanal, even with basic supermarket loaves.
Optimal Temperature Settings for Perfect Toast
Determining the right temperature is the most critical step in learning how to toast bread in an air fryer. While many recipes suggest high heat, a moderate approach often yields better results for most bread types.
Setting your device to 350°F to 375°F (175°C to 190°C) is generally the sweet spot. If you set the temperature too low, the bread will undergo dehydration before it can properly brown, resulting in a tough, crouton-like texture rather than a crisp slice of toast.
Conversely, setting the temperature too high can char the exterior before the heat reaches the center. This is particularly problematic with thicker slices or items like an English muffin or a dense bagel. When working with these items, you want to ensure the heat penetrates deep enough to warm the middle while the exterior develops that characteristic crunch.
Always monitor your first batch closely, as air fryer models vary significantly in power and airflow dynamics. If your specific unit runs hot, err on the side of caution with a lower temperature to prevent burning.
Accounting for Bread Slice Thickness
The bread slice thickness dictates how you should approach your toasting cycle. A thin slice of white bread will reach a state of golden brown much faster than a rustic, thick-cut piece of artisanal bread or a hearty slice of sourdough. When you are toasting thicker slices, you need to extend the cooking time slightly while potentially lowering the temperature to allow the heat to penetrate the interior without scorching the crust.
If you are toasting a bagel, you should always slice it in half and place the cut sides facing upward. This allows the hot air to circulate directly against the soft, porous surface, ensuring it becomes perfectly crisp.
If you place the crust side up, you risk burning the outer skin while the center remains doughy. For very thin slices, keep a close eye on the timer, as they can transition from perfectly toasted to burnt in a matter of seconds once the moisture is fully evaporated.
Managing Airflow and Preventing Flyaways
One of the most common challenges when using this countertop appliance for toast is the fan speed. Because air fryers use such high-velocity air, a light slice of bread can sometimes be lifted or flipped during the cycle.
If you notice your bread moving around, it can disrupt the even browning process and lead to uneven results. To mitigate this, many experienced users utilize a rack accessory or a heavy-duty wire rack to hold the bread slices firmly in place.
Alternatively, you can use a small piece of parchment paper under the bread, though you must ensure it is weighted down by the bread itself so it doesn’t get sucked into the heating element. Some newer models have a “toast” setting that adjusts the fan speed to be more gentle, which is ideal for lighter breads. If your model doesn’t have this, simply placing a small, oven-safe trivet or a heavy metal rack over the bread can act as a physical barrier to keep it from fluttering while still allowing the necessary dry heat to circulate.
Butter Application Strategies

Deciding when to butter your bread is a common point of contention. While it is tempting to butter the bread before it goes into the air fryer, this can often lead to a greasy mess if the butter drips into the bottom of the basket.
The best approach is to toast the bread dry first, then apply your butter, jam, or avocado immediately after removing it from the unit. The residual heat from the toast will melt the butter perfectly without causing it to smoke or burn during the toasting cycle.
However, if you are making something like garlic bread or a savory snack, you might choose to butter it before cooking. If you do this, ensure the butter is spread thinly and evenly to prevent pooling.
You might also consider using a flavored oil, such as olive oil, which has a higher smoke point than butter. This can help achieve a beautiful, uniform browning that is difficult to replicate with dairy-based spreads.
| Bread Type | Recommended Temp | Typical Time |
|---|---|---|
| Standard White | 350°F | 2-3 Minutes |
| Sourdough | 360°F | 3-4 Minutes |
| Bagel | 370°F | 4-5 Minutes |
| English Muffin | 350°F | 3 Minutes |
Addressing Common Topical Gaps
Many users wonder if they need to preheat their air fryer before toasting bread. While not strictly necessary for a short cycle, preheating for two minutes can provide a more consistent result from the very first second of cooking.
Without preheating, the first minute of your cycle is spent warming up the chamber, which can lead to unpredictable browning times. If you are toasting multiple batches, you will find that the subsequent rounds toast much faster because the environment is already saturated with heat.
Another common question involves the use of aluminum foil. While foil is great for easy cleanup in an air fryer, it can sometimes deflect the hot air, leading to uneven browning.
If you must use a liner to prevent crumbs from burning at the bottom of your machine, ensure it does not cover the entire bottom of the basket, as this restricts the airflow that is essential for the convection effect. Always keep the ventilation paths clear to ensure the air can circulate underneath the bread as well as over the top.
Techniques for Specialty Breads
Specialty breads, such as those loaded with seeds, grains, or dried fruits, require a bit more attention. The seeds on a multi-grain loaf can easily become over-toasted and bitter if the temperature is too high.
If you are working with a loaf that has a heavy seed coating, keep your temperature at 340°F and check the progress at the two-minute mark. You want to toast the bread, not incinerate the toppings.
For breads containing dried fruit, such as raisin bread, be aware that the sugars in the fruit can caramelize and burn very quickly. These types of bread are best toasted at a lower temperature for a slightly longer duration.
This prevents the sugar from turning into bitter, charred spots while allowing the bread itself to reach the desired level of crunch. Always remove any loose crumbs from the bottom of your air fryer basket before toasting fruit-heavy breads, as these small bits can burn and create smoke.
- Always use fresh bread; stale bread loses moisture too quickly and turns into a hard cracker.
- Don’t overcrowd the basket; ensure there is at least an inch of space around each slice for air to move.
- If your slices are too large for the basket, cut them in half before placing them inside.
- Consider the moisture content of your bread; denser loaves take longer than airy, porous ones.
- Check the bread at the halfway point and flip it if your air fryer only heats from the top.
Troubleshooting Common Issues
If your toast is coming out uneven, the first thing to check is your bread placement. In many air fryers, the air moves in a circular pattern, meaning items placed near the edges may brown differently than those in the center.
Try to position your slices so they aren’t blocking the main airflow path. If your machine is a model that uses a paddle to stir food, obviously do not use this feature for toast, as it will destroy the bread.
If you find that your toast is dry and hard rather than crisp, you are likely cooking it for too long at a low temperature. Increase the temperature by 15-20 degrees and reduce the time. This “flash” toasting method locks in the interior moisture while ensuring the exterior gets that desirable crunch.
If the bread is burning on the edges but raw in the middle, your slices are likely too thick for the current heat intensity. Reduce the heat and increase the time to allow for a more gradual, even internal heating.
Maintaining Your Air Fryer for Better Toasting
Maintaining your machine is just as important as the technique itself. A build-up of old grease or burnt crumbs at the bottom of the basket can lead to smoke during the toasting process, which will impart an unpleasant taste to your bread.
Clean your air fryer basket regularly, and ensure the heating element is wiped down periodically once the unit has fully cooled. A clean machine ensures that the hot air is clean and free of charred debris, which directly impacts the flavor profile of your finished toast.
Additionally, check the fan blades if your model allows for easy access. Over time, dust and grease can accumulate on the fan blades, slightly reducing the velocity of the air and making your toasting less efficient.
By keeping the appliance in top condition, you ensure that the air circulation remains powerful, which is the primary driver of the high-quality results you are looking for. Proper care will keep your appliance performing like new for years to come.
Frequently Asked Questions
Can I use an air fryer to toast bread just like a toaster?
Yes, an air fryer acts as a powerful convection oven that toasts bread effectively. It often produces a more uniform, golden brown finish than a traditional pop-up toaster by using rapid air circulation to dry the surface of the bread while keeping the inside soft.
What is the ideal temperature for air fryer toast?
For the best results, set your air fryer to between 350°F and 375°F. This temperature range is high enough to trigger the Maillard reaction for a crisp texture but moderate enough to prevent the bread from drying out or burning before the center is properly warmed.
How do I stop my bread from flying around inside?
If your air fryer’s fan is strong enough to lift the bread, use a small metal rack or a heavy-duty wire trivet to hold the slices down. Avoid using heavy weights that might block the airflow, and ensure your bread slices are placed firmly at the bottom of the basket.
Is it necessary to preheat the air fryer before toasting?
While not strictly required, preheating for two to three minutes ensures a more consistent cooking time. Without preheating, the first minute of your cycle is spent bringing the chamber up to temperature, which can lead to slightly uneven results if you are only toasting for a short duration.
Toasting bread in an air fryer is a reliable way to achieve a professional-quality crunch right in your own kitchen. By understanding how the convection process interacts with different bread types, you can consistently produce the perfect slice every morning. Remember that the key to success lies in controlling the airflow and selecting the right temperature for your specific loaf.
Start with a conservative time estimate, monitor the browning closely, and adjust based on the thickness of your bread. Once you find your preferred settings, you will likely find that your traditional toaster gathers dust as you enjoy the superior results of your air fryer. Experiment with different bread varieties and see how this efficient method changes your breakfast routine for the better.
Meta Description: Learn how to toast bread in an air fryer for a perfectly golden, crispy finish. Master temperature settings, airflow techniques, and bread types today.


