

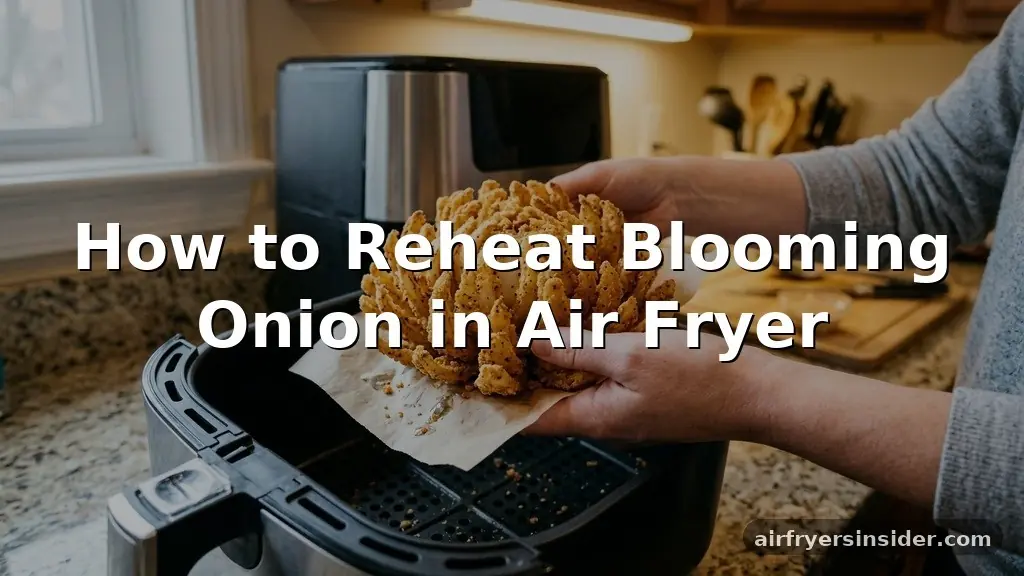
Finding yourself with leftovers of a restaurant-style fried treat is a common scenario, but figuring out how to reheat a blooming onion in an air fryer is the secret to restoring that initial crunch. Nobody wants to deal with a sad, limp vegetable when they are craving that signature savory bite.
By leveraging the rapid thermal circulation of your appliance, you can effectively bring life back to those golden-brown petals without the grease trap of a microwave. This approach ensures your snack regains its structural integrity and stays perfectly hot, making those leftovers taste just as good as they did when they first arrived at your table.
Why the Air Fryer Wins for Reheating Fried Foods
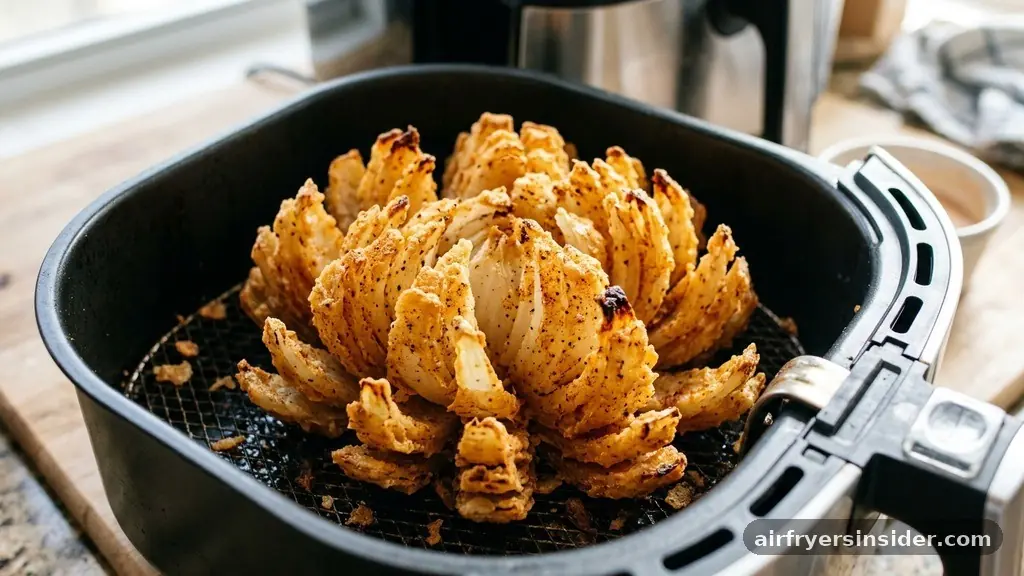
When you consider the physics of your kitchen appliances, the air fryer stands out as the superior choice for reviving a deep-fried appetizer. Unlike a microwave, which excites water molecules and creates steam that inevitably turns crispy breading into a mushy disaster, an air fryer utilizes high-speed hot air. This method mimics the original frying process by removing excess moisture from the surface rather than trapping it.
The convection heat generated by the fan inside the unit allows the air to wrap around every individual onion petal. This ensures that the breading doesn’t just get warm; it gets re-crisped.
If you have ever tried to reheat fried food in a conventional oven, you know it takes an eternity to preheat and often leaves the center cold while the edges burn. The air fryer reaches its target temperature in a fraction of the time, preserving the food quality and preventing the onion from overcooking and becoming stringy.
Essential Preparation for Optimal Crispiness
Before you toss your leftovers into the basket, a little bit of prep goes a long way. If your blooming onion has been sitting in a cold refrigerator for hours, the batter has likely absorbed some of the moisture from the onion itself.
To combat this, take the onion out of the fridge about ten minutes before you plan to reheat it. Letting it come closer to room temperature prevents the center from staying chilled while the outside turns golden brown.
Another critical step is managing the surface moisture. If the onion looks particularly oily or wet, you can gently dab it with a paper towel. However, be careful not to crush the delicate structure.
If you have an oil spray, a very light misting over the surface can help facilitate the Maillard reaction, which is the chemical process responsible for that savory, browned flavor we associate with perfectly fried foods. Just remember that a little goes a long way; you are trying to refresh the existing breading, not deep-fry it a second time.
Step-by-Step Reheating Process
Getting the best results requires a controlled approach to heat and timing. You want to focus on restoring the crunch without drying out the interior of the onion. Follow these steps to ensure your snack returns to its former glory:
- Preheat your air fryer to 350°F (175°C) for about three minutes to ensure the chamber is fully saturated with hot air.
- Line the bottom of your air fryer basket with a piece of perforated parchment paper to prevent sticking and make cleanup easier.
- Place the blooming onion in the center of the basket, ensuring it is not crowded by other items if you are reheating multiple snacks.
- Heat the onion for 3 to 5 minutes, checking the progress halfway through to ensure the edges are not darkening too quickly.
- Use kitchen tongs to carefully remove the onion from the basket, as the petals may be fragile and prone to breaking if handled roughly.
- Let the onion sit for one minute on a wire rack before serving, which helps the breading set and maintains the crisp texture.
Managing Internal Temperature and Food Safety
When reheating leftovers, food safety is just as important as taste. You want to ensure the internal temperature of the onion reaches at least 165°F to be safe for consumption.
While most fried onions are already cooked through, bacteria can grow if food is left in the “danger zone” of temperature ranges for too long. Using a digital probe thermometer can help you verify that the heat has penetrated the core of the onion without needing to slice into it and ruin the presentation.
If you find that the edges are getting dark before the center is hot, you can tent a small piece of aluminum foil over the top of the onion for the first half of the heating cycle. This trick reflects some of the heat and protects the delicate tips of the petals from burning. Once the center is sufficiently heated, remove the foil for the final minute to give the breading a final blast of air to ensure maximum crispiness.
Addressing Common Reheating Challenges
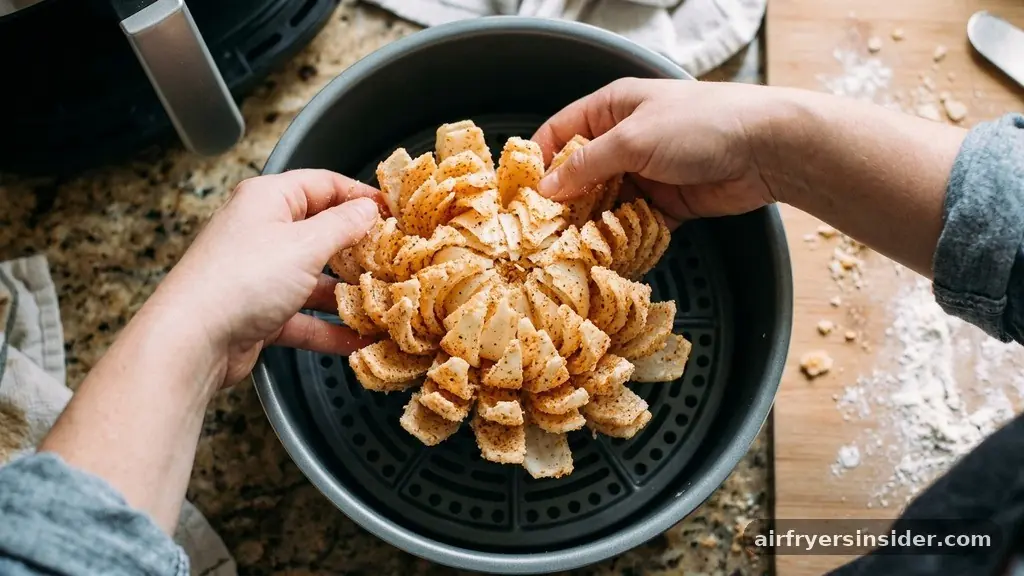
Many people struggle with the “soggy batter” phenomenon when dealing with leftovers. This usually happens because the onion was stored in a non-breathable container, which trapped steam and softened the crust. To prevent this in the future, store your blooming onion in a container with a paper towel at the bottom to absorb excess humidity.
If you are already past that stage, do not panic. The air fryer is powerful enough to save most soggy situations as long as you don’t overload the basket.
Another common issue is uneven heating. If your air fryer basket is small, the airflow might be restricted, leading to cold spots.
If you have a larger blooming onion, it may be better to cut it into quarters before reheating. While this sacrifices the “blooming” visual, it guarantees that the hot air hits every surface of the breading, resulting in a much more consistent texture across the entire serving.
Comparing Reheating Methods
To understand why the air fryer is the gold standard for this task, it helps to see how it stacks up against other common kitchen appliances. The following table illustrates the expected outcomes for different reheating techniques.
| Method | Texture Result | Time Required | Ease of Use |
|---|---|---|---|
| Air Fryer | Perfectly Crispy | 4-6 Minutes | High |
| Microwave | Soft and Soggy | 1-2 Minutes | Very High |
| Conventional Oven | Dry and Tough | 15-20 Minutes | Low |
| Toaster Oven | Moderately Crispy | 10-12 Minutes | Medium |
Enhancing the Experience with Dipping Sauce
A blooming onion is only as good as the blooming onion sauce that accompanies it. When you reheat your snack, the sauce is the perfect opportunity to compensate for any minor loss in flavor that naturally occurs during the storage process.
A fresh batch of dipping sauce can revitalize the entire meal. If you don’t have the original sauce, a quick mixture of mayonnaise, ketchup, horseradish, and a dash of paprika creates a classic, tangy dip that pairs perfectly with the savory, fried petals.
Adding a fresh dipping element also provides a textural contrast. The cool, creamy sauce against the hot, crispy breading creates a sensory experience that masks any subtle changes in the onion’s texture. Don’t be afraid to experiment with other condiments, such as a spicy ranch or a honey mustard, to keep your snack preparation interesting and flavorful.
Filling the Gaps: Advanced Tips for Success
One question that often arises is whether you can add seasoning during the reheating process. The answer is a resounding yes.
If the breading has lost some of its punch, a light dusting of garlic powder, onion powder, or even a pinch of smoked paprika right before it goes into the air fryer can wake up the flavors. Be careful with salt, though, as the original breading is usually already well-seasoned, and you don’t want to end up with an overly salty result.
Another frequent oversight is the importance of a wire rack. While you can place the onion directly in the basket, using a small wire rack or even a trivet allows for better air circulation underneath the food.
This prevents the bottom of the onion from sitting in its own residual grease, which is a major contributor to the dreaded soggy bottom. If you don’t have a rack, simply flipping the onion halfway through the reheating time is a highly effective alternative.
Mastering the Final Touch
The final minute of the reheating process is where the magic happens. By this point, the onion should be hot throughout. Turning the heat up just slightly or simply removing the foil allows the surface to crisp up one last time.
Once you pull it out of the air fryer, let it rest on a wire rack. This cooling period is vital; it allows the steam trapped inside the breading to escape, which actually makes the crust even crunchier.
If you find that the onion is still not as crispy as you would like, resist the urge to keep heating it. Instead, check your air fryer’s airflow.
Ensure the unit is not pushed up against a wall, as it needs space to draw in air for the fan to work correctly. By paying attention to these small details, you can turn a simple leftover snack into a culinary delight that rivals the original restaurant experience.
Common Questions About Reheating
How long should I keep a blooming onion in the fridge before it’s too late to reheat?
For the best results, you should reheat your blooming onion within 24 to 48 hours of the initial cooking. Beyond two days, the breading tends to lose too much structural integrity, and the onion begins to release too much water, making it difficult to achieve a satisfying crunch.
Can I reheat a blooming onion if I didn’t use an air fryer to cook it originally?
Yes, you absolutely can. The air fryer works just as well for reheating deep-fried or oven-baked blooming onions. The key is to ensure the onion is not already burnt; if the original breading is already dark brown, the air fryer will likely push it over the edge into a bitter, charred state.
Is it possible to overcook the onion in the air fryer?
It is definitely possible. If you leave it in too long, the internal onion will become mushy and lose its bite, while the exterior breading will become overly dry and hard. Always start with a lower time and check it frequently; you can always add more time, but you cannot undo a burnt crust.
Does the type of blooming onion breading matter for reheating?
Thicker, tempura-style batters tend to hold up slightly better than thin, flour-based coatings. However, regardless of the batter type, the air fryer method remains the most effective way to restore crispiness because the constant movement of hot air quickly evaporates surface moisture, which is the primary enemy of a good crust.
Reheating a blooming onion in an air fryer is a straightforward process that yields impressive results when you pay attention to the details. By preheating your device, managing the moisture levels, and using a wire rack to ensure proper airflow, you can easily revive that signature crunch. Whether you are enjoying a midnight snack or repurposing last night’s dinner, these techniques ensure your leftovers are never a disappointment.
Remember to keep the heat controlled, monitor the color of the breading closely, and always pair your refreshed snack with a fresh, zesty dipping sauce for the best possible experience. With these strategies in your culinary toolkit, you can confidently enjoy your favorite fried appetizer again and again.
Meta Description: Learn how to reheat blooming onion in air fryer to restore its perfect crispy texture. Follow our expert tips for the best results with your leftovers.


