

Discovering whether you can bake bread in an air fryer changes how you approach small-batch home baking. While many people view these appliances as tools for crispy fries or roasted vegetables, they are essentially miniature, high-powered convection ovens. By understanding how to manage the intense airflow and limited space, you can produce fresh, crusty loaves without heating up your entire kitchen.
This approach is perfect for those who want a single loaf quickly or are working in a space where a full-sized oven isn’t practical. Mastering this technique requires adjusting your expectations regarding loaf size and temperature management to achieve bakery-quality results at home.
The Mechanics of Convection Baking in an Air Fryer
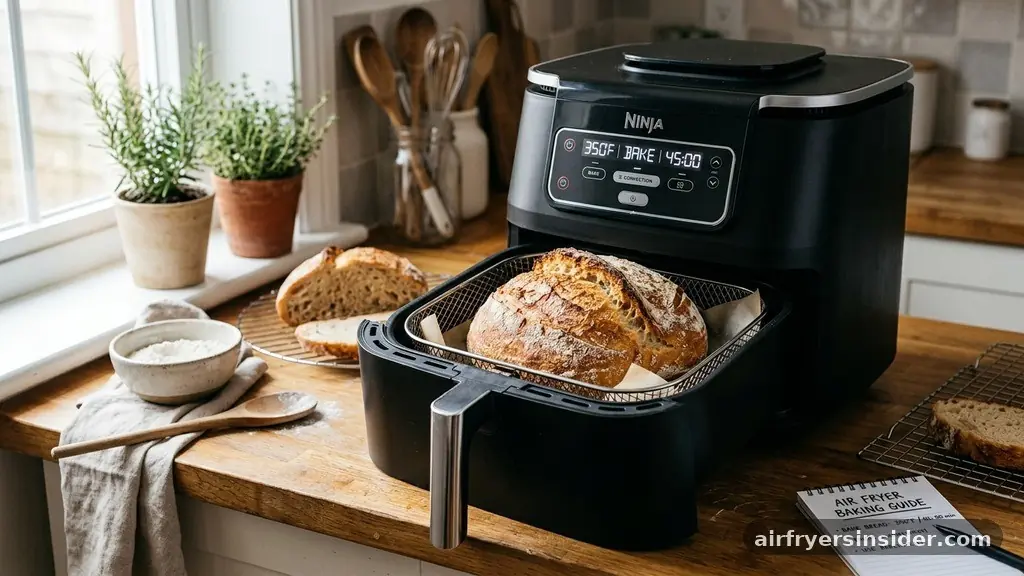
At its core, an air fryer relies on convection cooking to move heat rapidly around the food. Unlike a traditional oven, where heat radiates from elements and moves via natural air currents, an air fryer uses a powerful fan to force hot air through a small chamber.
This process is known as rapid air technology. When you bake bread in this environment, the intense movement of air speeds up the browning reaction, often resulting in a thicker, crunchier crust than you might achieve in a standard oven.
However, this intensity can be a double-edged sword. Because the heat source is often located very close to the top of the dough, the surface may brown or even burn before the center of the loaf is fully cooked.
To counteract this, you must carefully monitor your baking time and consider lowering the temperature by about 25 degrees Fahrenheit compared to a conventional recipe. The goal is to balance the speed of the convection fan with the time needed for the internal structure of the bread to set properly.
Choosing the Right Equipment for Small-Batch Baking
Success in this endeavor depends heavily on the tools you use. You cannot simply dump dough into the basket and expect a perfect loaf.
A loaf pan is usually necessary to give the bread shape and support, especially with higher dough hydration recipes. Since most air fryer baskets are small, you should look for mini-loaf pans or round silicone mold options that fit comfortably with at least an inch of space on all sides for proper heat circulation.
If you are using a metal pan, ensure it is oven-safe and fits without obstructing the air intake. You should also consider the role of parchment paper.
Placing a small square of parchment at the bottom of your mold prevents sticking and makes it significantly easier to remove the finished product. If you are baking a rustic, free-form loaf, you might skip the pan, but you must ensure the dough has enough structural integrity, perhaps by using a proofing basket to help it hold its shape during the final rise before it hits the heat.
Managing Yeast Fermentation and Proofing
The biology of your dough remains the same regardless of the cooking vessel. Whether you are using active dry yeast or a long-fermented sourdough starter, the yeast fermentation process requires a stable, warm environment.
Because air fryers are not designed for proofing, you should allow your dough to rise in a draft-free spot elsewhere in your kitchen. High ambient humidity can also affect how your dough develops, so keep an eye on your rising bread if the weather is particularly damp or dry.
Once the dough has reached its peak rise, handle it gently. The gluten development you achieved during kneading is fragile, and deflating the dough now will ruin the final crumb structure.
If you are using rapid rise yeast, the process will be shorter, which is often an advantage when you are working with the limited capacity of an air fryer. Always ensure your dough has fully proofed before moving it to the basket, as the quick blast of air in the fryer will not allow for the same slow, sustained rise that occurs in a conventional oven.
Achieving Proper Crust Development
One of the biggest challenges when baking in an air fryer is achieving the desired texture without drying out the bread. In a standard oven, steam injection is often used to keep the crust soft during the initial expansion phase, allowing for maximum oven spring.
In an air fryer, the constant, dry airflow works against this. To mimic this effect, you can lightly mist the dough with water just before closing the basket, or carefully place a small, heat-safe dish with a tiny amount of water inside if your unit allows.
The crust development is also dictated by the Maillard reaction, which is accelerated by the fan. If you find your bread is getting too dark too quickly, tenting the top of the loaf with a small piece of aluminum foil can protect it.
This allows the internal heat to continue cooking the center of the dough while preventing the top from charring. Remember that the air fryer’s ventilation is designed to keep moisture out, so you are essentially fighting a battle against the machine’s primary design goal—crispiness.
The Importance of Temperature and Internal Structure
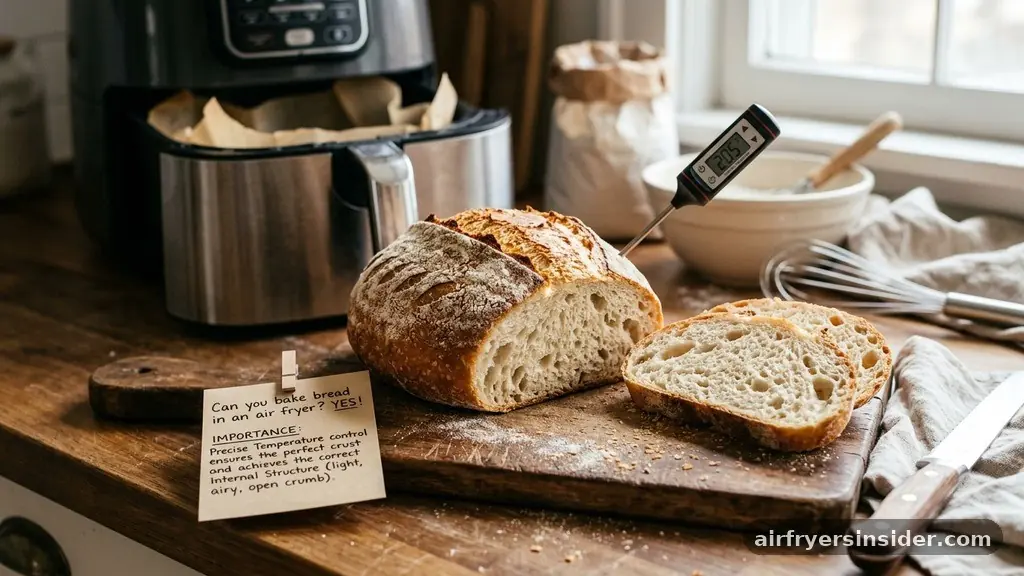
Relying on time alone is a recipe for disappointment. Because air fryers vary significantly in power and capacity, you should always use a thermometer probe to check the internal temperature of your bread.
A fully baked loaf should register between 190°F and 205°F, depending on the type of flour and hydration level. If the center is below this range, the bread will be gummy and unpleasant, even if the exterior looks perfectly golden.
| Bread Type | Temp Setting | Estimated Time |
|---|---|---|
| Simple White Loaf | 320°F | 25-30 mins |
| Sourdough (Small) | 330°F | 35-40 mins |
| Quick Bread/Muffin | 300°F | 20-25 mins |
| Whole Wheat | 310°F | 30-35 mins |
This table provides a baseline, but your specific appliance may require adjustments. Always start checking the internal temperature about five minutes before the suggested time ends. If the top is browning too fast, pull the tray, check the temperature, and adjust your heat settings accordingly.
Addressing Topical Gaps in Air Fryer Baking
Many home bakers wonder if they can replicate the results of a Dutch oven in an air fryer. While you cannot fit a traditional heavy cast-iron pot inside, you can achieve similar results by creating a “contained” baking environment.
Some bakers use a small, heat-proof glass or ceramic bowl covered with foil to mimic the steam-trapping properties of a Dutch oven. This method helps the bread rise before the crust sets, mimicking the effect of a closed lid.
Another common gap is the concern regarding preheating. Many people skip this step, assuming the air fryer heats up instantly. While they do heat faster than ovens, the walls of the basket and the air inside need a few minutes to reach a consistent temperature.
Preheating your air fryer for at least three to five minutes before inserting your dough ensures that the yeast gets an immediate “kick” of heat, which is essential for that initial oven spring. Skipping this often leads to dense, flat loaves that failed to rise properly.
Troubleshooting Common Baking Failures
If your bread turns out with a hard, impenetrable crust or a raw middle, you are likely dealing with an issue of heat balance. If the crust is too thick, try reducing the temperature by another 10 degrees and extending the baking time slightly.
If the inside remains doughy, ensure you aren’t overcrowding the basket. Air needs to circulate around the entire loaf; if the loaf is too wide, the air will only hit the top and sides, leaving the bottom undercooked.
- Ensure the dough is not touching the heating element at the top of the basket.
- Use a digital scale for measuring flour to maintain consistent hydration levels.
- Avoid opening the basket too frequently to check progress, as this drops the internal temperature.
- If the loaf is dense, verify that your yeast is fresh and active before starting.
- Consider placing a small piece of parchment paper under the loaf to prevent the bottom from burning.
These simple adjustments often solve the most frustrating issues beginners face. By treating the air fryer as a precision instrument rather than just a “fast” oven, you gain much more control over the final product.
Scaling Recipes for Air Fryer Capacity
When you move from a standard oven to an air fryer, you must scale your recipes down. A standard loaf recipe meant for a 9×5-inch pan will likely overflow or cook unevenly in a small air fryer basket.
Aim for recipes that call for 250 to 300 grams of flour. This volume typically produces a loaf that fits perfectly in a standard 6-quart air fryer basket or a small loaf tin.
If you attempt to bake a larger quantity, the dough will likely rise into the heating element, creating a fire hazard and a mess. Always err on the side of a smaller loaf.
If you have extra dough, it is better to bake it in two separate batches than to try and cram it all into one session. Baking in batches also allows you to refine your technique; you can adjust the temperature or timing for the second loaf based on the results of the first one.
The Future of Compact Kitchen Baking
The ability to bake bread in an air fryer represents a broader shift in how we utilize kitchen technology. We are moving away from the “one size fits all” approach of the massive, central oven toward more efficient, targeted heating solutions.
While an air fryer will never replace a professional deck oven for large-scale production, it provides an accessible entry point for those intimidated by bread making. It lowers the barrier to entry, making the process of creating fresh, homemade bread feel less like a day-long project and more like a simple kitchen task.
As these appliances become more sophisticated, we may see more accessories designed specifically for baking, such as custom-fit stone inserts or specialized racks. For now, the combination of patience, proper measurement, and understanding the unique airflow characteristics of your specific model will yield impressive results. Experimenting with different hydration levels and flour types will eventually give you the confidence to adapt any recipe to your countertop setup.
FAQ
How long does it take to bake a standard loaf of bread in an air fryer?
Most small loaves require between 25 and 40 minutes at temperatures ranging from 300°F to 330°F. The exact time depends on the size of the loaf and the hydration of the dough, so always use a thermometer to check for an internal temperature of at least 190°F.
Can I use a regular loaf pan in my air fryer?
You can use a standard loaf pan provided it fits within the basket with at least an inch of clearance on all sides to allow for air circulation. If the pan is too large, it will block the airflow, leading to uneven baking and potential burning on the top.
Why is the top of my bread burning before the middle is cooked?
This usually happens because the dough is too close to the heating element or the temperature is set too high. Try lowering the temperature by 25 degrees and tenting the top of the loaf with a small piece of aluminum foil to protect the surface while the center finishes.
Do I need to preheat my air fryer before baking bread?
Yes, preheating is highly recommended. Just like a conventional oven, an air fryer needs a few minutes to reach a consistent temperature. Starting with a hot chamber ensures the yeast activates immediately, providing the necessary oven spring for a light, airy crumb structure rather than a dense, flat loaf.
Conclusion
Baking in an air fryer is a rewarding skill that highlights how flexible modern kitchen tools can be. By mastering the balance of airflow and temperature, you can easily produce high-quality loaves that rival those from a traditional oven. Remember that success lies in the details: use a thermometer to verify your internal temperature, respect the capacity limits of your basket, and don’t be afraid to adjust your settings based on the specific behavior of your unit.
With a bit of practice, you will find that you can bake bread in an air fryer with remarkable consistency. We encourage you to start with a simple recipe, keep a record of your adjustments, and enjoy the process of bringing fresh, crusty bread to your table whenever the mood strikes.
Meta Description: Learn if you can bake bread in an air fryer with this guide on temperature, equipment, and technique to achieve perfect loaves at home.


