

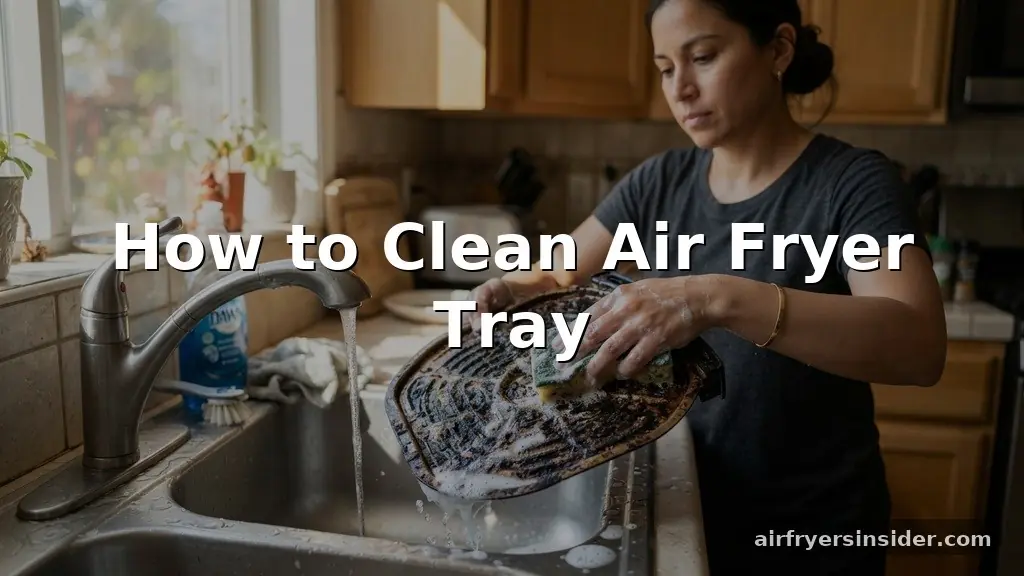
Keeping your kitchen appliances in top shape ensures your food tastes great and your machine lasts for years. Learning how to clean air fryer tray effectively is one of the most important maintenance tasks you can perform, as grease buildup and carbonized food particles can quickly compromise the cooking efficiency of your device.
If you have been struggling with stubborn burnt oil or sticky residues, you are certainly not alone. This process doesn’t require expensive chemicals or hours of scrubbing; with the right technique, you can restore your equipment to a near-new condition quickly and safely.
Understanding the Importance of Regular Maintenance
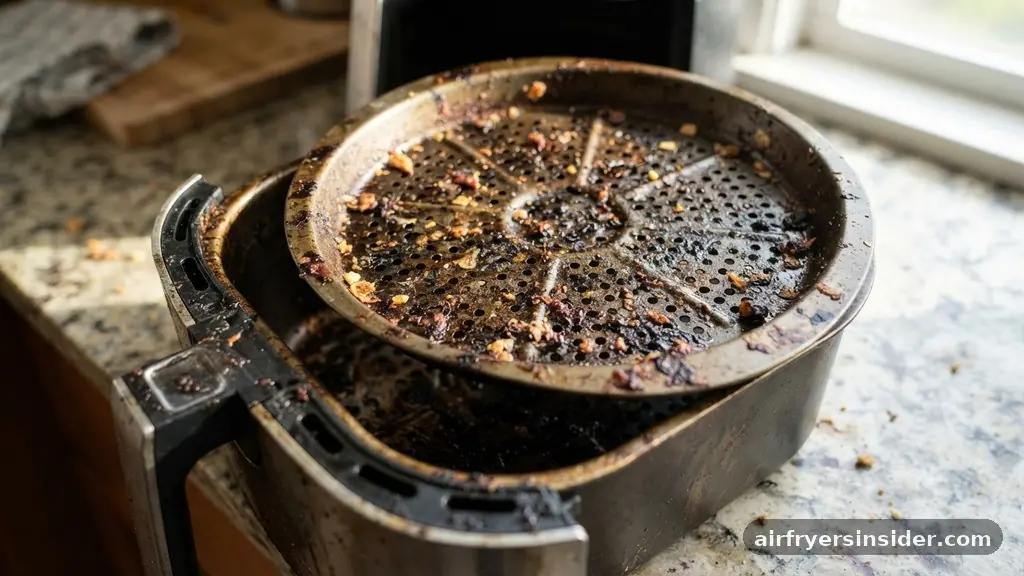
The primary reason for cleaning your air fryer components frequently is to prevent the accumulation of grease and debris. When food scraps remain on the tray, they don’t just sit there; they continue to cook every time you turn the unit on.
This leads to carbonized food, which creates smoke and unpleasant odors during your next meal preparation. Over time, this thick layer of grime acts as an insulator, potentially preventing the hot air from circulating correctly around your food, which ruins the crispy texture you expect from an air fryer.
Beyond performance, hygiene is a major factor. Old food particles can harbor bacteria if not properly sanitized, and stagnant grease can go rancid.
By establishing a routine of cleaning your air fryer tray after every few uses, you avoid the much harder task of deep cleaning a neglected, caked-on mess. Consistency is the key to maintaining the integrity of the non-stick coating, which is delicate and prone to scratching if you use improper tools or harsh scrubbing methods.
Gathering the Right Cleaning Supplies
Before you begin the scrubbing process, it is helpful to have your supplies ready. You do not need a specialized kit; most effective cleaners are likely already under your kitchen sink. To protect the finish of your tray, stick to gentle tools that won’t ruin the surface.
- Dish soap, preferably a high-quality degreasing brand like Dawn dish liquid.
- White vinegar for breaking down mineral deposits and stubborn grease.
- Baking soda to create a gentle, abrasive paste for tough spots.
- Soft-bristle brush or a soft nylon sponge for reaching into crevices.
- Microfiber cloth for final wiping and polishing.
- Warm water to help loosen fats and oils.
Avoid using steel wool or heavy-duty metal scrapers, as these will permanently strip the protective layer off your tray. Even if you are dealing with significant grease buildup, patience and soaking will always yield better results than aggressive physical force.
The Standard Cleaning Process for Daily Use
For routine maintenance after a standard cooking session, you should wait for the unit to cool completely. Never submerge a hot tray in cold water, as the sudden temperature change can warp the metal. Once the tray is cool to the touch, remove it from the basket and use a soft sponge with warm, soapy water to wipe away loose crumbs and light oil.
If the tray is advertised as dishwasher safe, you might be tempted to just toss it in. However, many manufacturers warn that repeated dishwasher cycles can degrade the non-stick coating over time.
Hand washing is almost always the preferred method for extending the lifespan of your tray. Ensure you rinse the tray thoroughly after washing to remove all soap residue, as leftover detergent can sometimes impart a soapy flavor to your next batch of fries or chicken.
Tackling Stubborn Grease and Burnt Oil
When you encounter stubborn, stuck-on grease that refuses to budge with simple soap, it is time for a deeper approach. Soaking is your best friend here. Fill your sink or a large basin with hot water and a generous squirt of dish soap.
Submerge the tray completely and let it sit for at least 20 to 30 minutes. This allows the surfactants in the soap to lift the grease from the surface, making it much easier to wipe away later.
If the grease is particularly thick, add a cup of white vinegar to the soaking water. The acidity helps cut through the baked-on oil more effectively than soap alone.
Once the soak is complete, use a soft-bristle brush to gently scrub the mesh or the perforated holes of the tray. If you see persistent spots, do not reach for the steel wool; instead, apply a concentrated paste of baking soda and water to the area and let it sit for a few minutes before rinsing.
Addressing Topical Gaps in Air Fryer Care
Many users are confused about the differences in care between various tray coatings. Some air fryers use a traditional Teflon-based non-stick coating, while others utilize a ceramic coating. It is vital to understand that while both are non-stick, they react differently to heat and abrasion.
Ceramic vs. Teflon Coatings
| Feature | Teflon (PTFE) | Ceramic |
|---|---|---|
| Durability | High, but flakes if scratched | Moderate, can crack if dropped |
| Heat Resistance | Sensitive to extreme heat | Generally more heat-stable |
| Cleaning | Requires non-abrasive tools | Can handle slightly firmer sponges |
Another common gap in knowledge is how to handle the heating element above the tray. While not part of the tray itself, the heating element often collects smoke and oil splatter.
If you notice your air fryer smoking while empty, it is likely that oil has reached the heating element. You can clean this by using a damp microfiber cloth or a soft brush dipped in a vinegar solution, but ensure the unit is unplugged and completely cool before touching the electrical components.
The Baking Soda Paste Technique
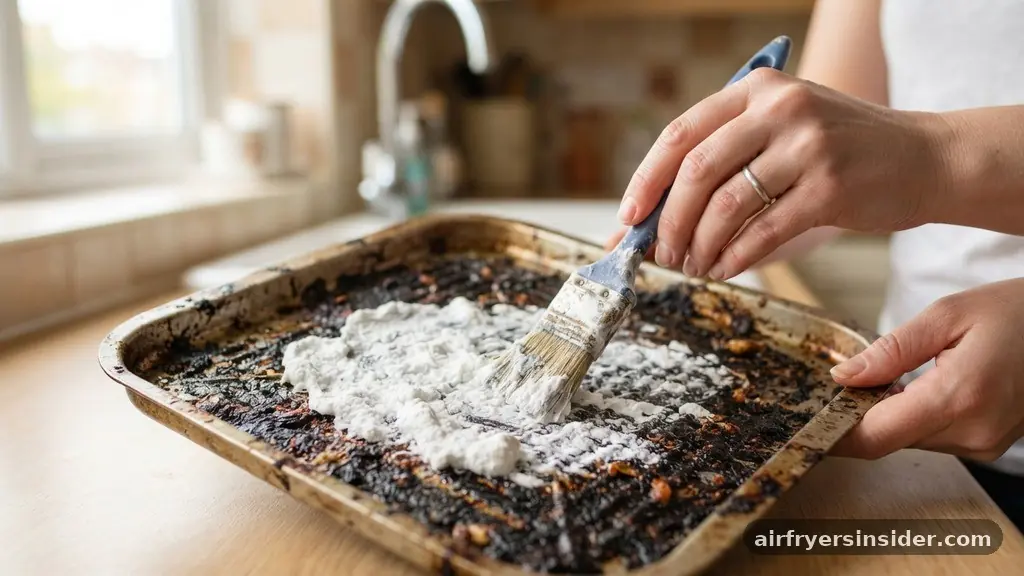
When grease buildup becomes truly carbonized and hardened, a simple soak might not be enough. This is where a baking soda paste becomes essential.
Combine three parts baking soda with one part water until you reach a thick, spreadable consistency. Apply this paste directly onto the affected areas of the tray, ensuring you cover the spots where burnt oil has accumulated.
Let the paste sit for 15 to 30 minutes. As the baking soda dries slightly, it works to pull the oils out of the pores of the tray’s surface. Once the time is up, use a soft nylon brush to scrub the area in circular motions.
You will often see the brown, hardened residue lifting away into the white paste. Rinse the tray thoroughly under running water to ensure all the baking soda is removed, as leaving it behind can cause a chalky residue when the tray is heated again.
Handling Different Air Fryer Brands
Whether you own a Ninja Foodi, a Cosori, or a classic Philips model, the core principles of cleaning remain the same, though the specific design of the tray may vary. For instance, the Ninja Foodi often features a crisper plate that requires extra attention to the small holes. These holes are prime locations for grease to solidify, so a toothpick or a small bottle brush can be very effective for pushing out stubborn debris that the sponge can’t reach.
Cosori and Philips models often have larger, flatter trays. For these, the surface area is greater, meaning you might need a larger basin for soaking. Regardless of the brand, always check your user manual for specific warnings.
Some manufacturers advise against using vinegar on specific finishes, and ignoring these warnings could void your warranty. When in doubt, stick to mild dish soap and warm water as your primary cleaning agents, and only escalate to stronger solutions if the manufacturer guidelines permit.
Drying and Storing Your Equipment
After cleaning, drying your tray properly is just as important as the washing process itself. Water left in the crevices or trapped in the mesh can lead to rust or mineral spots, especially if you have hard water in your home. Use a clean, dry microfiber cloth to wipe down the entire surface, including the underside where water often pools.
It is best to let the tray air dry completely on a drying rack before returning it to the air fryer. If you place a damp tray back into the machine, moisture can get trapped inside the housing during the next use, which could potentially cause internal electrical issues. By ensuring every component is bone-dry, you protect the longevity of your machine and ensure that your food cooks perfectly without excess steam from trapped water.
Common Mistakes to Avoid
Even with the best intentions, it is easy to make mistakes that damage your air fryer tray. One of the most frequent errors is using metal utensils to scrape off stuck food.
Even if a knife or metal spatula seems like the fastest way to get the job done, it will inevitably scratch the coating. Once the coating is breached, food will stick even more in the future, creating a cycle of frustration.
Another mistake is neglecting the underside of the tray. While we focus on the side that touches the food, the bottom of the tray collects just as much grease.
If you fail to clean the bottom, that grease will eventually heat up and create smoke, which can affect the flavor of your cooking and set off your smoke alarm. Always flip the tray over and inspect both sides during your cleaning process to ensure nothing is missed.
Frequently Asked Questions
Can I use vinegar and baking soda together to clean my air fryer tray?
While they create a fun fizzing reaction, using them simultaneously neutralizes their cleaning power. It is better to use the baking soda paste first to scrub away grease and then use a vinegar rinse to cut through the remaining oils and neutralize any odors.
What is the best way to remove baked-on grease from the mesh part of the tray?
A soft-bristle brush is essential for mesh surfaces. After soaking the tray in hot, soapy water, use the brush to gently push the grease out of the mesh holes. Avoid using abrasive metal brushes, as they will damage the non-stick coating and cause further sticking.
Is it safe to put my air fryer tray in the dishwasher?
While many manufacturers claim their trays are dishwasher safe, the high heat and harsh detergents often strip non-stick coatings over time. Hand washing with mild dish soap is significantly better for preserving the non-stick surface and extending the life of your appliance.
How often should I deep clean my air fryer tray?
If you use your air fryer daily, a deep cleaning session once a week is recommended. For occasional users, once every two weeks should be sufficient. Regular light cleaning after each use will make these deep cleaning sessions much faster and less labor-intensive.
Maintaining Your Appliance for Longevity
Keeping your air fryer in peak condition is a simple habit that pays off with every meal you prepare. By consistently using gentle methods like soaking, mild soap, and soft-bristle brushes, you preserve the non-stick coating and ensure your food remains crisp and delicious. You have now learned the most effective ways to clean air fryer tray components without resorting to harsh chemicals or damaging tools.
Remember that patience is your greatest asset; allowing the water and soap to do the heavy lifting prevents the need for aggressive scrubbing. Take a few extra minutes to dry your tray thoroughly after each wash to prevent moisture issues, and you will enjoy trouble-free cooking for years to come. If you have any specific tips or tricks that have worked for your particular model, feel free to share your experiences with other home cooks.
Meta Description: Learn how to clean air fryer tray effectively with these simple steps. Keep your non-stick coating safe and remove stubborn grease using household staples.


