

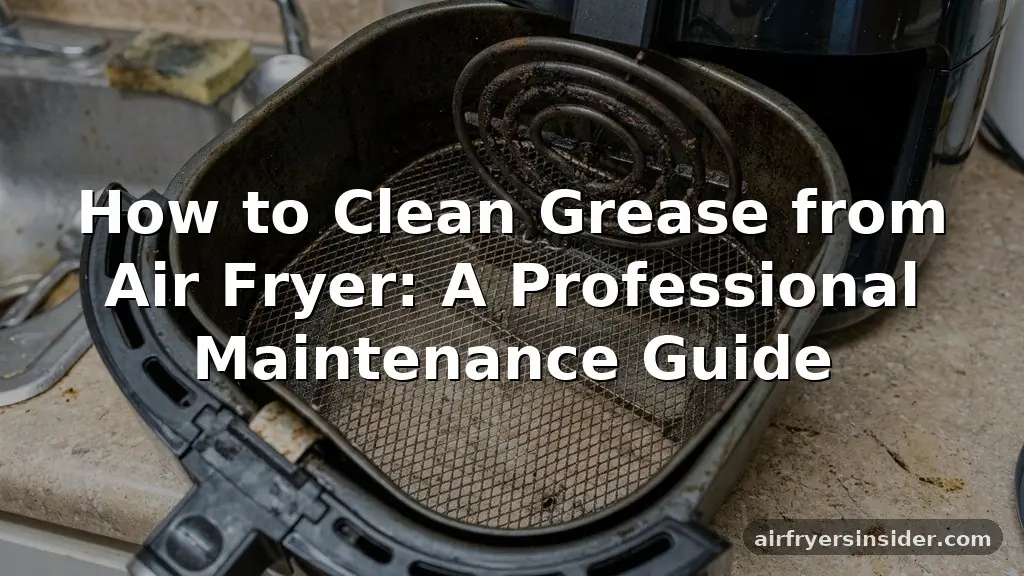
Mastering the art of cleaning grease from an air fryer isn’t just about aesthetics; it’s essential for the longevity of your appliance and the quality of your meals. Over time, stubborn carbonized oil builds up, leading to unpleasant smoke during operation and potentially affecting the taste of your food.
By establishing a consistent routine, you ensure that your equipment remains a reliable kitchen workhorse rather than a source of burnt odors. This guide provides the practical, step-by-step techniques required to restore your appliance to its original condition, helping you manage everything from light daily buildup to heavy, baked-on grime safely and effectively.
Understanding the Mechanics of Air Fryer Buildup
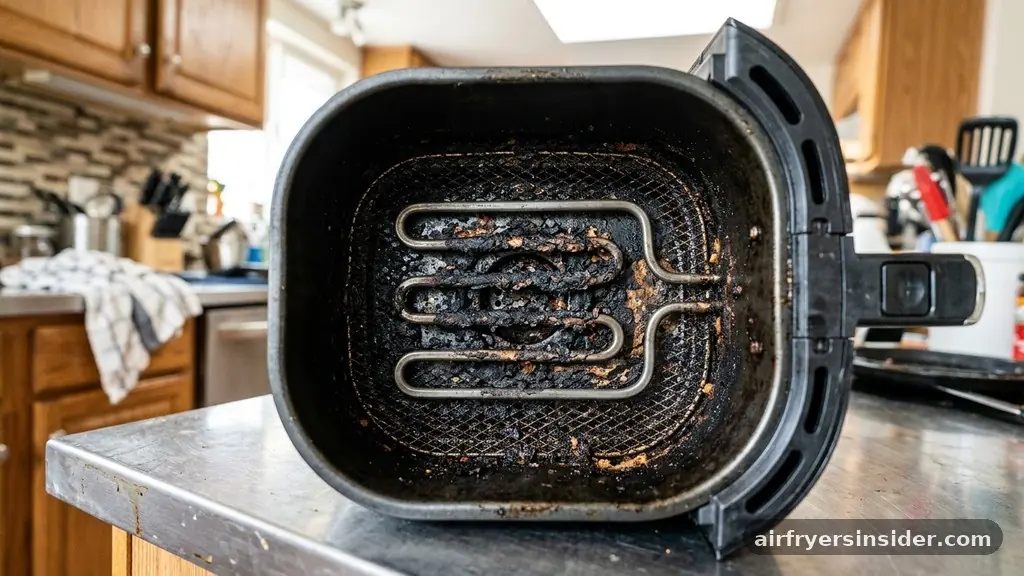
The internal environment of an air fryer is designed to circulate high-velocity hot air, which inevitably carries tiny droplets of fat and oil throughout the chamber. When these droplets land on the walls or the heating element, they undergo a chemical process known as polymerization.
This transforms liquid fat into a sticky, stubborn film that eventually hardens into black, carbonized oil. If you ignore this residue, it can lead to uneven heating or, in more severe cases, fire hazards.
Recognizing that your device needs attention is the first step. You might notice smoke appearing even when the air fryer is empty or smell a burnt aroma during the preheat phase. This is your cue that the non-stick coating is likely harboring layers of old debris.
Because air fryers rely on efficient airflow to crisp food, any obstruction on the fan or the mesh screen can hinder performance. Addressing these areas early prevents the need for aggressive scrubbing, which can damage the delicate surfaces inside your unit.
Essential Tools for Effective Maintenance
Before you begin, gather the right supplies to ensure you don’t compromise the integrity of your appliance. Avoid harsh steel wool or metal scrapers, as these will permanently scratch the non-stick coating, causing food to stick even more in the future. Instead, rely on gentle but effective cleaning agents that break down lipids without stripping the protective finish.
- Non-abrasive sponge: Ideal for daily wiping without scratching.
- Soft-bristle brush: Perfect for reaching into tight corners or cleaning the mesh basket.
- Microfiber cloth: Excellent for final polishing and removing streaks.
- Mild dish soap: The gold standard for cutting through fresh kitchen grease.
- Baking soda: A natural abrasive that helps lift stubborn, dried-on spots.
- White vinegar: Acts as a mild acid to dissolve mineral deposits and light grease.
- Paper towels: Useful for soaking up excess oil before you start scrubbing.
Deep Cleaning the Air Fryer Basket
The air fryer basket is the component that experiences the most direct contact with food debris. Because it is often coated in a non-stick material, it requires a delicate touch. Start by filling the basket with hot water and a generous squirt of high-quality dish soap, such as Dawn dish soap, which is specifically formulated to break down tough lipids.
Let this mixture sit for at least fifteen minutes. This soak allows the water to penetrate the layers of hardened oil, making the subsequent scrubbing much easier.
After the soak, use a non-abrasive sponge to gently wipe away the loosened material. If you encounter stubborn spots, create a paste using baking soda and a tiny amount of water. Apply this to the affected areas and let it sit for a few minutes before wiping it away.
The baking soda provides just enough grit to remove the residue without damaging the coating. Always rinse thoroughly with warm water to ensure no soap or soda residue remains, as this could flavor your next meal.
Tackling the Heating Element Safely
Cleaning the heating element is a delicate process because you must never submerge the electrical components of your unit in water. First, ensure the appliance is completely unplugged and has cooled down for at least thirty minutes.
Tilt the air fryer so you can clearly see the heating element at the top of the chamber. If you notice a buildup of carbonized oil, use a soft-bristle brush to gently dislodge the dry material.
For oily residue that won’t brush off, dampen a microfiber cloth with a mixture of water and a small amount of white vinegar. Carefully wipe the element, being mindful not to drip liquid into the internal wiring. If the grease is particularly thick, you can use a spray bottle to lightly mist the cloth rather than the unit itself.
Never use sharp objects to scrape the element, as you risk puncturing the metal or damaging the internal sensors. Once clean, wipe the area with a fresh, dry cloth to remove any moisture before plugging the unit back in.
Managing Buildup on the Internal Walls
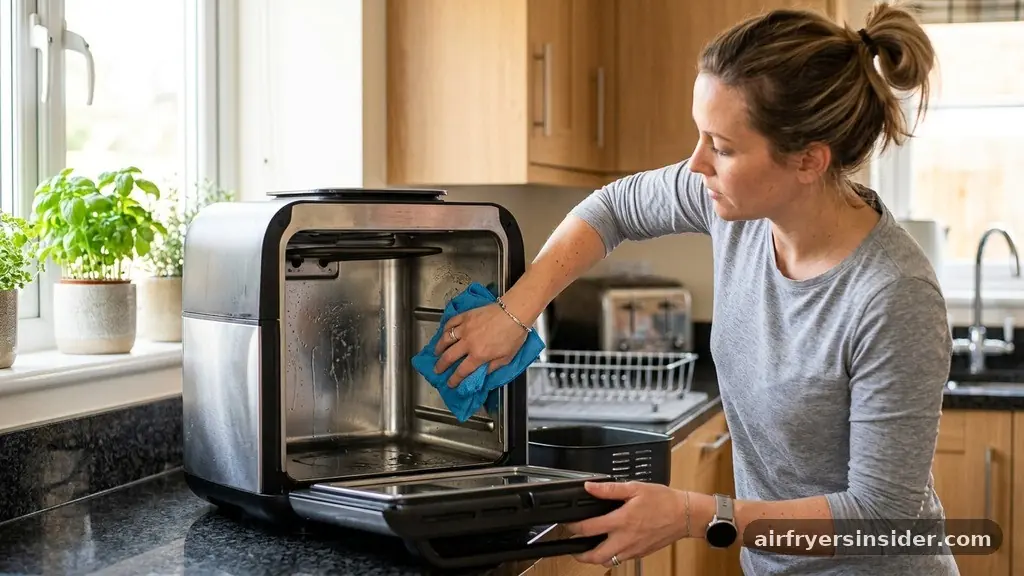
The interior walls of the air fryer chamber often collect fine mists of grease that circulate during the cooking process. Over time, this creates a tacky surface that attracts dust and food particles.
To clean this, you can use a simple solution of dish soap and warm water. Dip your cloth into the mixture, wring it out until it is just damp, and wipe down all the interior surfaces, including the ceiling of the unit.
If you find that the grease has become hard, don’t force it. Instead, place a bowl of water inside the air fryer and run it at a low temperature for about five minutes. The steam generated will help soften the grime on the walls and the fan.
Once the unit is cool enough to touch, proceed with the wiping process. This steam-cleaning hack is a highly effective way to handle buildup without needing to disassemble the housing of the appliance.
Comparing Cleaning Approaches
Different levels of grime require different strategies. Using the right method ensures you aren’t over-cleaning and potentially wearing down the finish, or under-cleaning and leaving a fire hazard behind.
| Level of Buildup | Recommended Method | Frequency |
|---|---|---|
| Light Surface Grease | Damp microfiber cloth | After every use |
| Moderate Food Residue | Soak in warm, soapy water | Weekly |
| Heavy Carbonized Oil | Baking soda paste & gentle scrubbing | Monthly or as needed |
Addressing Topical Gaps in Routine Maintenance
One common mistake users make is neglecting the fan blades located behind or above the heating element. While they are hard to reach, they can accumulate significant grease, which eventually drips down onto your food.
To clean these, use a long-handled soft-bristle brush or a cotton swab dipped in a degreaser or a vinegar-water solution. Carefully rotate the fan blades if possible, ensuring you clean both the front and back edges.
Another frequently overlooked area is the air exhaust vent on the back of the machine. Grease-laden air exits through this vent, and it can become clogged with oil and dust. Use a dry brush to clear the vents from the outside.
If you notice a persistent smell of old grease even after a deep clean, it is likely that the exhaust vent or the fan blades are the culprits. Taking the time to address these hidden areas is the true secret to keeping your kitchen smelling fresh and your appliance performing at its peak.
Preventative Habits for Long-Term Care
The best way to manage grease is to minimize its accumulation before it happens. Always place your air fryer on a level surface away from walls to ensure proper ventilation, which helps prevent grease from settling on nearby surfaces.
If you are cooking particularly fatty foods like bacon or chicken wings, consider placing a small piece of parchment paper or a silicone liner at the bottom of the basket. These liners are designed for high-heat environments and can catch a significant amount of the rendered fat.
Additionally, avoid using aerosol cooking sprays directly inside the basket. These sprays often contain additives like soy lecithin, which can build up on non-stick surfaces and become nearly impossible to remove without damaging the coating.
Instead, use a refillable oil mister with pure olive or avocado oil. By being mindful of what you put into the basket and how you prepare your ingredients, you significantly reduce the frequency of deep cleaning required, extending the life of your appliance.
Solving Common Cleaning Challenges
Sometimes, despite your best efforts, you might encounter a situation where the grease simply won’t budge. If you have a stubborn patch that has been through multiple heating cycles, it may have turned into a hard, black carbon crust.
In these instances, you might be tempted to use a chemical oven cleaner, but this is usually ill-advised for air fryers. The harsh chemicals can react poorly with the internal components and may be difficult to rinse away completely, posing a health risk.
Instead, stick to a longer soak. Fill the basket with hot water, add a generous amount of dish soap, and perhaps a tablespoon of baking soda. Let this sit overnight.
The extended contact time will often lift even the most stubborn, aged grease. If the residue is on the heating element, you can try creating a paste of baking soda and water, applying it, and letting it sit for an hour before gently wiping it away with a damp cloth. Patience is your best tool when dealing with long-term neglect; there is rarely a need for harsh, abrasive measures if you give the natural cleaning agents enough time to do their work.
FAQ
What is the biggest mistake people make when cleaning an air fryer?
The most common error is using abrasive scrubbers like steel wool on the basket’s non-stick coating. This creates microscopic scratches that trap oil, making future cleaning much harder. Always stick to soft sponges or microfiber cloths to preserve the surface finish and prevent food from sticking.
Can I use baking soda and vinegar to clean my air fryer?
Yes, but use them separately. Baking soda acts as a mild abrasive to scrub away residue, while white vinegar helps dissolve grease and mineral buildup. Mixing them together creates a fizzing reaction that neutralizes both, essentially turning them into salt water and rendering them ineffective for deep cleaning.
How do I get rid of the burnt grease smell?
If your air fryer smells like burnt oil, you likely have carbonized residue on the heating element or the fan. Perform a steam clean by running the unit with a bowl of water inside. Afterward, wipe down the interior walls and carefully clean the heating element with a damp cloth.
Is it safe to put air fryer parts in the dishwasher?
While many modern air fryer baskets are labeled as dishwasher safe, frequent high-heat cycles can degrade the non-stick coating faster than hand washing. If you want to maximize the lifespan of your appliance, hand washing with mild dish soap and warm water is always the preferred, gentler method.
Conclusion
Maintaining your appliance through regular cleaning ensures that you can continue enjoying crispy, delicious meals without the interference of burnt odors or smoke. By focusing on the basket, the heating element, and the internal chamber, you prevent the buildup of stubborn kitchen grease that characterizes poor maintenance. Remember that a gentle, consistent approach is far more effective than aggressive scrubbing, which can damage the delicate non-stick layers.
Incorporating these simple steps into your post-cooking routine will save you time and preserve the functionality of your machine for years to come. Start by wiping down the surfaces after every use, and you will find that the need for deep, intensive cleaning sessions becomes significantly less frequent. Your air fryer is a valuable tool, and with just a little care, it will remain a clean and reliable part of your kitchen for a long time.


