

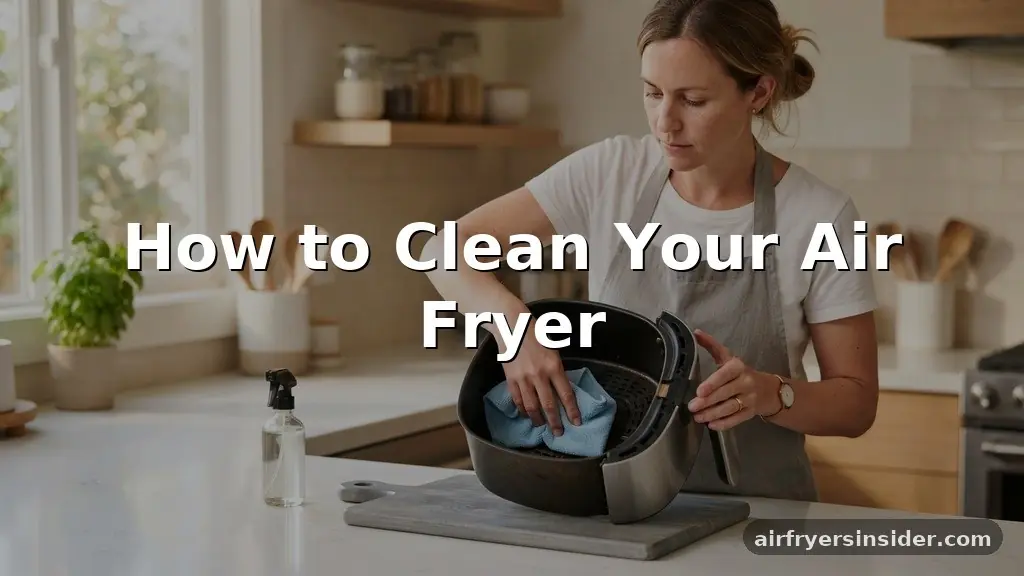
Keeping your kitchen appliances in top shape ensures better tasting food and a longer lifespan for your gear. If you are learning how to clean your air fryer, you are taking a crucial step toward better appliance hygiene. Grease and food crumbs inevitably accumulate during daily use, which can lead to smoking, uneven cooking, or even unpleasant odors that linger in your kitchen.
By following a regular maintenance routine, you ensure that your air fryer continues to operate efficiently. This process is straightforward once you understand the right tools to use and the specific parts that require your attention after every cooking cycle.
Establishing a Routine for Daily Maintenance
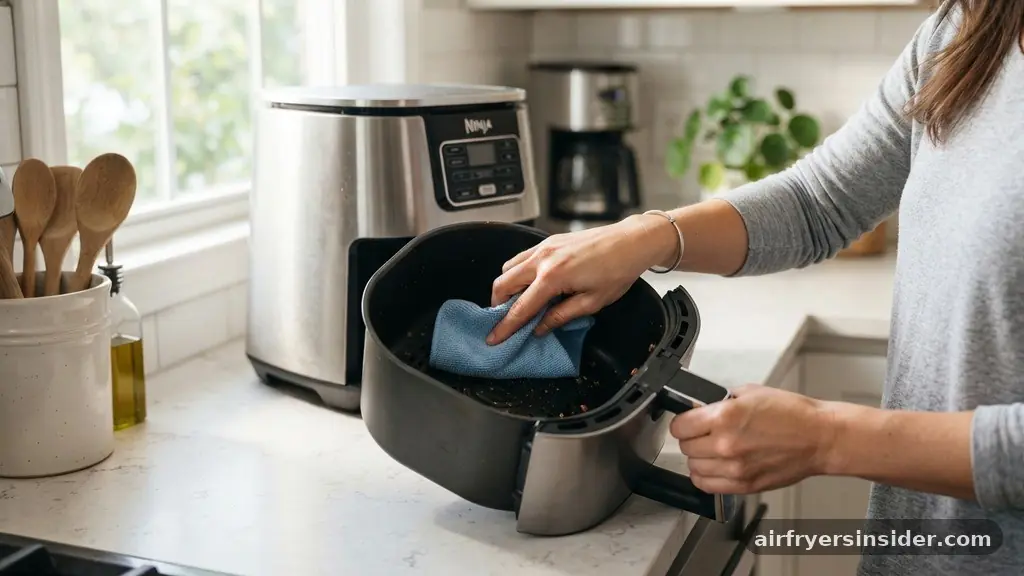
The most effective way to manage grease buildup is to address it immediately after the appliance has cooled down. Allowing food particles to sit on the surface for days makes them much harder to remove later. Once the air fryer is cool to the touch, start by removing the air fryer basket and any trays.
If your model has a non-stick coating, you must be careful to avoid harsh scrubbers that can scratch the finish. Using a soft-bristle brush or a simple microfiber cloth is usually sufficient for wiping away loose crumbs and light oil residue.
For the basket and tray, warm soapy water is your best friend. Submerge these parts in a sink filled with hot water and a mild dish soap. Let them soak for about ten minutes if there is significant residue.
This soaking period loosens the debris, making it easier to wipe away without needing excessive force. After washing, ensure you rinse the components thoroughly to remove any soap film.
Finally, dry them completely with a clean towel or paper towel before placing them back into the unit. Storing wet components can lead to moisture buildup inside the device, which is never ideal for electrical appliances.
Deep Cleaning the Interior and Heating Element
While the basket is the most visible part, the interior cavity of your air fryer also collects splatter over time. To clean the upper area where the heating element resides, you may need to turn the unit upside down or on its side to get a better view.
Use a damp cloth or a soft-bristle brush to gently wipe away any carbonized grease that has accumulated on the ceiling of the unit. Be extremely gentle around the heating element, as it is a delicate component that should never be scrubbed aggressively or submerged in water.
If you notice stubborn burnt food residue near the top, a paste made of baking soda and a tiny amount of water works wonders. Apply this mixture to the affected areas using a non-abrasive sponge and let it sit for a few minutes. The baking soda acts as a mild abrasive that lifts the grime without damaging the metal surfaces.
After scrubbing, wipe the area clean with a damp cloth until all traces of the paste are gone. Remember to keep the unit unplugged during this entire process to ensure your safety.
Handling Tough Grease with Natural Solutions
Sometimes, standard soap and water are not enough to break down the hardened grease that accumulates on the basket or the splatter guard. In these instances, white vinegar is an excellent natural degreaser. You can create a cleaning solution by mixing equal parts white vinegar and warm water in a spray bottle.
Spray this solution onto the greasy surfaces and allow it to sit for ten to fifteen minutes. The acidity in the vinegar helps dissolve the stubborn oil layers, making it much easier to wipe clean.
For extremely heavy grease buildup, you can combine the vinegar method with a baking soda soak. Sprinkle baking soda over the damp, vinegar-soaked surfaces to create a mild chemical reaction that lifts the grease away from the material. Use a non-abrasive sponge to work the mixture into the corners of the basket.
This combination is particularly effective for those hard-to-reach nooks where food debris likes to hide. Always rinse the items thoroughly after using vinegar to ensure no acidic taste or smell carries over to your next meal.
Understanding the Components of Your Appliance
Knowing the anatomy of your device is essential for proper upkeep. Most modern air fryers consist of a main housing unit, a cooking basket, a removable tray, and a fan assembly located near the heating element. The following table provides a quick reference for cleaning different parts of your machine and the appropriate cleaning tools.
| Component | Cleaning Frequency | Recommended Tools |
|---|---|---|
| Cooking Basket | After every use | Dish soap, non-abrasive sponge |
| Removable Tray | After every use | Warm soapy water, soft brush |
| Heating Element | Monthly or as needed | Damp cloth, soft-bristle brush |
| Exterior Housing | Weekly | Microfiber cloth, mild cleaner |
Each part plays a role in the air circulation process. If the fan or the heating element is obstructed by grease or debris, the air circulation is compromised.
This leads to longer cooking times and inconsistent results. By keeping these specific areas clean, you ensure that the hot air flows freely around your food, which is the secret to getting that perfect, crispy texture every time you cook.
Addressing Common Topical Gaps in Maintenance
Many users wonder if they can simply put everything in the dishwasher. While some air fryer baskets are labeled as dishwasher safe, frequent high-heat washing can degrade the non-stick coating much faster than hand washing. If you choose to use the dishwasher, place the basket on the top rack and avoid using heavy-duty cycles.
However, hand washing remains the gold standard for preserving the life of your non-stick surfaces. Another common gap is the exterior of the unit; people often forget to wipe down the outside, which leads to a sticky layer of dust and oil settling on the plastic or metal casing over time.
Additionally, many users are unsure about how to clean the ventilation ports. These vents are crucial for heat dissipation. If they become clogged with dust or grease, the unit can overheat.
Use a vacuum attachment or a dry, soft-bristle brush to clear the dust from the exterior vents. Never use liquid cleaners directly on the vents, as moisture must not enter the internal electrical components. A simple, dry maintenance pass once a month will keep your air fryer breathing properly and functioning at its peak performance level.
Safety First: Handling Electrical Components
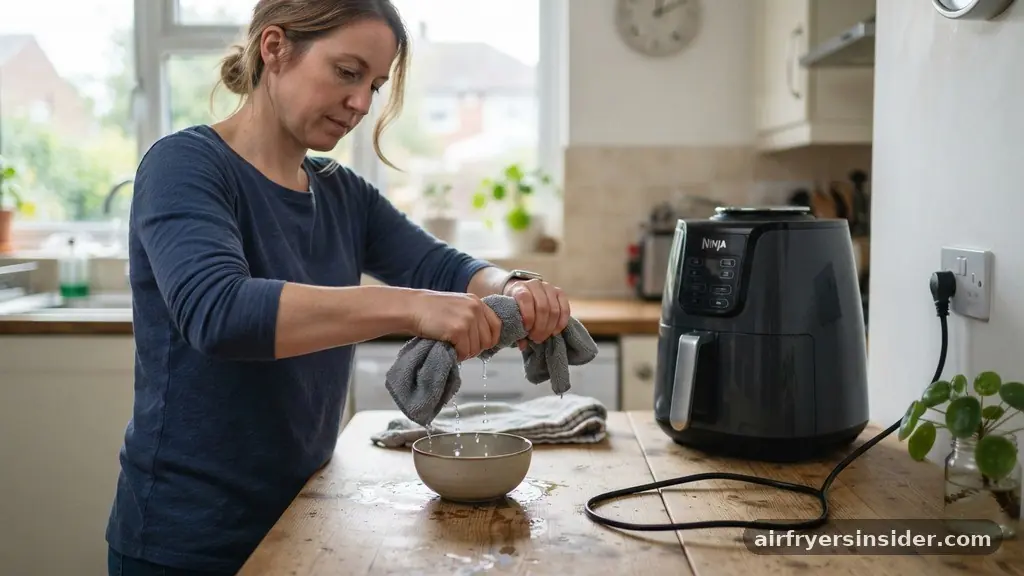
When you decide to clean your air fryer, safety must be your primary concern. Always ensure the device is completely unplugged and has cooled down for at least 30 minutes before you begin.
Water and electricity are a dangerous combination, so never spray liquid directly into the housing or near the electrical cord connection. If you must use a damp cloth, ensure it is wrung out well so that no water drips into the internal circuitry.
If you accidentally get water inside the machine, do not plug it back in immediately. Allow it to sit in a well-ventilated area for at least 24 hours to ensure that all moisture has evaporated.
If you notice any fraying on the power cord or damage to the heating element during your cleaning process, stop using the appliance immediately. Appliance hygiene is about safety as much as it is about cleanliness; ignoring damaged parts can lead to electrical hazards or fire risks that far outweigh the convenience of a quick meal.
Best Practices for Preventing Buildup
Prevention is always easier than scrubbing burnt-on carbonized grease. One of the best ways to keep your air fryer clean is to use parchment paper liners or silicone inserts designed for air fryers. These liners catch the majority of the fat and crumbs, preventing them from ever reaching the basket’s surface.
When you are finished cooking, you can simply lift out the liner and wipe the basket with a damp cloth. This simple switch can save you hours of scrubbing over the lifetime of your appliance.
Another tip is to avoid using aerosol cooking sprays. These sprays often contain additives and propellants that can build up on the non-stick coating and become gummy over time. Instead, use a refillable oil mister or brush a small amount of oil onto your food before placing it in the basket.
This gives you more control and prevents the excess oil from coating the interior walls of your air fryer. By making these small adjustments to your cooking habits, you significantly reduce the frequency with which you need to perform a deep clean.
The Importance of Proper Drying
After washing your components, the drying phase is often rushed, yet it is arguably the most important step for long-term maintenance. Leaving moisture on the metal trays or inside the basket can lead to oxidation or spots.
Always use a lint-free microfiber cloth to dry the parts thoroughly. If you are in a rush, you can place the washed components back into the air fryer and run it on a low temperature setting for two to three minutes without any food inside.
This “heat-dry” method ensures that every drop of water is evaporated, particularly in the small crevices where a towel might not reach. However, never run the air fryer empty for long periods. A few minutes is sufficient to dry the internal surfaces.
Once the parts are completely dry, store them in a cool, dry place if you do not keep them inside the unit. Proper storage prevents dust from settling on the clean components and ensures that your next cooking session is ready to go without any pre-cleaning.
Natural Deodorizing Techniques
If your air fryer has developed a persistent odor from cooking pungent foods like fish or spicy wings, there are ways to neutralize it without using harsh chemicals. A simple trick is to place a heat-safe bowl containing a mixture of water and lemon juice inside the basket.
Run the air fryer at a medium temperature for about five minutes. The steam produced by the lemon water will circulate through the unit and help neutralize any lingering odors.
Another effective method involves using a small amount of vinegar in a bowl during the same process. The steam helps break down any remaining invisible grease particles that might be holding onto those smells. After the cycle is finished, let the unit cool and wipe it down one last time with a clean, dry cloth.
This process keeps your kitchen smelling fresh and ensures that the flavors from your last meal do not transfer to your next dish. Consistent maintenance is the key to enjoying your appliance for years to come.
Frequently Asked Questions
Is it safe to put my air fryer basket in the dishwasher?
While many manufacturers claim their baskets are dishwasher safe, the high heat and harsh detergents can damage the non-stick coating over time. It is generally safer and better for the longevity of your appliance to hand wash the basket using warm soapy water and a soft sponge.
How do I remove stuck-on grease from the basket?
To remove stubborn grease, create a paste using baking soda and a little water. Apply it to the affected area and let it sit for 15 minutes. The baking soda acts as a gentle abrasive that lifts the grime, which you can then wipe away with a non-abrasive sponge.
Can I use a metal scouring pad to clean the air fryer?
You should never use a metal scouring pad or any abrasive tool on your air fryer. These items will scratch and ruin the non-stick coating, which causes food to stick even more in the future. Always opt for a soft-bristle brush, a microfiber cloth, or a gentle sponge.
How often should I deep clean the heating element?
You should inspect the heating element every few weeks. If you notice a buildup of grease or food residue, perform a gentle cleaning using a damp cloth or a soft-bristle brush. Keeping the element clean prevents smoking and ensures that your food cooks evenly during every use.
Maintaining Your Appliance for Longevity
Taking the time to understand how to clean your air fryer is an investment in your kitchen equipment. By removing food debris and managing grease buildup after every cooking session, you prevent the accumulation of carbonized residues that can affect both the taste of your food and the safety of your home. Incorporating simple habits like using parchment liners and performing regular, gentle cleanings ensures that your air fryer remains a reliable tool for quick, healthy meals.
If you ever notice persistent issues like uneven cooking or unusual smells, a thorough cleaning is usually the first step to restoring your machine to its original performance. Keep your appliance in great shape, and it will continue to deliver those perfectly crispy results whenever you need them.


