

Learning how to cook frozen brussel sprouts in air fryer is one of the most effective ways to transform a bag of icy vegetables into a restaurant-quality side dish. Many home cooks struggle with the soggy, mushy texture often associated with microwaving or boiling frozen greens, but the intense heat of an air fryer solves this problem entirely.
By utilizing rapid convection cooking, you can achieve a delightful crispy texture while keeping the centers tender. This method is perfect for busy weeknights when you need a healthy, low-carb side dish without the hassle of extensive vegetable prep.
Understanding the Science of Convection Cooking for Sprouts
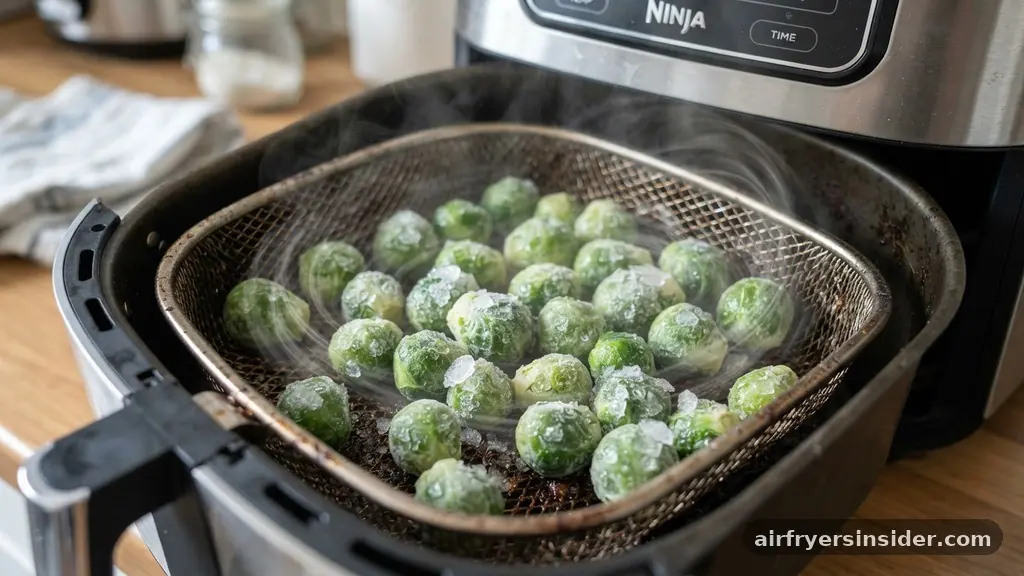
The secret to achieving a perfect result lies in how air fryers handle moisture. Unlike a traditional oven, which relies on ambient heat to warm your food, an air fryer uses a powerful fan to circulate hot air at high speeds.
When you are cooking frozen brussel sprouts in the air fryer, that circulating air works to actively strip away the surface moisture that accumulates as the ice crystals melt. This process is essential for achieving the Maillard reaction, the chemical change that creates a golden-brown, flavorful crust on your vegetables.
Without this rapid airflow, frozen sprouts would simply steam in their own juices, leading to a limp and unappealing texture. By maintaining a high cooking temperature, usually around 375°F to 400°F, you ensure that the exterior crisps up before the interior turns into mush.
It is a balancing act of thermodynamics where the goal is to drive off surface water quickly while allowing the heat to penetrate the core of the sprout. When done correctly, the result is a vegetable that tastes like it was freshly harvested and roasted for an hour in a professional kitchen.
The Importance of Proper Seasoning and Oil
Even the best cooking technique will fall flat if you don’t properly coat your produce. Since frozen brussel sprouts lack the natural oils of fresh ones, they require a little help to crisp up effectively. A light coating of extra virgin olive oil is the gold standard here.
The oil acts as a heat conductor, helping the surface of the sprout reach the temperature needed for browning. Without it, you are essentially just dehydrating the vegetable, which can lead to a dry, papery exterior rather than a crunchy one.
Beyond oil, seasoning is where you can truly make the dish your own. Start with a foundation of kosher salt and freshly cracked black pepper. These are non-negotiable for bringing out the inherent nuttiness of the cruciferous vegetable.
For extra depth, consider adding garlic powder or onion powder. These dry spices adhere well to the oiled surfaces and won’t burn as easily as fresh minced garlic might during the extended roasting time. If you want to experiment, a pinch of smoked paprika or red pepper flakes adds a nice bit of heat that pairs perfectly with the slight bitterness of the sprouts.
Optimizing Your Cooking Temperature and Time
Finding the right balance for your cooking time and temperature is vital for success. While every appliance is slightly different—a Ninja Foodi might run hotter than a basic basket-style air fryer—the general rule is to aim for a consistent heat.
Most frozen sprouts require between 15 and 20 minutes at 375°F. If you prefer them extra charred, you can bump the temperature up to 400°F for the final five minutes, but keep a close eye on them to prevent burning.
It is also important to consider the quantity you are putting into the basket. Overcrowding is the enemy of crispiness. If the basket is packed too tightly, the air cannot flow around the individual sprouts, and they will steam rather than roast.
If you have a large family, it is better to cook in batches rather than cramming everything into one load. The following table provides a quick reference for adjusting your strategy based on the amount of sprouts you are preparing.
| Batch Size | Cooking Temp | Estimated Time |
|---|---|---|
| Half Bag (8oz) | 375°F | 12-15 Minutes |
| Full Bag (16oz) | 385°F | 18-22 Minutes |
| Double Batch | 400°F | 25+ Minutes (Shake often) |
Mastering the Shake Basket Technique
One of the most common mistakes beginners make is setting the timer and walking away until the end. To achieve a uniform texture, you must shake the basket periodically throughout the cooking process.
This simple action redistributes the sprouts, ensuring that the ones on the bottom get a chance to face the heating element and the ones on the top don’t get scorched. I recommend shaking the basket every five minutes.
When you shake the basket, you are also helping to facilitate moisture evaporation. As the sprouts tumble, any trapped steam is released, and the surfaces are re-exposed to the dry, circulating air. If you are using a model with an air fryer rack, you might find that you don’t need to shake as often, but it is still good practice to check on their progress.
If you notice some sprouts are darkening faster than others, use a pair of tongs to move them around manually. This attention to detail is what separates a mediocre side dish from a truly excellent one.
Handling Freezer Burn and Ice Accumulation
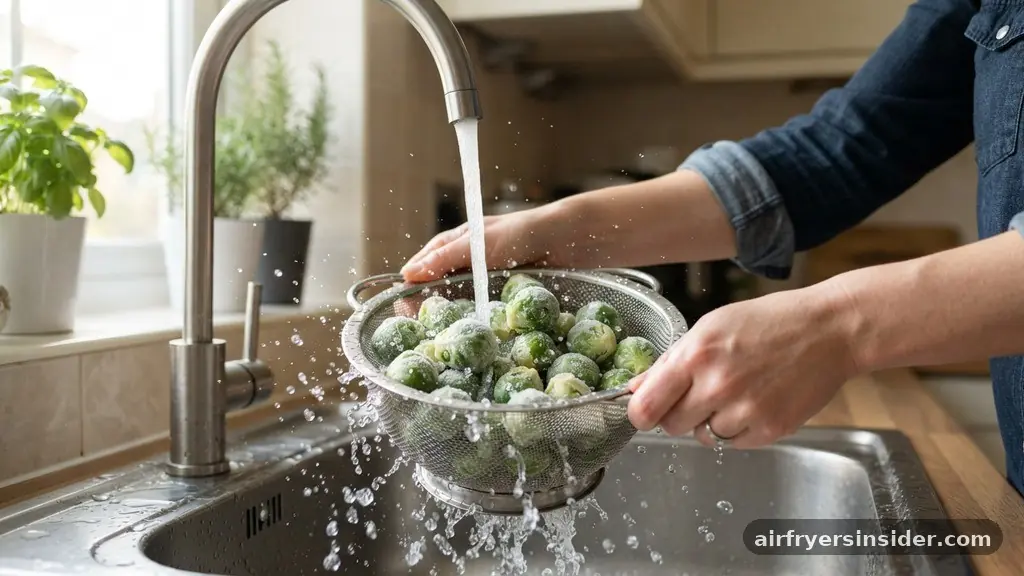
Freezer burn is a common issue with long-term storage of frozen produce. When you pull a bag of sprouts from the back of your freezer, you might notice thick layers of ice crystals or white, dehydrated patches on the leaves. While these won’t make you sick, they can certainly ruin the flavor profile.
Before you begin cooking, take a moment to inspect your frozen produce. If there is significant ice buildup, give the sprouts a quick rinse in a colander under cold water and then pat them extremely dry with paper towels.
Removing that excess surface water is critical. If you put wet sprouts directly into the air fryer, the appliance will spend the first ten minutes of the cycle just boiling off that water.
By drying them beforehand, you give the air fryer a head start, allowing it to focus on roasting and caramelization immediately. If the sprouts seem severely freezer-burned, they may be best suited for a soup or a stew rather than an air-fried side dish, as the texture will likely be compromised regardless of your technique.
Advanced Flavor Enhancements and Toppings
Once you have mastered the basic technique, you can elevate your dish with simple post-cooking additions. The key is to add your glazes or cheeses after the sprouts have finished their main roasting cycle.
Adding a balsamic glaze midway through the process will cause the sugars in the glaze to burn, resulting in a bitter, charred mess. Instead, pull the basket out when the sprouts are perfectly crispy, toss them in a bowl with your chosen toppings, and serve immediately.
- Balsamic Glaze: Drizzle a high-quality glaze over the sprouts just before serving for a sweet and tangy contrast.
- Parmesan Cheese: Toss the hot sprouts with freshly grated parmesan so the cheese melts slightly into the crevices of the leaves.
- Toasted Nuts: Add crushed walnuts or pecans for a satisfying crunch that complements the earthy flavor of the sprouts.
- Lemon Zest: A bright pop of fresh lemon zest can cut through the richness of the oil and cheese, adding a clean finish.
- Crispy Bacon: Crumble cooked bacon over the top to add a smoky, savory element that pairs perfectly with roasted greens.
Addressing Common Topical Gaps in Air Fryer Cooking
Many guides fail to mention the importance of preheating. While many air fryers claim to be “instant,” preheating for three minutes ensures the heating element is at full capacity the moment the food enters the chamber. Another frequently overlooked aspect is the type of oil used.
Avoid oils with low smoke points, such as extra virgin olive oil if you are cooking at 400°F or higher, as they can smoke and impart a burnt taste. Avocado oil or refined grapeseed oil are excellent alternatives for higher heat settings.
Furthermore, people often ask if they should thaw the sprouts before cooking. The answer is a resounding no. Thawing frozen vegetables usually leads to a mushy, waterlogged texture that the air fryer cannot fix.
You should always cook them straight from the frozen state. By keeping them frozen, you ensure that the interior stays firm while the exterior crisps up, maintaining the integrity of the vegetable throughout the entire cooking process. If you find your sprouts are consistently soft, try increasing the temperature by 15 degrees rather than increasing the time, as too much time can lead to a dehydrated, woody texture.
Equipment Considerations for Different Models
Whether you are using a high-end Ninja Foodi or a budget-friendly Cosori unit, the principles of air frying remain the same, but the execution can vary. Basket-style fryers are generally more efficient at crisping because the air is concentrated in a smaller space. If you are using a toaster-oven style air fryer, you may find that you need to extend the cooking time by a few minutes because the heat is distributed over a larger volume.
If your model comes with an air fryer rack, use it to elevate the sprouts. This allows the hot air to circulate underneath the food, not just around the sides. This is particularly helpful if you are cooking a large portion.
Regardless of the brand, always ensure that your unit is placed on a heat-resistant surface with plenty of clearance around the vents. Air fryers need to intake and exhaust air efficiently to function properly; if the vents are blocked, the internal temperature will fluctuate, leading to unevenly cooked food.
The Nutritional Benefits of Air Fried Sprouts
Choosing to cook your vegetables in an air fryer is not just about the convenience or the texture; it is a nutritionally sound decision. Because this method requires significantly less oil than deep frying or even traditional pan roasting, you are cutting down on unnecessary calories while still enjoying a satisfying, crunchy side dish.
Brussels sprouts are an incredible source of dietary fiber, vitamins K and C, and antioxidants. By cooking them in a way that preserves their color and flavor, you are much more likely to incorporate them into your regular meal rotation.
This preparation style is a staple for those following a low-carb side dish lifestyle. It provides the bulk and satiety of a heavier starch without the blood sugar spike associated with potatoes or grains.
When you make this a habit, you are essentially increasing your intake of cruciferous vegetables, which are linked to improved digestion and better heart health. It is a win-win situation where you get the convenience of frozen convenience food combined with the health profile of a fresh, home-cooked vegetable meal.
Frequently Asked Questions
Can I put frozen Brussels sprouts directly in the air fryer?
Yes, you should always cook them straight from the freezer. Thawing them beforehand causes them to release too much water, which results in a mushy texture. Simply toss the frozen sprouts in oil and seasoning, then place them directly into the preheated basket for the best possible results.
How long do frozen Brussels sprouts take in the air fryer?
Generally, it takes about 15 to 20 minutes at 375°F. The exact time depends on your specific air fryer model and the size of the sprouts. It is best to check them at the 12-minute mark and shake the basket to ensure even cooking and browning on all sides.
What is the secret to getting them crispy?
The secret is to ensure the sprouts are dry before seasoning and to avoid overcrowding the basket. Using a high heat setting, such as 375°F or 400°F, and shaking the basket every five minutes allows the moisture to evaporate, which is essential for achieving that desirable crispy texture.
Can I add sauce during the air frying process?
It is better to add sauces like balsamic glaze or honey after the cooking process is complete. Adding sugary or liquid sauces while the sprouts are in the air fryer will likely cause them to burn or create a sticky mess, which can be difficult to clean from your basket.
Final Thoughts on Perfect Roasted Sprouts
Mastering the process of cooking frozen brussel sprouts in air fryer is a simple way to upgrade your weeknight routine. By focusing on high heat, proper seasoning, and the essential step of shaking the basket, you can achieve a result that defies the common perception of frozen vegetables. Remember to keep the sprouts frozen, use just enough oil to coat them, and don’t be afraid to experiment with different spices once you have the technique down.
Whether you serve them as a simple side or dress them up with parmesan and balsamic, these crispy sprouts are bound to become a regular fixture in your kitchen. Start with a small batch to get a feel for your specific appliance, and you will soon find that you never need to rely on the oven for these delicious morsels again.
Meta Description: Learn how to cook frozen brussel sprouts in air fryer for a perfect crispy texture. Follow this guide for temperature, seasoning tips, and simple steps.


