

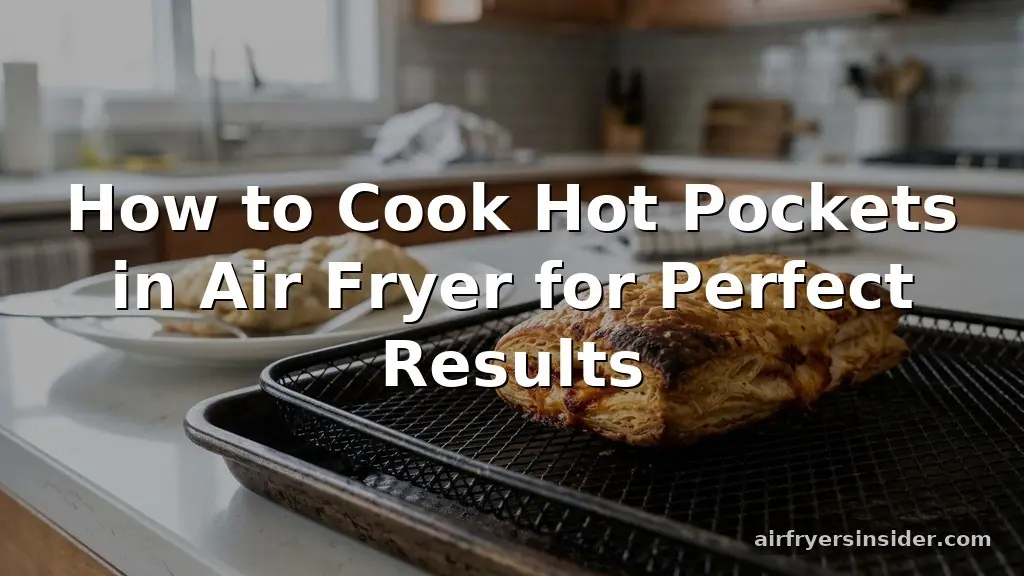
Achieving the perfect balance of a molten, savory center and a flaky, crunchy exterior is the primary challenge when preparing frozen snacks. While the microwave is often the default method due to its speed, it frequently results in a soggy crust that lacks any real texture. Learning how to cook hot pockets in air fryer setups changes the game entirely, leveraging convection cooking to transform a simple snack into a high-quality bite.
By utilizing the rapid air circulation inherent in these compact kitchen appliances, you can achieve a crispy crust that rivals traditional oven-baked results without the long wait time. This method is becoming the gold standard for those who prioritize both speed and quality in their quick meal preparation.
Why the Air Fryer Outperforms the Microwave
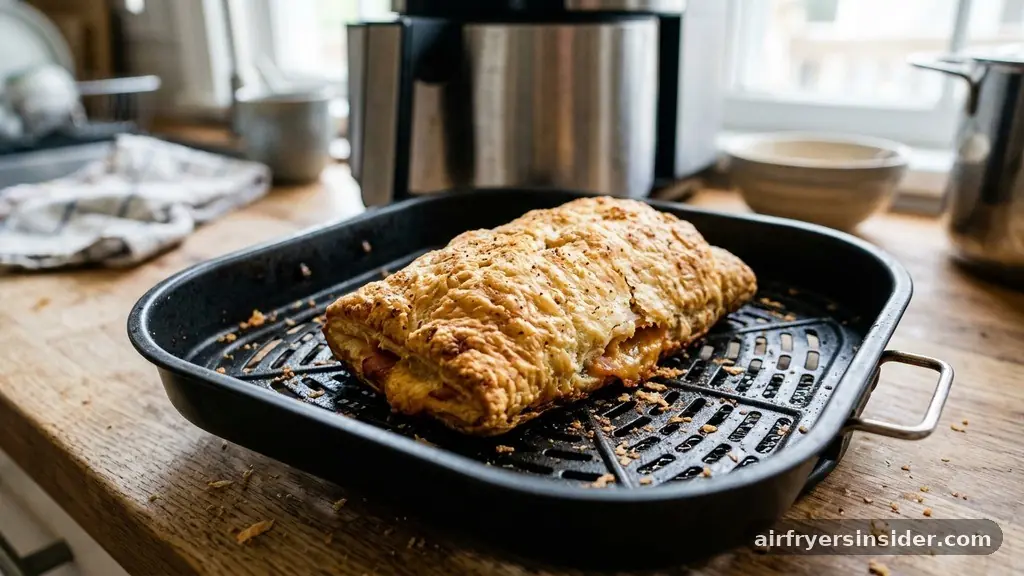
When comparing microwave vs air fryer performance, the fundamental difference lies in how heat is applied to the frozen pastry. Microwaves agitate water molecules within the food, which effectively heats the center but often leaves the outer dough soft, chewy, or even rubbery.
In contrast, an air fryer acts as a miniature, high-powered convection oven. It forces hot air to envelop the food from all sides, dehydrating the surface of the dough just enough to create that desirable crunch.
Beyond the texture, the air fryer offers superior heat distribution. In a microwave, you often encounter “cold spots” where the cheese remains frozen while the edges are lava-hot. Because air fryers use a fan to circulate heat, the temperature remains more consistent throughout the cooking chamber.
This ensures that the pepperoni pizza or ham and cheese filling reaches a safe internal temperature evenly. For anyone who values the sensory experience of a snack—the crunch of the bite followed by the savory steam—the air fryer is objectively the better tool. It elevates a standard grocery store staple into something that feels more like a gourmet appetizer, proving that the right kitchen appliance choice can drastically improve your dining experience.
The Science of Crispy Crusts and Heat Transfer
To understand why air frying works so well for snack food, you have to look at the mechanics of the crust. The exterior of a Hot Pocket is a specialized dough designed to hold up under heat.
When you use a crisping sleeve in the microwave, you are relying on a susceptor material to absorb microwave energy and turn it into heat. However, this is often insufficient to produce a true golden brown finish.
Air frying utilizes the Maillard reaction more effectively. As the hot air hits the surface of the dough, the reduction in surface moisture allows the sugars and proteins in the pastry to brown and crisp up. This process requires a specific cooking temperature—typically between 350°F and 380°F—to ensure the outside doesn’t burn before the inside is thawed.
By managing the air fryer basket density, you allow the heat to penetrate the dough properly. If you pack the basket too tightly, you restrict the airflow, which negates the benefit of convection. Therefore, maintaining space around each piece is essential for achieving that professional-level texture.
Step-by-Step Guide to Optimal Air Fryer Prep
Successfully preparing these items requires a structured approach. Start by checking the frozen food safety guidelines on the packaging to ensure the product has been handled correctly before it hits your kitchen. Follow these steps to maximize your results:
- Preheat your machine: Always preheat your air fryer for at least three to five minutes. This ensures the cooking process begins at the target temperature immediately, preventing the dough from drying out while the machine ramps up.
- Arrange correctly: Place the Hot Pockets in a single layer. Do not stack them. Proper spacing ensures the air circulation can reach every side of the pastry.
- Use a light coating: While the dough has some fat, a quick spritz of non-stick spray can enhance the browning process, ensuring a more uniform color.
- Monitor the time: Start with a lower time and check the progress. The cooking time will vary depending on your specific model, so visual cues are your best friend.
- The cooling phase: Let the snack sit for two minutes after removing it from the basket. This allows the internal filling to stabilize, reducing the risk of a mouth burn.
Managing Cooking Time and Temperature Variations
One of the most common questions is how long to leave the food in the basket. Because air fryers vary in wattage and fan strength, there is no single “magic number.”
However, most users find that 360°F for 10 to 12 minutes is the sweet spot. If you prefer a darker, more robust crunch, you might nudge the temperature up to 375°F, but keep a close eye on it to avoid scorching the edges.
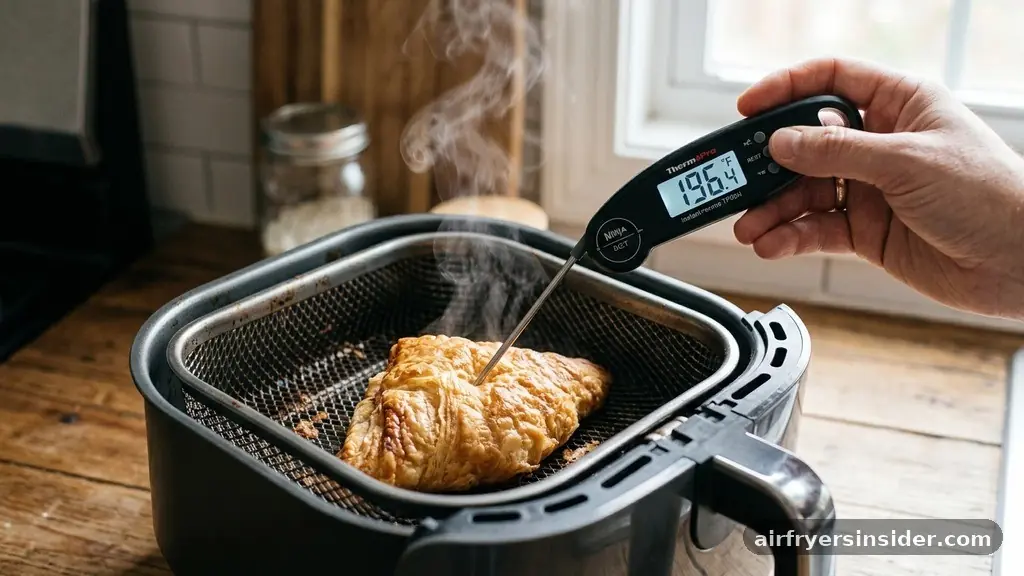
It is also important to note that the internal temperature should reach 165°F to ensure the filling is piping hot and safe to eat. If you are unsure, using a digital food thermometer is the most accurate way to verify doneness. Unlike a toaster oven, which takes longer to heat up and often lacks the same fan intensity, the air fryer is highly efficient.
If you are cooking multiple pieces, you may need to add an extra minute or two to the total duration, but avoid overcrowding. If you find the top is browning too quickly, you can flip the Hot Pockets halfway through the cycle to ensure even browning on both sides.
Addressing Common Pitfalls and Troubleshooting
Even with a simple process, errors can occur. One frequent issue is the filling leaking out of the seams. This usually happens if the temperature is too high, causing the filling to expand faster than the dough can hold it.
If you notice leaks, lower the temperature slightly and increase the time. Another issue is a “soggy bottom.” This happens when moisture gets trapped between the pastry and the bottom of the air fryer basket.
To combat this, consider using a piece of perforated parchment paper designed for air fryers. This allows air to flow underneath the food while preventing sticking. If you do not have parchment paper, ensure the basket is clean and free of debris from previous meals.
Another trick is to rotate the pastries halfway through. This simple movement helps redistribute the heat and ensures that no single spot of the dough remains in contact with the metal grate for the entire duration, which can sometimes lead to uneven texture.
Maximizing Snack Convenience Without Sacrificing Quality
The primary appeal of these products is snack convenience. In a busy household, being able to pull a snack from the freezer and have it ready in under 15 minutes is a major benefit.
By optimizing your air fryer technique, you aren’t just saving time; you are ensuring that the convenience doesn’t come at the cost of enjoyment. Many people keep a rotation of frozen items on hand for quick lunches or late-night snacks, and the air fryer makes these items feel like a deliberate choice rather than a last-resort meal.
Think of the air fryer as an upgrade to your kitchen workflow. It bridges the gap between the speed of the microwave and the quality of the oven.
When you master the settings, you can achieve a golden brown exterior that makes the snack feel fresh rather than reheated. This approach allows you to enjoy a variety of flavors—from classic pepperoni to specialty blends—with a consistent, high-quality result every single time you hit the start button.
Comparing Methods: Air Fryer vs Traditional Toaster Oven
Many people debate the merits of a toaster oven versus an air fryer. While a toaster oven is excellent for larger portions, it often lacks the high-velocity fan that defines an air fryer.
The air fryer’s ability to move air rapidly is what creates the superior crust. A toaster oven relies more on radiant heat, which is fine for melting cheese but slower to crisp the dough.
The following table provides a quick reference for how these two methods compare when preparing frozen pastries:
| Feature | Air Fryer | Toaster Oven |
|---|---|---|
| Cooking Speed | Fast (10-12 mins) | Moderate (15-20 mins) |
| Crust Texture | Very Crispy | Soft to Crispy |
| Heat Source | Convection Fan | Radiant Elements |
| Preheat Time | Short (3-5 mins) | Longer (5-10 mins) |
As shown in the data, the air fryer wins on speed and texture, making it the superior choice for small, individual portions. The radiant heat of a toaster oven can sometimes lead to uneven cooking if the heating elements are too close to the food, whereas the air fryer’s fan-driven heat is inherently more balanced.
Answering Topical Gaps: Tips for Large Batches
A common complaint regarding air fryers is their limited capacity. If you are cooking for a group, you might be tempted to stack the food. Do not do this.
Stacking prevents the air circulation from doing its job, resulting in a portion of your snacks being undercooked or soggy. Instead, if you have a large family, cook in batches. While this takes slightly longer, the quality of each batch remains consistent.
Another gap often missed is the impact of the crisping sleeve. While the box instructions suggest using the sleeve in the microwave, it is generally unnecessary and sometimes counterproductive in an air fryer. The air fryer is designed to crisp the dough independently.
Removing the sleeve allows the air to hit the pastry directly, which is the secret to achieving that deep, uniform color. By following these nuanced tips, you can ensure that even when feeding a crowd, every person gets a perfectly prepared, crispy snack that exceeds standard expectations.
Conclusion and Best Practices
Mastering how to cook hot pockets in air fryer setups is a straightforward way to elevate your daily snack game. By focusing on proper preheating, avoiding the temptation to overcrowd the basket, and letting the air fryer’s convection technology do the heavy lifting, you can consistently achieve a crispy crust and perfectly heated interior. Whether you are grabbing a quick bite between meetings or preparing a late-night treat, the air fryer offers a level of control and quality that other appliances simply cannot match.
By treating this process as a culinary task rather than an afterthought, you ensure that your frozen snacks are always a satisfying, high-quality experience. Remember to keep an eye on your cooking time, use a light touch with sprays, and prioritize even spacing to guarantee that your final result is always golden brown and delicious.
Frequently Asked Questions
Do I need to use the crisping sleeve when using an air fryer?
No, the crisping sleeve is specifically engineered for microwave use to convert electromagnetic energy into heat. In an air fryer, the sleeve can actually block the air circulation and prevent the dough from crisping properly. It is best to remove it entirely before placing the pastry in the basket.
What is the ideal temperature for the best results?
For most air fryers, 360°F to 375°F is the ideal range. This temperature is high enough to achieve a crispy crust through the Maillard reaction while being low enough to ensure the center reaches a safe internal temperature without burning the outer layer of the dough.
Can I cook multiple Hot Pockets at once?
Yes, but you must arrange them in a single layer with space between them. Overcrowding the air fryer basket restricts airflow, which leads to uneven cooking and soft, soggy spots. If you need to cook more than two, it is better to do them in separate batches.
How do I know when they are finished cooking?
The best indicators are a deep golden brown color and a firm, crispy texture when tapped. If you are concerned about the filling, you can use a food thermometer to ensure the center has reached 165°F. Always let them rest for two minutes before serving to avoid burns.


