

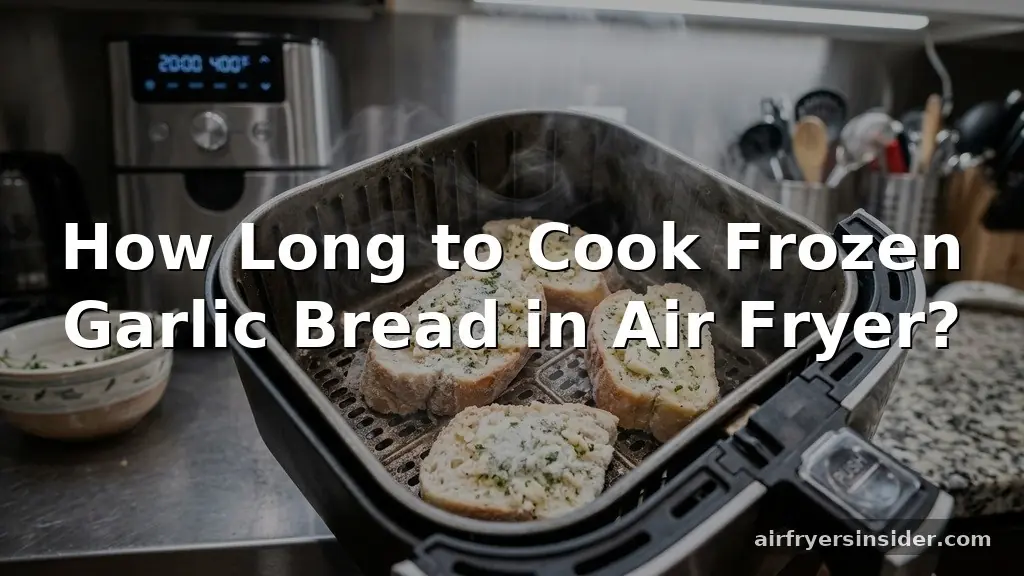
Figuring out how long to cook frozen garlic bread in air fryer setups is a common kitchen dilemma, but it is one that yields spectacular results when done correctly. If you have ever been frustrated by soggy crusts or burnt edges while using a traditional oven, you will find that the intense, focused heat of an air fryer changes the game completely.
By mastering a few simple adjustments, you can achieve that perfect contrast between a crunch-filled exterior and a warm, buttery interior. This approach is much faster than conventional baking, helping you get dinner on the table without waiting for a preheat cycle to finish.
Understanding the Mechanics of Air Frying Bread
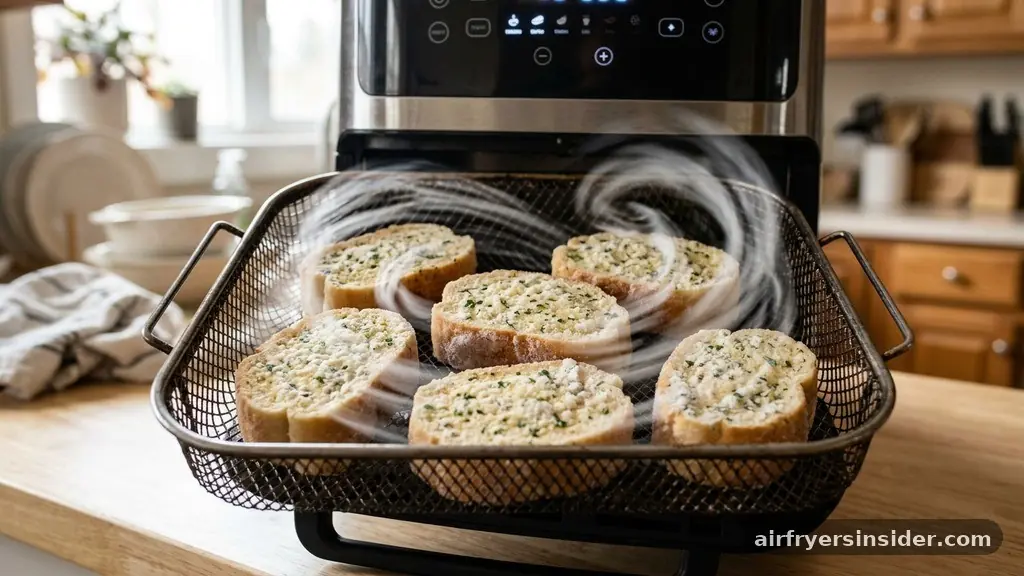
The primary reason air fryers excel at reheating baked goods is their reliance on rapid convection heat. Unlike a standard oven, which relies on radiant heat from coils or gas flames, an air fryer uses a powerful fan to circulate hot air at high speeds.
This constant movement of air ensures that your frozen garlic bread is hit with heat from every angle simultaneously. Because the bread starts in a frozen state, this circulation is vital for preventing the center from staying icy while the outside begins to char.
When you place bread slices into the basket, the air circulation creates a dehydration effect on the surface. This is what leads to that highly desirable crispiness. If the bread were left in a stagnant environment, the moisture trapped inside would soften the crust, leading to a limp, unappealing texture.
By maintaining a consistent temperature, the air fryer forces the moisture to evaporate just enough to create a firm exterior while the internal moisture keeps the middle soft and pillowy. It is a delicate balance, but one that becomes second nature once you understand the relationship between airflow and surface temperature.
Optimal Temperature Settings for Perfect Results
Achieving a golden brown finish starts with selecting the right air fryer temperature. Most experts recommend setting your device between 350°F and 375°F.
If you go too low, say below 325°F, the bread will dry out before it gets a chance to crisp up, resulting in something that feels more like a crouton than a fresh slice of garlic bread. On the other hand, exceeding 400°F often causes the garlic butter on the surface to smoke and burn before the center has had time to thaw properly.
Consistency is your best friend here. If you are using a basket-style air fryer, you might find that the heat is more concentrated, meaning you should lean toward the lower end of that temperature range.
For oven-style air fryers, which typically have a larger cavity, you can afford to push the temperature slightly higher to compensate for the increased space. Always keep an eye on the bread during the final two minutes of the cooking process, as the transition from perfectly golden to burnt can happen in a heartbeat.
Determining the Right Cooking Time
When considering how long to cook frozen garlic bread in air fryer units, you need to account for the specific thickness of the loaf. Generally, you are looking at a cooking time between 5 and 8 minutes.
Thin slices, such as those found in standard supermarket loaves, might be ready in as little as 4 minutes. Thicker slices, like Texas toast or chunky baguette sections, will likely require the full 8 minutes to ensure the center reaches a safe and pleasant temperature.
Factors Influencing Your Timing
* Bread Density: A dense sourdough or thick crust will always take longer than a light, airy white bread.
* Unit Capacity: A crowded basket prevents airflow, which significantly increases the time required.
* Initial Frost Level: If the bread has been sitting on the counter for a few minutes, it will thaw faster than something pulled directly from the deep freezer.
* Wattage: Higher-wattage machines often cook faster, so adjust your timer down by 30 seconds if you have a high-performance model.
It is always better to start with a shorter time and add more if needed. You can always put the bread back in for another minute, but you cannot fix a burnt crust. Use a pair of tongs to check the underside of the slice; if it looks pale while the top is browning, you might need to flip the bread halfway through the cycle to ensure even color.
The Role of Preheating and Preparation
Many home cooks skip the preheating step when using an air fryer, but for frozen items, it makes a tangible difference. Preheating for just 3 minutes ensures that the chamber is at the target temperature from the very first second the bread enters.
Without this, the first few minutes of the cycle are essentially a thawing period, which can cause the garlic butter to melt and soak into the bread before the crust has a chance to set. This can result in a greasy, uneven mess rather than a crisp, buttery delight.
If you are worried about the garlic butter dripping through the grate of your basket, you can use a small piece of parchment paper. However, avoid using aluminum foil if you want maximum crispiness, as it blocks the airflow coming from the bottom of the basket.
If you must use foil to prevent a mess, ensure it does not cover the entire bottom of the basket; leave enough room around the edges for the air to circulate effectively. This small detail ensures the bottom of your bread slices remains just as crispy as the top.
Managing Different Types of Garlic Bread
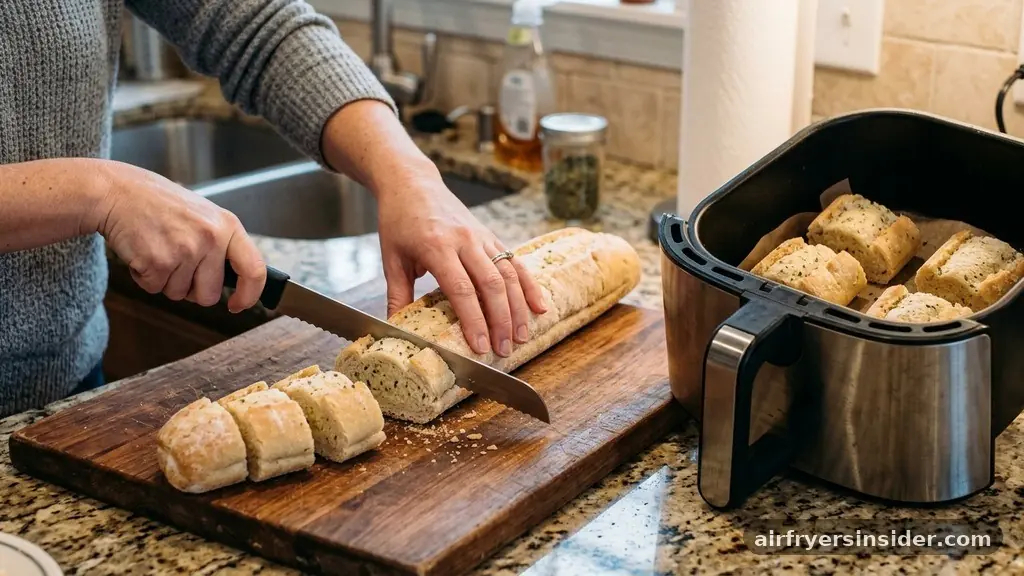
Not all frozen garlic bread is created equal, and your strategy should shift depending on the format. A classic baguette-style loaf is often too long for many basket-style air fryers. In this case, you will need to cut the loaf into smaller segments before cooking.
While this might seem like a hassle, it actually works in your favor by increasing the surface area, which leads to more crispy edges. If you are working with Texas toast, you can usually fit two to four slices in a single layer without overcrowding.
Browning is the ultimate indicator of success. Because garlic butter contains sugars and dairy solids, it browns quickly under high heat. If you notice your bread is browning too fast on the top but the middle is still cold, try placing a small piece of foil loosely over the top for the first half of the cooking time.
This acts as a shield, allowing the internal heat to penetrate the bread before the surface gets too dark. Remove the foil for the final two minutes to achieve that signature golden brown finish.
Addressing Topical Gaps and Common Mistakes
One common gap in existing advice is how to handle “soggy bottom” syndrome. Many users report that while the top of their garlic bread is perfect, the side touching the rack or basket remains soft. This happens because the bottom is insulated from the airflow.
To fix this, you should always place your bread slices directly on the air fryer rack or basket base, rather than on a plate or a solid tray. If your air fryer comes with a crisper plate, ensure it is properly seated at the bottom.
Another mistake is overstuffing the appliance. Even if you can physically cram six slices into the basket, the lack of air circulation will turn your bread into a steaming, rather than frying, project. You are better off cooking in batches.
Since the cooking time is so short, two batches of three slices will usually be finished faster and with better results than one batch of six crowded slices. Remember that the food safety aspect is also important; ensure the middle of the bread is hot to the touch, which guarantees that any potential bacteria from the manufacturing process are eliminated.
Comparing Air Frying to Conventional Baking
When you compare the two methods, the air fryer is the clear winner for convenience and texture. A traditional oven takes 10 to 15 minutes to preheat and another 10 to 15 minutes to bake the bread. That is nearly half an hour just for a side dish.
By contrast, an air fryer is ready to go in minutes. Furthermore, the bread texture achieved in an air fryer is superior because of the intense, concentrated heat.
Performance Comparison Table
| Feature | Air Fryer | Conventional Oven |
|---|---|---|
| Preheating Time | 2-3 minutes | 10-15 minutes |
| Cooking Time | 5-8 minutes | 12-15 minutes |
| Crust Quality | Very Crispy | Soft to Medium |
| Energy Usage | Low | High |
| Ease of Cleaning | Easy (Dishwasher safe) | Moderate (Requires tray scrubbing) |
As shown in the table, the efficiency of the air fryer is undeniable. While the oven might be better for cooking large quantities for a party, the air fryer is perfectly suited for daily meals, snacks, or quick side dishes. The energy savings also add up over time, as you aren’t heating a massive metal box just to toast a few slices of bread.
Safety and Maintenance Tips for Your Appliance
Operating an air fryer safely is just as important as getting the cooking time right. Always ensure that the heating element at the top of the unit is clean.
If there is leftover grease or crumbs stuck to the element, it can smoke during the high-heat cycle required for browning your garlic bread. Additionally, never leave your air fryer unattended while it is running, especially when working with fats like garlic butter, which can potentially flare up if they drip onto a hot heating element.
Regarding the internal temperature, while bread doesn’t have the same safety risks as raw meat, you still want to ensure it is heated through. If you use a meat thermometer, you are looking for an internal temperature of at least 165°F to ensure the butter has melted completely and the bread is thoroughly warmed.
Finally, always let the basket cool down before attempting to clean it. The non-stick coating is sensitive to thermal shock, so running cold water over a hot basket can lead to warping or peeling of the coating over time.
Troubleshooting Common Issues
If your bread comes out hard as a rock, you have likely cooked it for too long or at too high a temperature. Try reducing the heat by 25 degrees and checking the progress a minute earlier.
If the bread is burnt on top but raw in the middle, you are likely using a temperature that is too high; lower the heat and extend the time to allow for a more gradual, even heat penetration. This is a classic issue with thicker, frozen items.
If you find that the garlic butter is running off the bread and pooling at the bottom of the basket, try adding the bread to the air fryer while it is still slightly frozen, rather than letting it sit out. The cold bread helps the butter stay in place for the first few critical minutes of the cooking process.
You can also lightly brush a little extra garlic butter on the bread halfway through the cook time if you feel the store-bought version isn’t flavorful enough. This ensures a punchy, savory result that elevates the experience of a simple frozen staple.
FAQ
Can I cook frozen garlic bread in an air fryer without preheating?
Yes, you can, but it is not recommended for the best results. Without preheating, the bread spends more time thawing, which can lead to a softer crust. If you skip preheating, simply add 2 to 3 minutes to your total cooking time and keep a close watch.
Is it possible to use aluminum foil in the air fryer?
Yes, you can use aluminum foil to line the basket for easier cleanup, but it must be used sparingly. Placing a large sheet of foil at the bottom prevents the air from circulating, which is the key to crispiness. Use small pieces if you need to catch drips.
How do I know when the garlic bread is finished?
The best indicator is visual: the edges should be a deep golden brown and the surface should appear slightly bubbly. If you press the center of the bread with a pair of tongs, it should feel soft and warm, while the crust should feel firm and crunchy.
Do I need to flip the bread halfway through the cooking cycle?
It depends on your air fryer. In most basket-style models, the heat comes primarily from the top, so flipping is generally not required unless you want the bottom to be extra crispy. If you notice uneven browning, a quick flip during the final minute will even things out.
Conclusion
Mastering the art of how long to cook frozen garlic bread in air fryer devices is a simple way to upgrade your weeknight dinners. By focusing on consistent air circulation and keeping a close eye on the browning process, you can achieve professional-level results in under ten minutes. Remember that every air fryer is slightly different, so use these time and temperature guidelines as a starting point rather than a rigid law.
Start with the lower end of the time range and adjust based on your specific appliance’s power. With a little practice, you will find the perfect balance that suits your personal preference for crispy edges and soft, buttery centers. Enjoy experimenting with your favorite frozen brands and finding the perfect setting for your kitchen.


