

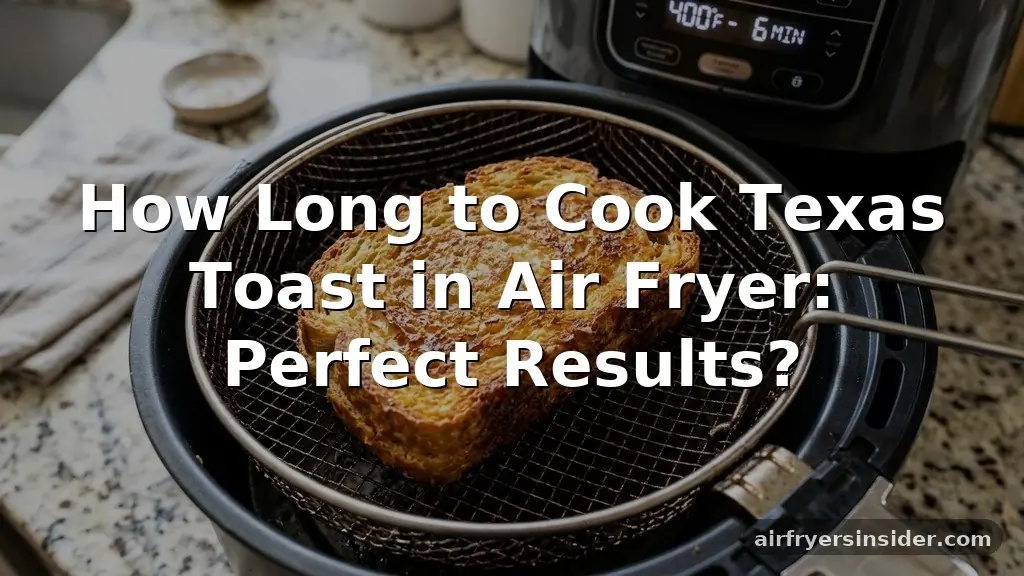
Getting the timing right is the secret to achieving that perfect golden-brown crust and a soft, buttery center that makes this side dish a family favorite. If you have been wondering how long to cook Texas toast in air fryer, you are not alone; it is one of the most common questions for home cooks looking to speed up their dinner prep.
Because air fryers circulate heat much more efficiently than traditional ovens, they can transform frozen bread into a crispy, savory treat in a fraction of the time. This guide provides the precise timing and techniques you need to ensure your toast turns out perfectly every single time you fire up the appliance.
Understanding Air Fryer Heat Dynamics
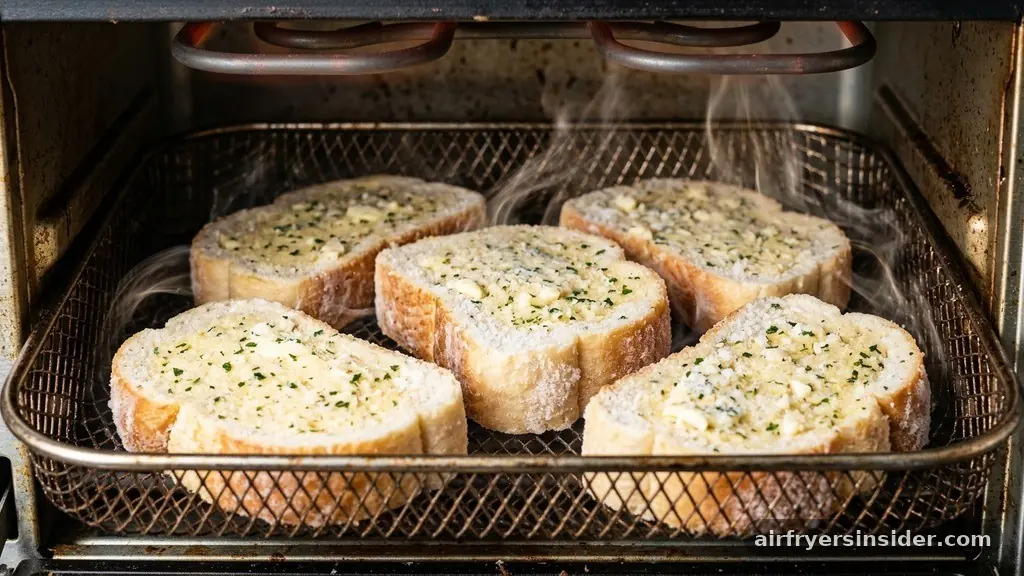
The primary reason air fryers excel at crisping bread is their high-velocity convection system. Unlike a standard oven, which relies on radiant heat, an air fryer uses a powerful fan to blast hot air directly onto the food’s surface.
When you place a slice of frozen Texas toast inside, this intense airflow immediately begins to dehydrate the outer layer of the bread while simultaneously melting the garlic butter spread. This process is what creates that distinct, satisfying crunch without drying out the interior.
Because the heating element is often much closer to the food basket than it is in a conventional oven, you have to be vigilant about timing. If you leave the bread in for even a minute too long, the edges can quickly transition from a delightful golden hue to a burnt, bitter state. Understanding this dynamic is crucial for consistent results.
Most modern air fryers preheat in seconds, meaning the cooking process begins almost the moment you close the drawer. Keeping the temperature stable is the foundation of success when you learn how long to cook Texas toast in air fryer.
Recommended Cooking Times and Temperatures
For most standard frozen brands, the ideal temperature range is between 350°F and 375°F. At 350°F, you are looking at a cooking time of approximately 4 to 6 minutes.
If you prefer a crunchier, more deeply toasted finish, cranking the heat up to 375°F or 400°F will get you there in about 3 to 4 minutes. However, higher temperatures require a closer eye on the timer, as the margin for error shrinks significantly.
It is helpful to view the cooking process as a two-stage event. Start with the lower end of the time spectrum, check the color, and if it needs a little more crispness, add an extra minute at a time. This conservative approach prevents the tragedy of scorched garlic butter.
Remember that every air fryer model—whether a basket-style or a toaster-oven style—has slightly different wattage and airflow patterns. Your first attempt might require a bit of experimentation to calibrate to your specific machine.
| Temperature | Cooking Time | Texture Outcome |
|---|---|---|
| 350°F | 5–7 minutes | Soft interior, light golden crust |
| 375°F | 4–6 minutes | Balanced crispness |
| 400°F | 3–4 minutes | Very crispy, deep brown |
Arrangement and Airflow Considerations
One of the most overlooked aspects of air frying is how you position the bread. To ensure even browning, you must avoid crowding the basket.
If the slices of Texas toast are overlapping, the hot air cannot reach the sides of the bread, leading to soggy spots where the slices touch. You want each piece to have enough breathing room for the air to circulate freely.
If you are cooking for a larger family and need to prepare more than two or three slices, it is better to cook in batches rather than stacking them. While it might be tempting to maximize space, the quality of the final product will suffer if the airflow is restricted.
Think of the air fryer as a small, high-powered convection oven; if you block the air, you are essentially steaming the bread rather than toasting it. Proper spacing is just as important as knowing how long to cook Texas toast in air fryer.
The Importance of Checking for Doneness
Because individual appliances vary so much in power, relying solely on a timer is risky. You should always perform a quick visual inspection before the timer hits zero.
Checking for doneness is a simple process: pull the basket out about a minute before you expect it to be ready. You are looking for a uniform, deep golden color across the entire surface of the bread.
If the center feels a bit soft or the color is pale, go ahead and push the basket back in. If you find that the garlic butter has melted completely and is starting to bubble, that is usually a sign that the toast is reaching its peak.
Be cautious when opening the drawer, as the steam and heat can be intense. Using a pair of silicone-tipped tongs makes it easy to rotate or flip the bread if one side appears to be browning faster than the other.
Tips for Even Browning
Achieving a perfectly uniform toast can be tricky if your air fryer has a heating element located only at the top. Some users find that the top of the bread gets dark while the bottom remains pale.
If you notice this happening, a simple mid-cycle flip can solve the problem. Using tongs to turn the slices over halfway through the cooking time ensures that both sides receive direct heat.
Another technique for even browning involves the use of perforated parchment paper liners. While these are often used for easy cleanup, they also help in distributing heat more evenly across the bottom of the toast.
Just be sure not to use the liner until there is enough weight from the food to keep it from flying up into the heating element, which can be a fire hazard. Always follow the manufacturer’s instructions regarding liners and accessories.
Common Troubleshooting Issues
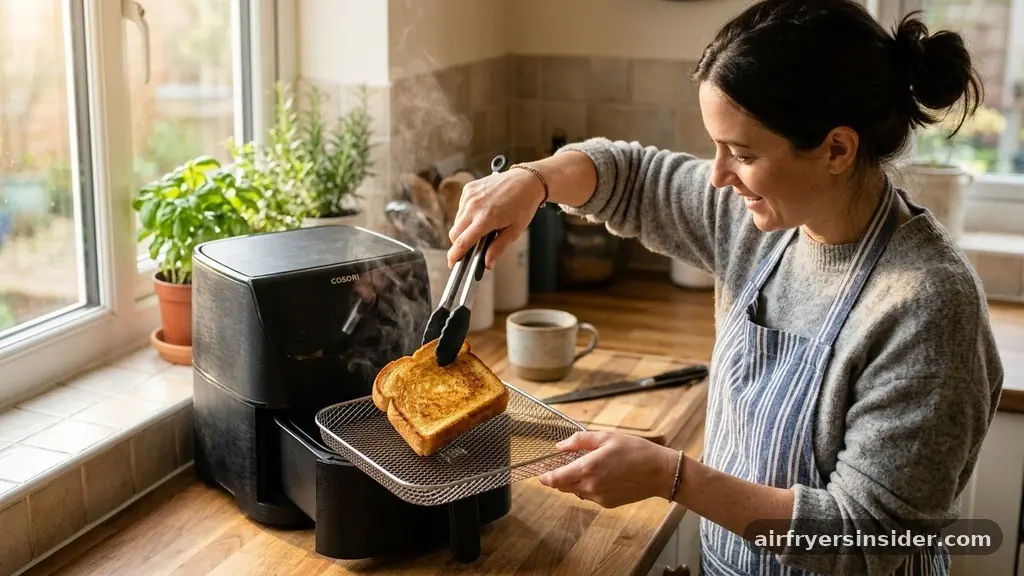
Even with the best instructions, you might run into minor issues during your cooking sessions. The most common problem is the toast turning out too dry.
This usually happens when the temperature is set too high for too long, or if the bread was left in the machine after the cooking cycle finished. The residual heat in an air fryer can continue to cook food even after the fan turns off, so it is best to remove the toast immediately once it reaches the desired shade.
Another issue is the “flying butter” problem. Sometimes, the hot air can blow the garlic butter or cheese topping off the bread.
If your air fryer has a very powerful fan, try to place the toast in the basket carefully and avoid overloading it. If your model allows, you can also place a small metal rack on top of the toast to keep it weighed down, though this is rarely necessary for standard, thick-cut Texas toast.
Answering Topical Gaps
Many readers often ask if they can cook non-frozen Texas toast in an air fryer. The answer is yes, but you must adjust the timing significantly.
Fresh bread or room-temperature toast requires much less time—often 2 to 3 minutes at 350°F—because it does not need to defrost. If you treat fresh bread like frozen, you will end up with a very hard, crouton-like result.
Another common question is whether you need to preheat the air fryer. Most modern units do not require a long preheat, but running it empty for two minutes can sometimes help with the initial crisping process. Additionally, people often wonder about the health implications of using an air fryer.
While it is a healthier alternative to deep frying, it is still a processed food product, so moderation is key. Understanding these nuances helps you master the appliance beyond just following a basic time chart.
Integrating Different Types of Toasts
While we often focus on the classic garlic variety, many grocery stores now sell cheese-topped, jalapeño, or even sweet cinnamon Texas toast. Each of these variations reacts differently to the air fryer. Cheese-topped varieties, for example, need to be monitored closely because the cheese can melt and bubble over the sides, potentially creating a mess in the bottom of your basket.
For cheese-heavy variations, consider using a piece of foil or a small silicone tray to catch any drips. This makes cleanup significantly easier and prevents the cheese from burning on the heating element.
If you are cooking a sweet version like cinnamon toast, be aware that the sugar can caramelize and burn much faster than savory garlic butter. When in doubt, start with a lower temperature and check the toast frequently to ensure the sugar doesn’t turn bitter.
Refining Your Air Fryer Technique
As you become more comfortable with your air fryer, you will naturally develop a sense of how the machine behaves. You might find that your specific unit runs “hot,” meaning you consistently need to subtract 30 seconds from the recommended times. Or perhaps you prefer a very dark, crunchy crust, in which case you will lean toward the higher end of the temperature spectrum.
The beauty of using an air fryer for this task is the speed and the texture it achieves. It is significantly faster than a traditional oven and produces a result that is superior to a microwave, which often leaves bread soggy and rubbery. Once you have mastered the timing, you will find that it becomes a go-to side dish for quick weeknight meals, pasta dinners, or even as a base for gourmet open-faced sandwiches.
FAQ
Can I cook frozen Texas toast in an air fryer without preheating?
Yes, you do not need to preheat your air fryer. Because the heating elements are so close to the food, the air fryer reaches the required temperature almost instantly. You can simply place your frozen slices in the basket and start the timer immediately for perfect results.
What is the best temperature for frozen garlic bread?
The ideal temperature for most frozen garlic bread or Texas toast is 350°F to 375°F. This range allows the bread to thaw and warm through in the center while the exterior develops a nice, golden-brown crust without burning the garlic butter topping.
How do I prevent the garlic butter from making a mess?
To keep your air fryer clean, ensure you do not overload the basket, which can cause the bread to shift. If you are using a cheese-topped variety, consider using a piece of parchment paper or a silicone liner to catch any potential drips or melted cheese.
Should I flip the toast halfway through?
While not strictly necessary for every air fryer, flipping the toast halfway through the cooking time is a great way to ensure even browning. It helps if your air fryer only has a top heating element, as it ensures both sides get equal exposure to the heat.
Final Takeaways
Mastering the art of using your air fryer for this classic side dish is all about balance and observation. By starting at 350°F and keeping a close eye on your slices, you can achieve that perfect golden-brown crust and a soft, buttery center that defines high-quality Texas toast. Remember that your specific appliance may require small adjustments, so treat the initial guidelines as a starting point rather than a rigid rule.
If you find your toast isn’t quite crisp enough, simply add an extra minute to the cycle. With a little practice, you will find that this method is the most efficient way to serve up a crispy, delicious addition to any meal. Feel free to experiment with different temperature settings and enjoy the convenience this kitchen tool brings to your daily cooking routine.


