

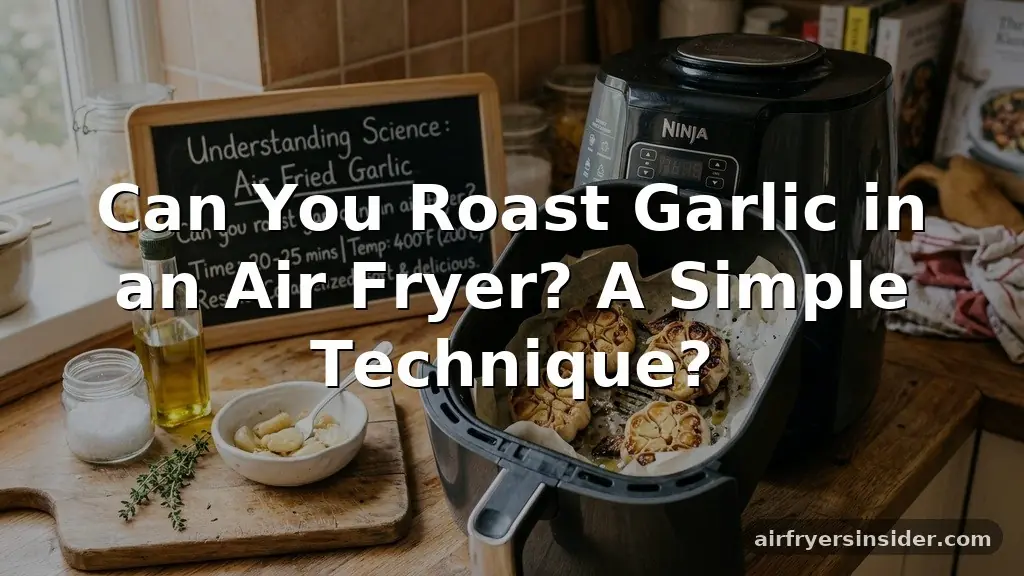
The short answer to the question, “can you roast garlic in an air fryer,” is a resounding yes. In fact, many home cooks now prefer this method over the traditional oven approach because it is faster, more energy-efficient, and surprisingly consistent. Roasting a whole garlic bulb transforms its pungent, sharp bite into a mellow, sweet, and buttery spread that elevates everything from mashed potatoes to crusty sourdough bread.
By utilizing the intense convection heat of an air fryer, you can achieve that perfect caramelization in a fraction of the time it takes for a conventional oven to preheat. Whether you are using a Ninja Foodi, a Cosori, or any other standard countertop model, the process is straightforward and yields exceptional results every single time.
Understanding the Science of Air Fried Garlic
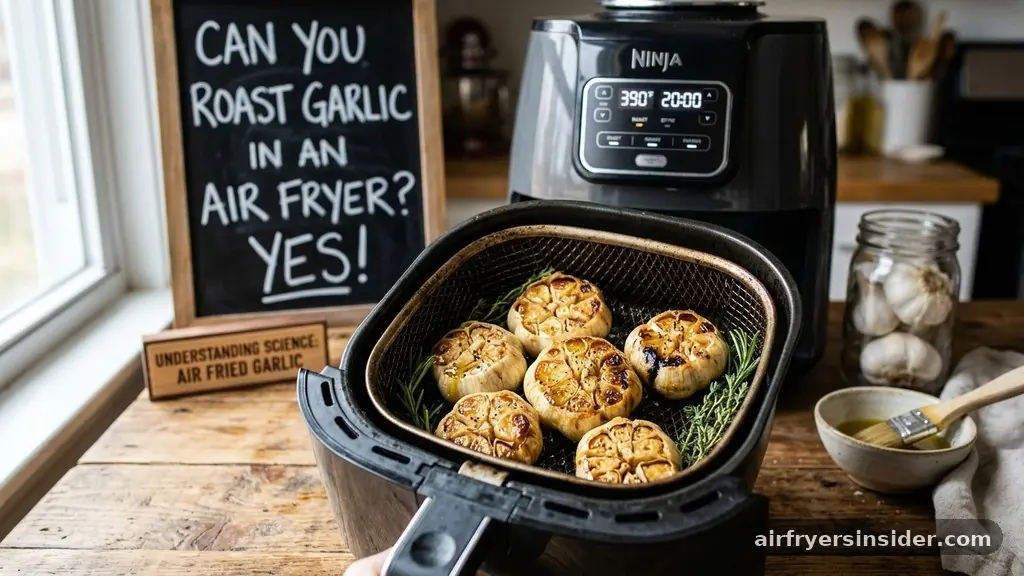
When you decide to roast garlic, you are essentially harnessing the power of the Maillard reaction. This chemical reaction between amino acids and reducing sugars gives browned food its distinctive, savory flavor. In a conventional oven, this happens slowly as ambient heat penetrates the bulb.
However, an air fryer uses a powerful fan to circulate hot air rapidly around the food. This enhanced air circulation ensures that the heat penetrates the cloves evenly, resulting in a consistent golden brown hue and a deep, complex flavor profile that is hard to replicate using other stovetop methods.
The key to success lies in the preparation. Because the air fryer is essentially a high-powered convection oven, you must ensure that the garlic is protected from the direct blast of the heating element. Without proper wrapping, the outer layers of the papery skin can burn or fly around the machine, potentially hitting the heating element and causing smoke.
Using a small pouch of aluminum foil or even parchment paper acts as a shield, allowing the garlic to steam in its own juices while the exterior softens into a tender, spreadable texture. By mastering this process, you turn a humble bulb into a gourmet ingredient that can be stored and used throughout the week.
Step-by-Step Preparation for Perfect Results
Achieving that perfect, melt-in-your-mouth consistency requires a bit of attention to detail during the initial prep phase. First, select a firm, fresh garlic bulb. Avoid any that feel spongy or show signs of sprouting, as these will not provide the desired sweetness.
Using a sharp chef’s knife, perform a bulb trimming by slicing off the top 1/4 to 1/2 inch of the bulb. This exposes the individual cloves and allows the heat to penetrate the core directly. It is important to leave enough of the bulb intact so that the cloves stay together during the cooking process.
Once trimmed, place the bulb on a piece of aluminum foil. Drizzle the exposed cloves generously with high-quality olive oil. The oil serves two purposes: it conducts heat to ensure even cooking and prevents the garlic from drying out.
You can also add a pinch of sea salt or a sprig of fresh thyme for extra depth. Fold the foil up to create a sealed pouch.
Place this pouch directly into the air fryer basket. If you are worried about the foil blowing around, you can use kitchen tongs to ensure it is settled firmly, or simply place a small oven-safe weight on top if your basket has a mesh base.
Optimizing Roasting Temperature and Cook Time
One of the most common questions is how long to cook the garlic. Because air fryers vary in wattage and internal volume, your cook time may fluctuate slightly.
Generally, a roasting temperature of 375°F (190°C) is the sweet spot. At this temperature, the garlic softens without scorching the exterior too quickly.
- Preheat your air fryer for 3 minutes to ensure a steady environment.
- Roast for 25 to 30 minutes for a standard-sized bulb.
- Check for doneness by piercing the cloves with a knife; they should be completely soft.
- If the garlic is still firm, add an extra 5 minutes of cook time.
- Allow the garlic to cool for at least 10 minutes before handling to avoid steam burns.
This method is significantly faster than using a traditional oven, which often requires 45 to 60 minutes. By managing the temperature correctly, you avoid the bitterness that can sometimes occur if the garlic is cooked too quickly at an excessively high heat. If you are roasting multiple bulbs at once, ensure they are not touching, as this allows the air to move freely between them.
Comparing Roasting Methods: Air Fryer vs. Traditional Oven
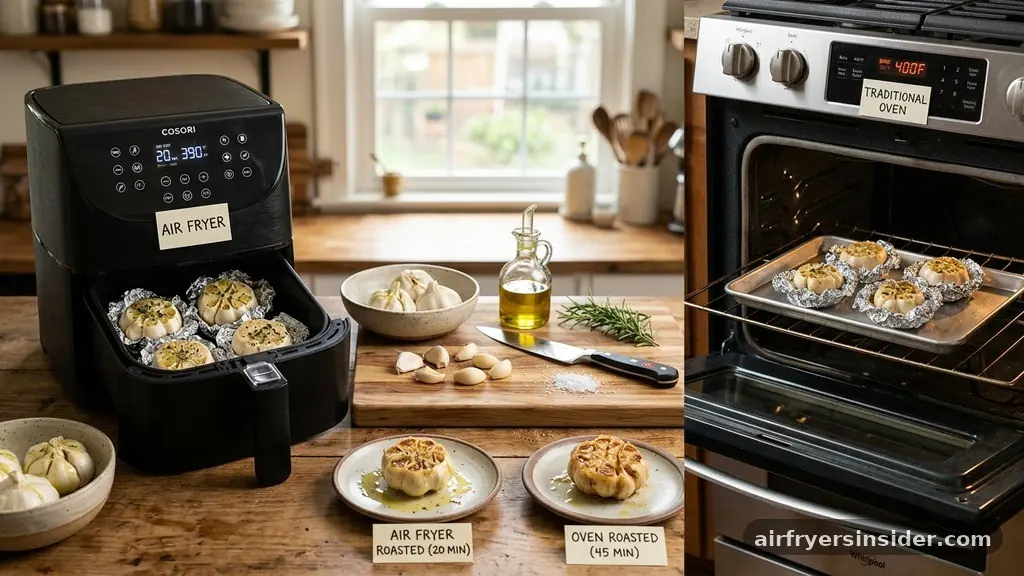
Many home chefs struggle to decide whether to stick to the oven or make the switch to the air fryer. While both methods yield delicious results, there are distinct differences in efficiency and texture. The air fryer is the clear winner for small batches, whereas the oven is better for roasting a dozen bulbs at once for meal prepping.
| Feature | Air Fryer | Conventional Oven |
|---|---|---|
| Cooking Speed | Fast (25-30 mins) | Slow (45-60 mins) |
| Energy Usage | Low | High |
| Capacity | Limited | Large |
| Cleanup | Minimal | Moderate |
As shown in the table, the air fryer offers superior speed and energy efficiency. However, the oven provides a more stable, ambient heat that can be beneficial if you are roasting other items alongside the garlic. For most households, the air fryer is the more practical choice for a quick weeknight addition to a meal, while the oven remains the workhorse for large-scale holiday cooking or bulk preparation.
Creative Culinary Applications for Roasted Garlic
Once you have successfully roasted your garlic, you are left with a versatile ingredient that can transform mundane dishes. The most common use is creating a roasted garlic paste.
By simply squeezing the cooled cloves out of their skins, you can mash them into a smooth, creamy consistency. This paste can be mixed with butter to create an incredible compound butter for steaks, or whipped into mayonnaise to make a gourmet aioli.
Consider adding a dash of balsamic vinegar to the cloves before roasting if you prefer a slightly tangy flavor profile. This addition balances the natural sweetness of the garlic and pairs beautifully with roasted vegetables like Brussels sprouts or carrots.
You can also smear the cloves directly onto toasted baguette slices for an instant appetizer. Because the roasting process breaks down the complex sugars, the garlic loses its harsh, raw bite, making it mild enough to be used in salad dressings or even pureed into soups to add a rich, umami-packed body.
Managing Storage and Shelf Life
Proper storage is essential to keep your roasted garlic fresh and safe to eat. Once the cloves are roasted and cooled, you should remove them from the skins and place them in a small, airtight storage container. If you intend to use them within a few days, the refrigerator shelf life is typically about one week.
For longer storage, you can cover the cloves completely in olive oil, essentially creating a quick garlic confit. This method protects the cloves from oxidation and keeps them flavorful for up to two weeks in the fridge.
If you have roasted a large quantity, you can also freeze the cloves. Lay them out on a parchment-lined tray until they are frozen solid, then transfer them to a freezer-safe bag. This allows you to grab a single clove whenever you need it without having to thaw the entire batch.
Always be mindful of food safety—never store garlic in oil at room temperature for extended periods, as this can create an environment for bacteria to grow. Keeping your roasted garlic chilled is the best way to maintain quality and safety.
Troubleshooting Common Issues
Even with a simple process, you may occasionally run into issues. If your garlic comes out too dark or burnt, your air fryer temperature might be too high. Try lowering the heat to 350°F next time.
If the garlic is still tough, it likely didn’t receive enough moisture during the cooking process. Ensure your foil pouch is tightly sealed so that the steam stays inside.
Another common issue involves the garlic cloves falling out of the bulb. This usually happens if you trim too much off the top. Only slice enough to expose the tips of the cloves; leaving the base of the bulb intact keeps the structure together.
If you find that your garlic is drying out, don’t be shy with the olive oil. A generous drizzle is necessary to keep the cloves tender. If you feel that the flavor is too mild, consider sprinkling a bit of smoked paprika or dried herbs into the pouch before sealing it to add a layer of complexity to the final result.
Addressing Topical Gaps and Advanced Tips
Many people wonder if they can roast garlic without foil. While it is possible to roast garlic directly in the basket, it is generally not recommended unless you are using a very low temperature and have a very secure basket.
Without the foil, the light skins can catch fire, and the garlic will dry out significantly faster. If you want to avoid aluminum, you can use a small, heat-safe silicone ramekin with a lid or parchment paper, provided it is weighed down.
Another advanced tip is to roast garlic alongside other items. If you are already using your air fryer to cook chicken or potatoes, the aromatic oils from the garlic will infuse the other food, creating a wonderful depth of flavor.
Just ensure that the garlic is well-wrapped so that the juices don’t leak onto your other ingredients. Additionally, if you find that the garlic is getting too dark on top before the center is soft, you can loosely tent a piece of foil over the top of the basket for the last five minutes of cooking.
Frequently Asked Questions About Air Fried Garlic
Is it necessary to use oil when roasting garlic in an air fryer?
Yes, using oil is highly recommended. It helps conduct heat evenly across the cloves, prevents the garlic from drying out, and contributes to the soft, spreadable texture. Without oil, the garlic may become brittle or woody rather than creamy and sweet.
Can I roast individual peeled garlic cloves in the air fryer?
You can, but it is much faster and more likely to burn. If you roast individual cloves, keep the temperature lower (around 300°F) and check them frequently. However, roasting the whole bulb is generally superior because the papery skin protects the cloves, resulting in better flavor and texture.
How do I know when the roasted garlic is done?
The garlic is done when the cloves are soft, golden brown, and easily pierced with a knife. The entire bulb should feel tender to the touch. If you squeeze the base of the bulb, the roasted garlic paste should slide out of the skins with very little effort.
Can I store roasted garlic in the freezer?
Yes, freezing is an excellent way to store roasted garlic for several months. Once the cloves are roasted and cooled, freeze them individually on a tray before moving them to a freezer-safe bag. This prevents them from clumping together, allowing you to use just what you need.
Summary of Air Fryer Garlic Roasting
Roasting garlic in an air fryer is a game-changer for any home cook who values efficiency and flavor. By following the simple steps of trimming the bulb, seasoning it with oil, and wrapping it securely in foil, you can produce professional-quality roasted garlic in under 30 minutes. The air fryer’s ability to circulate heat ensures that every clove achieves the perfect level of caramelization, resulting in a rich, sweet, and spreadable ingredient that elevates countless recipes.
Whether you are using it to create a savory compound butter, a gourmet pasta sauce, or simply spreading it over warm bread, this technique is a reliable, fast, and delicious way to enjoy one of the most versatile ingredients in the kitchen. With proper storage, you can keep a supply of this golden treasure on hand, ensuring you are always ready to add a burst of depth and complexity to your favorite meals.


