

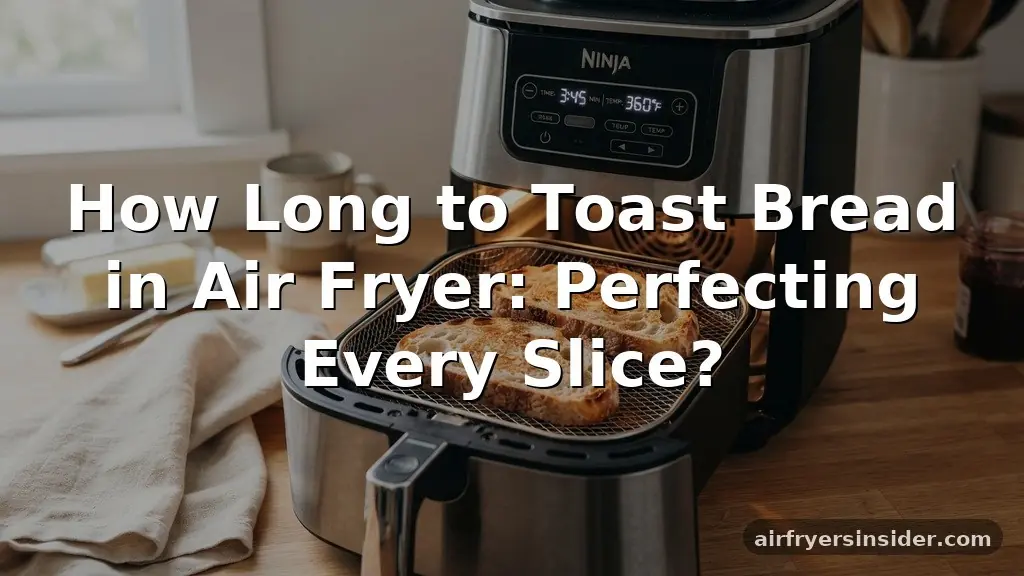
Getting that perfect crunch on your morning slice is surprisingly efficient when you pivot from a traditional toaster to a countertop convection powerhouse. Determining exactly how long to toast bread in air fryer setups depends on several factors, including the wattage of your specific model, the thickness of the loaf, and the moisture content of the crumb.
Most users find that a quick blast of high heat produces a superior texture compared to conventional methods. By understanding the relationship between temperature and airflow, you can achieve a golden-brown finish that stays soft in the center while remaining perfectly crispy on the outside.
Understanding the Mechanics of Air Fryer Toasting
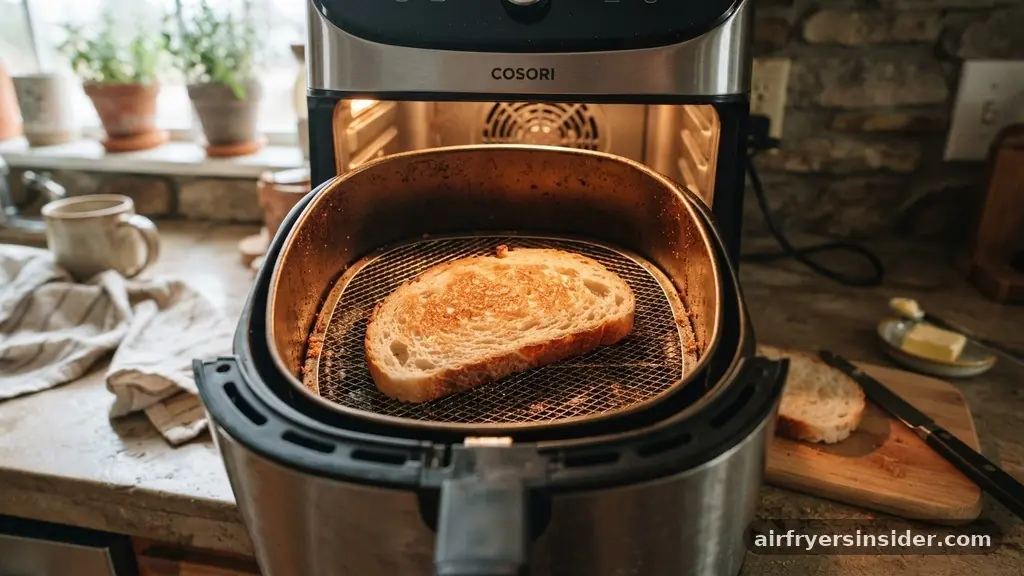
The primary advantage of using a convection-style appliance for browning bread is the rapid circulation of hot air. Unlike a standard toaster that relies on radiant heat coils, an air fryer pushes air around the slice, which helps evaporate surface moisture quickly.
This process is why you often get a crunchier result in a shorter window. When you consider how long to toast bread in air fryer units, remember that 350°F to 400°F is the sweet spot.
Because these machines are essentially small, high-powered convection ovens, they tend to dry out bread faster than a standard toaster. If you leave a slice in for too long, it can turn into a crouton before you realize it.
Always start with a lower time interval, typically around three minutes, and check the progress. Once you get a feel for the power level of your specific device, you will rarely need to guess the timing again.
Factors Influencing Your Toasting Time
Several variables dictate the final outcome of your bread, starting with the type of loaf you are using. A hearty rye or a dense sourdough will naturally require more time than a standard white sandwich bread. The density of the grain, the presence of seeds, and the overall slice thickness all play a role in how heat penetrates the crumb.
Moisture content is another critical factor. Freshly baked bread has a higher water content and will take longer to brown compared to a slice that has been sitting on the counter for a day. Furthermore, the size of your air fryer basket matters.
If your machine is crowded, the airflow is restricted, which slows down the browning process significantly. Always aim for a single layer to ensure the heat can reach every surface of the bread evenly.
The Ideal Temperature and Duration
Finding the right balance between temperature and time is the secret to consistent results. For most standard slices of bread, 375°F for three to four minutes is the golden rule.
If you prefer a lighter toast, pull it at the three-minute mark. For those who enjoy a deep, dark, and crunchy exterior, four minutes is usually sufficient.
Time and Temperature Reference Guide
| Bread Type | Temperature | Estimated Time |
|---|---|---|
| White Sandwich Bread | 375°F | 2-3 Minutes |
| Thick-Cut Sourdough | 400°F | 4-5 Minutes |
| Hearty Rye or Multigrain | 380°F | 3-4 Minutes |
| Bagels or Thick Buns | 350°F | 5-6 Minutes |
If you are dealing with frozen bread, you should add about sixty seconds to your total time. The air fryer is actually one of the best ways to toast frozen slices because the circulating heat thaws and crisps the exterior simultaneously, preventing that soggy center often associated with microwave defrosting.
Tips for Even Browning Across All Slices
One of the most common complaints when toasting bread in an air fryer is uneven color. Because the heating element is usually located at the top of the unit, the side facing up will always brown faster.
To achieve professional results, you must flip your bread halfway through the cycle. This simple action ensures that both sides receive equal exposure to the direct heat source.
Another important consideration is the placement of your slices. If you have a large basket, don’t just dump all the bread in the center. Spread the slices out so they aren’t touching.
If the slices are stacked or overlapping, the areas where they touch will remain pale and soft, while the exposed edges might become overly dark. Proper spacing is the most effective way to ensure a uniform golden color across the entire surface of your toast.
Handling Toppings and Add-ons Safely
Toasting bread with toppings, such as cheese or butter, requires a different approach than plain slices. When making cheese toast, the air fryer is a natural choice, but you must be careful about the high-velocity fan. If the cheese is not melted onto the bread, the air current can blow it off the slice and into the heating element or the bottom of the basket.
To mitigate this, try to melt the cheese slightly before increasing the fan speed, or use a piece of parchment paper to hold everything in place. If you are adding butter, it is best to apply it after toasting.
Adding butter before the cycle often leads to a soggy mess as the fat melts and drips into the bottom of the air fryer, which can cause smoking and unnecessary cleanup. Always prioritize safety and maintenance by ensuring no loose toppings can be pulled into the heating coil during the process.
Addressing Common Topical Gaps
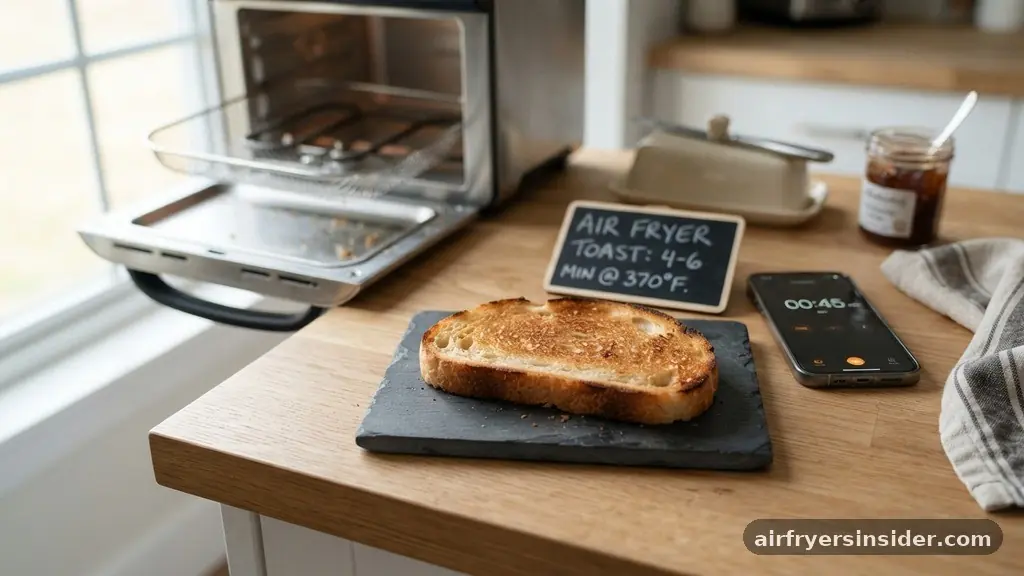
Many users wonder if they need to preheat their air fryer for toast. While most air fryers reach temperature quickly, preheating for two minutes can help start the browning process immediately. This is especially helpful if you are toasting multiple batches, as the unit will already be at a stable temperature.
Another common question involves the use of accessories. You do not need a rack for a single slice, but if you are toasting multiple pieces, a stackable rack can double your capacity.
If you find that your bread is flying around inside the basket, you can place a small piece of clean, food-safe metal mesh or even a slice of heavy bread on top to weigh it down. However, this is rarely necessary if you are using standard-weight loaves. Always monitor the unit closely the first time you attempt a new type of bread to understand how it reacts to the airflow.
Safety and Maintenance Considerations
Maintaining your air fryer is essential for consistent performance. Crumbs can accumulate at the bottom of the basket, and if they are left there, they will burn during subsequent cooking cycles, leading to a bitter, smoky flavor in your toast. Regularly clean the basket and the heating element cover to prevent this buildup.
Safety is paramount when dealing with high-heat appliances. Never leave your air fryer unattended when toasting bread, as the high speed of the fan can potentially lift light pieces of bread against the heating element. If the bread touches the coil, it will ignite almost instantly.
While this is rare with standard bread, it is a risk with very light or thin items. Keep the unit on a heat-resistant surface and ensure there is plenty of clearance around the vents for proper exhaust.
Comparing Methods for Crispiness
When you evaluate the effectiveness of an air fryer versus a standard toaster, the primary difference is the moisture extraction rate. A toaster uses infrared radiation, which browns the surface but leaves the interior relatively moist. An air fryer, by contrast, acts as a dehydrator of sorts, which can make the entire slice crispier.
For those who prefer a “hard” toast that holds up well under heavy toppings like avocado or thick spreads, the air fryer is the superior tool. However, if you prefer a soft, pillowy center, you might find the air fryer produces a result that is too dry for your liking.
Adjusting your timing by shaving off thirty seconds can help you find that perfect medium. The flexibility of the air fryer allows you to customize the texture far more effectively than the preset dials on a traditional pop-up toaster.
Optimizing Your Morning Routine
Incorporating the air fryer into your breakfast routine changes how you prepare toast. Because it is so fast, you can effectively toast a batch of bread while your eggs are cooking or your coffee is brewing. By keeping your bread in a single layer and remembering to flip the slices, you ensure high-quality results every single time.
If you are consistently finding that your toast is not meeting your expectations, look at the airflow. Is the basket too full? Are you using a temperature that is too high, causing the exterior to burn before the interior is warm?
By adjusting these small variables, you can master the art of the perfect toast. Remember that practice is the best way to learn how long to toast bread in air fryer models, as every kitchen appliance has its own personality and quirks.
Frequently Asked Questions
How long does it take to toast bread at 400 degrees?
At 400°F, bread usually toasts very quickly. You should expect the process to take between two and three minutes. Keep a close eye on the slices after the two-minute mark, as the high heat can turn bread from golden brown to burnt in a matter of seconds.
Is it better to toast bread in an air fryer or a toaster?
It depends on your preference. An air fryer is better for achieving a deep, uniform crunch throughout the entire slice, while a traditional toaster is better for keeping the interior soft. The air fryer is also much more versatile for toasting items with toppings like cheese or garlic butter.
How do I prevent the bread from flying around in the air fryer?
The high-velocity fan can sometimes lift light bread. To prevent this, ensure the slices are heavy enough, or use a small metal rack to hold them down. If you are using very thin bread, you can also place it in the center of the basket where the airflow is slightly more stable.
Can I toast multiple slices of bread at once?
Yes, you can toast multiple slices, but they must be in a single layer. Do not stack them, as the air will not be able to circulate between the layers, resulting in uneven browning. If you need more volume, use a stackable air fryer rack to keep the slices separated.
Final Thoughts on Perfect Toasting
Mastering the timing and temperature for your specific appliance turns a simple kitchen task into a consistent morning success. By focusing on single-layer placement, remembering to flip your slices halfway through the cycle, and keeping your basket clean of stray crumbs, you will achieve that ideal golden-brown finish every time. Whether you prefer a light, soft toast or a deep, crunchy slice for your favorite toppings, the air fryer provides the control necessary to get it right.
Start with the suggested three-minute baseline and adjust based on your specific loaf density. Enjoy experimenting with your settings to find the exact texture you love most, and don’t hesitate to share your favorite tips for getting the best results with others in your kitchen.
Meta Description: Learn exactly how long to toast bread in air fryer for the perfect crunch. Discover optimal temperatures, flipping techniques, and safety tips for your slices.


