

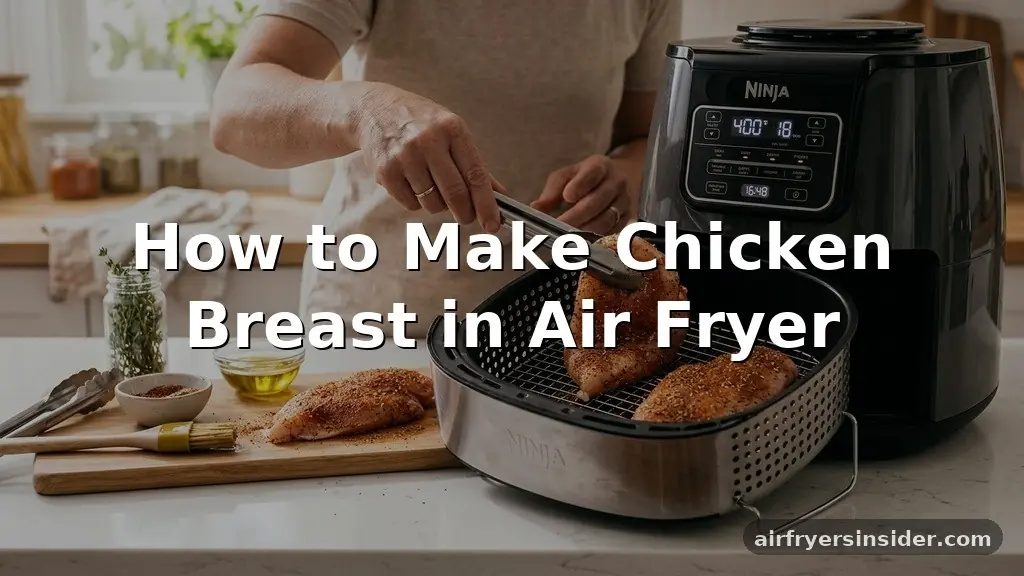
If you have struggled with dry, flavorless poultry, learning how to make chicken breast in air fryer is going to change your weeknight dinner routine for the better. By harnessing the power of rapid air circulation, this method produces succulent results that are often difficult to achieve with a standard oven.
You will find that the convection heat locks in moisture while creating a satisfying, slightly crisp exterior. Whether you are a beginner or looking to refine your technique, mastering this appliance ensures consistent results every single time you cook.
Understanding the Mechanics of Air Frying Chicken
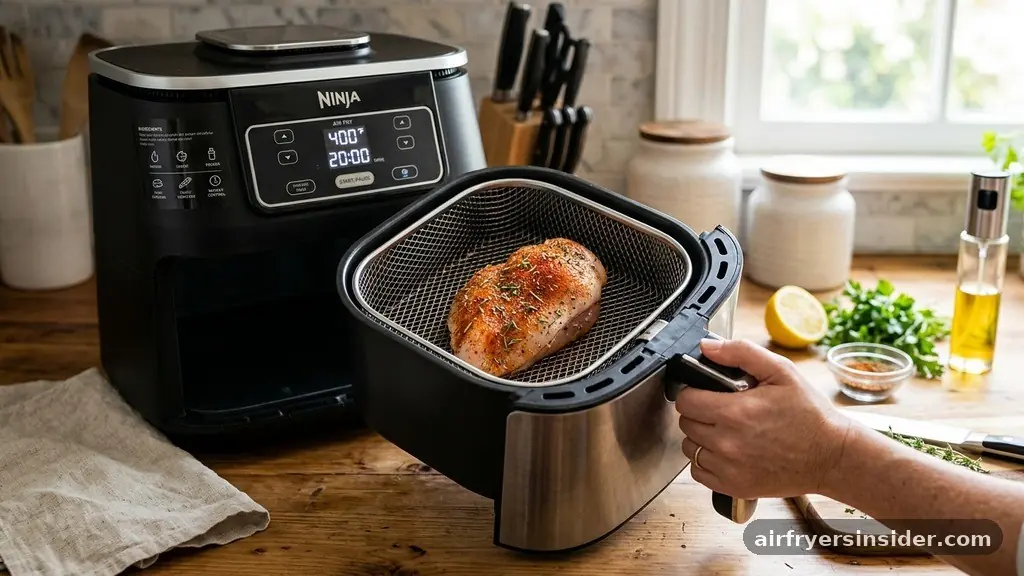
The air fryer is essentially a compact, high-powered convection oven that uses a heating element and a strong fan to move hot air around the food. When you are making chicken breast in air fryer, this intense movement of air is what creates the golden brown crust. Unlike deep frying, which relies on submerging the meat in fat, air frying requires only a light coating of oil to facilitate heat transfer.
The efficiency of this process means that your cook time is significantly reduced compared to roasting in a conventional oven. Because the chamber is smaller, the heat is concentrated, which helps the exterior reach the Maillard reaction—that chemical process responsible for the savory flavor and browning—much faster.
It is vital to understand that the appliance does not actually “fry” the food; it roasts it with extreme precision. Utilizing this technology allows you to achieve a texture that mimics fried chicken while maintaining the health profile of lean, boneless skinless chicken breast.
Preparing the Poultry for Optimal Results
Preparation is the silent partner of a successful meal. Before you even think about turning on the machine, you must ensure your chicken is ready to cook. Start by patting the meat dry with paper towels; excess moisture on the surface will create steam instead of a nice sear, which can prevent the exterior from becoming golden brown.
Next, consider the thickness of the meat. Chicken breast thickness varies significantly, and if one end is much thicker than the other, it will cook unevenly. Use a meat mallet or the bottom of a heavy skillet to pound the thicker parts until the entire piece is roughly uniform in height.
This simple step is the secret to avoiding the common pitfall of having a dry, overcooked thin end while the middle remains undercooked. Once the meat is uniform, apply a thin layer of olive oil to help the seasonings adhere and to assist in the browning process.
Selecting and Applying the Perfect Seasoning
The beauty of a basic poultry preparation is how versatile it becomes with the right dry rub. You want a balance of savory, aromatic, and perhaps a hint of sweetness or heat to complement the mild flavor of the white meat. Start with a foundation of kosher salt and freshly cracked black pepper, as these are non-negotiable for bringing out the natural taste of the chicken.
For a classic profile, combine these staples with garlic powder, onion powder, and a generous teaspoon of paprika for color. If you prefer something more herbal, incorporate a high-quality poultry seasoning blend containing thyme, sage, and rosemary. When applying your rub, be generous and ensure it covers all sides of the chicken.
Press the spices gently into the meat so they don’t blow off during the initial blast of the fan. Here is a quick reference for a standard seasoning blend:
- 1 teaspoon kosher salt
- 1/2 teaspoon black pepper
- 1 teaspoon garlic powder
- 1 teaspoon paprika
- 1/2 teaspoon dried thyme or poultry seasoning
- 1 tablespoon olive oil
Managing Preheating and Temperature Control
Many people ask if preheating is necessary, and the answer is a resounding yes. Preheating your air fryer for three to five minutes ensures that the chamber is at the correct temperature the moment the meat hits the basket. Without this step, the first few minutes of the cook time are spent waiting for the machine to get hot, which can lead to the meat drying out before it ever starts to brown.
The ideal setting for most chicken breasts is 375 or 400 degrees Fahrenheit. If you are cooking thinner pieces, 375 degrees Fahrenheit is often safer to prevent the edges from burning before the center is done.
For thicker, larger breasts, 400 degrees Fahrenheit works well to develop a crust quickly. If you are using a popular model like a Ninja Foodi or a Cosori, you will find that these machines are quite powerful, so keep a close eye on the progress during the final minutes of the cycle.
The Science of Cook Time and Internal Temperature
The most common mistake people make is relying solely on a timer. Every air fryer is slightly different in its efficiency and airflow, and chicken breast thickness varies.
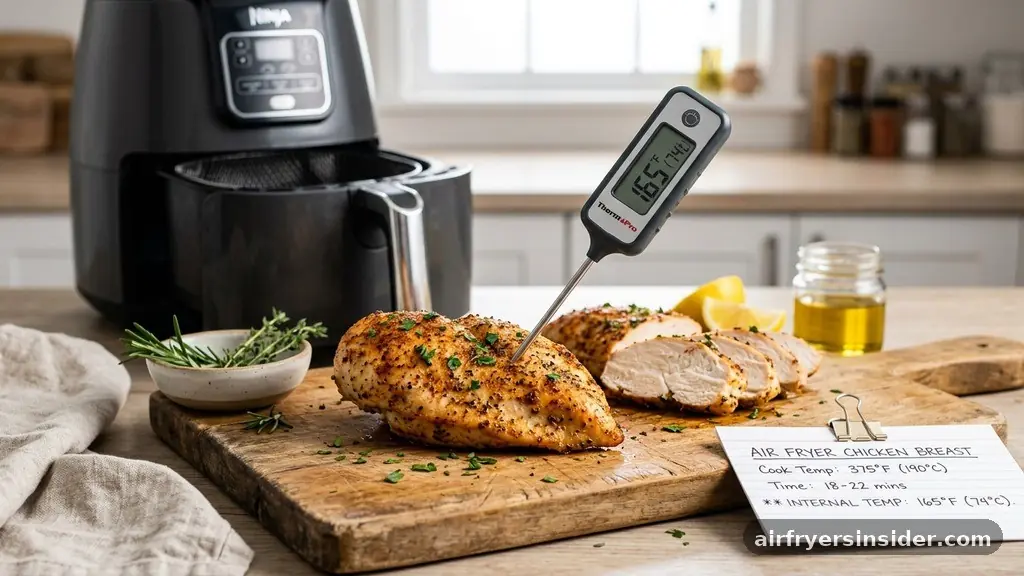
The only way to guarantee food safety and perfect texture is by using a reliable meat thermometer. You are looking for an internal temperature of exactly 165 degrees Fahrenheit.
Insert your thermometer into the thickest part of the breast, ensuring it is not touching bone if you are using bone-in pieces. If the temperature is hovering around 160 degrees Fahrenheit, you can usually pull the chicken out, as the residual heat during the resting period will bring it up to the safe zone. Relying on a thermometer is the single best habit you can adopt in the kitchen.
| Thickness | Temperature | Estimated Time |
|---|---|---|
| Thin (0.5 inch) | 375°F | 8-10 minutes |
| Medium (1 inch) | 380°F | 12-15 minutes |
| Thick (1.5+ inch) | 400°F | 16-20 minutes |
Addressing Common Hurdles and Topical Gaps
One frequent concern is how to prevent the chicken from sticking to the basket. While most modern air fryers have non-stick coatings, a little extra help never hurts.
You can use a light spritz of oil or, if you are worried about cleanup, place a piece of perforated parchment paper designed for air fryers at the bottom. Avoid using aluminum foil, as it can block the essential airflow required for the convection process, leading to uneven cooking.
Another gap in knowledge is what to do if you find yourself with frozen chicken. While it is possible to cook from frozen, it is not recommended for the best texture.
If you must, lower the temperature by 25 degrees and increase the time significantly, but be aware that the seasoning will not stick well and the exterior may not brown properly. Always thaw your meat in the refrigerator overnight whenever possible for the highest quality.
Flipping and the Crucial Resting Period
Flipping is an essential part of the process, even if the air fryer circulates air effectively. Halfway through the cook time, open the basket and use tongs to flip the chicken.
This ensures that both sides receive direct exposure to the heat and brown evenly. While you have the basket open, take a quick glance at the color of the meat.
Once the timer goes off and your thermometer confirms the chicken has reached 165 degrees Fahrenheit, the most important step follows: resting. Never cut into the chicken immediately. Let it rest on a cutting board for at least five to seven minutes.
During this time, the internal juices redistribute throughout the fibers of the meat. If you slice it right away, all those precious juices will run out onto your board, leaving you with a dry, disappointing meal.
Troubleshooting Dryness and Texture Issues
If you find that your chicken is consistently coming out dry, you are likely overcooking it or starting with a breast that is too thin. Remember that the residual heat continues to cook the meat after you remove it from the basket. If you pull it at 165 degrees, it will likely climb to 170 or higher, which is the point where lean poultry begins to lose its moisture.
Another issue could be the lack of a fat barrier. While you want to keep things healthy, a very light brush of oil is essential for keeping the surface from dehydrating under the intense, dry heat of the fan. If your chicken looks pale, your temperature might be too low.
Increase it by 10 or 15 degrees in your next batch. By adjusting these small variables, you can transform your technique from hit-or-miss to professional-grade results.
FAQ
How long do I need to cook chicken breast in the air fryer?
Most medium-sized, boneless skinless chicken breasts take between 12 and 15 minutes at 380 degrees Fahrenheit. However, the exact time depends on the thickness of the meat. Always prioritize checking for an internal temperature of 165 degrees Fahrenheit over following a specific timer.
Can I put raw chicken directly into the air fryer?
Yes, you can absolutely place raw chicken in the air fryer. It is one of the safest and most efficient ways to cook it. Ensure the chicken is seasoned and oiled properly, and always clean your basket thoroughly after use to maintain food safety standards in your kitchen.
Is it better to air fry at 375 or 400 degrees Fahrenheit?
It depends on your goal. 375 degrees Fahrenheit is ideal for gentler, more even cooking that keeps the meat juicy. 400 degrees Fahrenheit is better if you want a crispier, more deeply browned exterior on thicker pieces of meat. Most home cooks find 380 degrees to be the perfect middle ground.
Do I need to flip the chicken during the cooking process?
Yes, flipping the chicken halfway through the recommended cook time is important. It ensures that both sides of the breast are exposed to the hot air, leading to more uniform cooking and a consistent golden brown crust on both the top and the bottom of the meat.
Conclusion
Mastering the art of making chicken breast in air fryer is a game-changer for anyone looking to simplify their cooking process without sacrificing flavor or texture. By focusing on uniform thickness, proper seasoning, and the essential use of a meat thermometer, you can reliably produce juicy, delicious poultry that works for everything from salads to main courses. Remember that the resting period is just as important as the heat itself, so give your chicken the time it needs to settle before you slice into it.
Start with these foundational techniques, experiment with your favorite dry rubs, and enjoy the convenience of this modern kitchen staple. Your future weeknight meals are about to become much easier and far more satisfying.
Meta Description: Learn how to make chicken breast in air fryer with this guide. Get tips on seasoning, cook times, and internal temperatures for juicy, golden results.


