

Learning how to make banana chips in air fryer technology is a brilliant way to transform simple fruit into a crunchy, shelf-stable treat. By harnessing the power of rapid hot air, you can achieve that satisfying snap without the heavy oil immersion required by traditional deep-frying methods.
Whether you are looking for a quick after-school snack or a portable option for hiking, this method offers a cleaner, more controlled approach to snack preparation. You will find that mastering the timing and temperature turns a basic pantry staple into a delicious, nutrient-dense habit that saves money compared to store-bought varieties.
Selecting the Best Fruit for Optimal Results
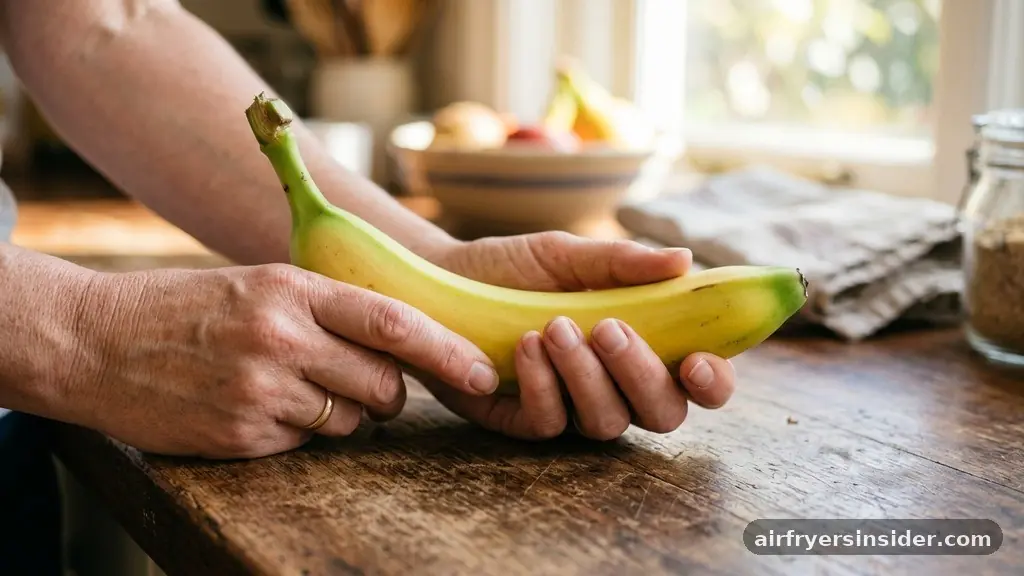
The foundation of any successful batch starts with the quality of your produce. When you decide to make banana chips in air fryer equipment, you should look for firm, yellow, or slightly green-tipped Cavendish bananas.
Avoid using overripe, spotted fruit because the high sugar content leads to rapid browning and a chewy, rather than crispy, finished product. Firm bananas have a structural integrity that holds up well under the intense air circulation of the machine, ensuring the chips maintain a consistent shape and bite.
If you happen to use fruit that is too soft, the slices will become gummy before they have a chance to lose their moisture. You want the bananas to be easy to peel but still possess a slight firmness when squeezed.
This specific level of ripeness ensures that the natural sweetness is present but not overwhelming, allowing the final snack to taste clean and authentic. Selecting the right fruit is the first secret to achieving that perfect snap that everyone enjoys in a store-bought bag.
Slicing Techniques for Consistent Airflow
Achieving uniformity in your banana slices is the most important factor for even cooking. If your slices vary significantly in thickness, some will be dehydrated and crispy while others remain limp and soft. To solve this, a mandoline slicer is your best friend.
By setting your slicer to roughly 1/8 of an inch, you guarantee that every piece will react to the heat in the exact same way. This precision allows for efficient moisture removal, which is the primary goal of low-temperature cooking in an air fryer.
If you do not own a mandoline, you can use a sharp chef’s knife, but take your time to be as precise as possible. Try to maintain a steady rhythm to keep the width consistent. Once sliced, lay them out on a flat surface to ensure they aren’t sticking together.
Remember that the air fryer basket relies on consistent air circulation to work its magic. If the slices are piled on top of each other, the air cannot reach the surfaces, resulting in uneven dehydration.
Preventing Oxidation and Enhancing Flavor
Bananas are notorious for turning brown the moment they are exposed to air, a process known as oxidation. While this doesn’t ruin the flavor, it can make the chips look unappealing.
To keep your snack looking bright and professional, toss your banana slices in a light coating of lemon juice or a mixture of water and citric acid. This simple step acts as a natural preservative, keeping the color vibrant while adding a subtle, refreshing tang that balances the natural sweetness of the fruit.
Beyond aesthetics, you might want to add a light coating of flavorings before they go into the basket. A tiny amount of melted coconut oil can help the chips crisp up faster, though it is entirely optional.
Some people enjoy a dusting of cinnamon or a pinch of sea salt to elevate the flavor profile. If you choose to add seasonings, do so while the slices are slightly damp from the lemon juice, as this helps the spices adhere to the surface of the fruit.
Mastering the Air Fryer Environment
The magic of convection cooking lies in the machine’s ability to move hot air around your food. To successfully make banana chips in air fryer setups, you must understand how to load the basket. It is tempting to fill it to the brim, but this is a mistake.
You need to arrange the banana slices in a single, non-overlapping layer. If you have a large batch, you will need to cook them in several rounds. This might take longer, but the quality of the final product will be significantly higher.
Using parchment paper can be a helpful trick, provided you have a liner that fits your specific basket. However, ensure the paper has holes or is placed in a way that doesn’t block the vents.
If the airflow is obstructed, the moisture released by the bananas will be trapped, preventing them from becoming crispy. Some modern air fryers have a dedicated dehydrate setting, which is ideal, but a standard manual setting at a lower temperature works perfectly well for most home cooks.
Temperature and Time Management
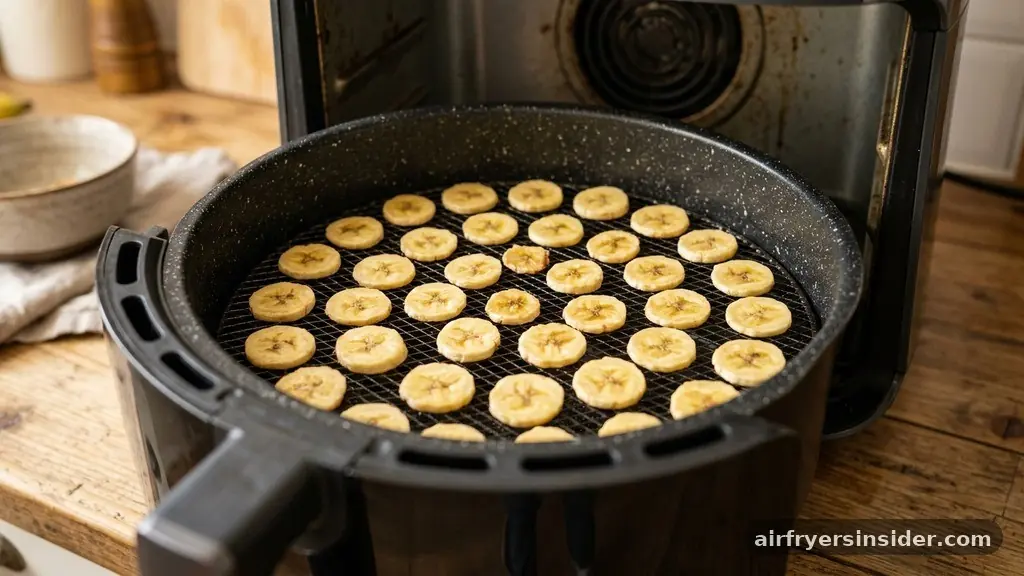
Patience is the defining trait of a great home-made chip. You are essentially performing a process of food dehydration, which requires low-temperature cooking over a longer period. Set your air fryer to a temperature between 250°F and 300°F.
Anything higher than this will burn the outside of the fruit before the moisture has had a chance to escape from the center. The goal is to gently pull the water out, which takes time.
Estimated Cooking Times for Banana Slices
| Setting | Temperature | Estimated Duration |
|---|---|---|
| Standard Air Fry | 275°F | 12-18 Minutes |
| Dehydrate Mode | 135°F | 2-3 Hours |
| High-Speed Crisp | 300°F | 8-12 Minutes |
Check on the chips frequently after the first 10 minutes. Because air fryers vary in power, your specific model might run hotter than others.
Pulling the basket out to give it a quick shake or to flip the pieces can help ensure that the circulation is hitting every side of the slice. If they look like they are browning too quickly on the edges but are still soft in the middle, lower the heat immediately.
Addressing Common Topical Gaps
Many people wonder if it is possible to make this snack without any added oil. The answer is a resounding yes. Since bananas have a natural sugar content, they can caramelize and crisp up on their own without the need for fat.
If you are watching your calorie intake or following a specific diet, omitting the coconut oil is perfectly acceptable. The texture might be slightly different—perhaps a bit more “snappy” than “crunchy”—but the flavor remains excellent.
Another common gap in knowledge is how to store these snacks once they are finished. Because you have removed most of the moisture, these chips are susceptible to humidity. If you leave them out on the counter, they will absorb moisture from the air and become limp within a few hours.
Always wait until they are completely cool before transferring them to an airtight container. If you notice they aren’t as crisp as you’d like, you can often “refresh” them by popping them back in the air fryer for two minutes.
Nutritional Benefits and Snack Alternatives
When you prepare your own snacks, you control the ingredients, which is a major advantage over store-bought processed foods. These air-fried chips are a great way to enjoy dietary fiber and potassium content without the added preservatives or excessive sodium found in commercial snacks. Because they are made from whole fruit, they retain much of the nutritional value of the fresh produce, making them one of the more desirable healthy snack alternatives for families.
While they do contain natural sugar content, it is fruit sugar paired with fiber, which is processed differently by the body than the refined sugars found in candy. By managing your snack batch size, you can enjoy a satisfying, sweet treat that keeps your hunger at bay. It is a fantastic way to use up fruit that might otherwise go to waste, reducing your household food waste while providing a quick, energy-dense snack for busy afternoons.
Troubleshooting Common Issues
Even with the best intentions, things can go wrong. If you find your chips are coming out chewy, it usually means the temperature was too high or the cooking time was too short.
Don’t be afraid to pull a chip out, let it cool completely, and test the crunch before deciding to cook them longer. Remember, the chips will continue to crisp up as they lose residual heat, so they don’t need to be rock-hard while they are still in the hot basket.
If the chips are curling up, this is a natural reaction to the heat and the fiber structure of the banana. While it might look less like a commercial “chip,” it doesn’t affect the flavor. To minimize curling, ensure your slices are as thin as possible.
If they are burning, it is likely because the sugar in the banana is caramelizing too rapidly. Lower the temperature by 25 degrees and increase the time. It is always better to cook low and slow than to rush the process and end up with bitter, burnt fruit.
Strategies for Long-Term Snack Storage
Proper snack storage is the difference between a snack that lasts a week and one that spoils in a day. Once your chips have cooled to room temperature, place them in a glass jar or a high-quality vacuum-sealed bag.
If you live in a particularly humid climate, consider adding a food-grade silica gel packet to the container. This will absorb any lingering moisture and keep the chips perfectly crisp for several days.
- Wait until the chips are completely cool before sealing the container.
- Store in a cool, dark pantry away from heat sources like the oven.
- Use glass jars for the best seal against humidity.
- Check the container after 24 hours; if you feel softness, dehydrate for another 5 minutes.
- Keep them away from other moist foods to prevent flavor transfer.
By following these storage steps, you ensure that your hard work in the kitchen pays off. Having a stash of these on hand is a great way to avoid reaching for less healthy options when cravings strike. It turns the act of making banana chips in air fryer appliances into a sustainable habit that supports a balanced lifestyle.
Final Thoughts on Homemade Crisps
Mastering the process of making banana chips in air fryer setups is a rewarding culinary skill that blends convenience with health. By focusing on the quality of your fruit, maintaining consistent slice thickness, and respecting the need for low-temperature cooking, you can create a high-quality snack that rivals anything found on a store shelf. The ability to customize your flavors—whether you prefer a simple touch of sea salt or a dash of cinnamon—provides endless variety for your snacking routine.
As you become more comfortable with your specific air fryer’s heat distribution, you will find that the process becomes second nature. It is a simple, effective, and highly satisfying way to handle snack preparation.
Start with a single banana to get a feel for the timing of your machine, and soon you will be batch-processing enough to last throughout the week. Enjoy the process of experimentation and discover your own perfect crunch.
Frequently Asked Questions
Are air fried banana chips considered healthy?
Yes, they are a great healthy snack alternative because they are made from whole fruit. They provide dietary fiber and potassium. By making them at home, you avoid the excessive oil, refined sugars, and preservatives that are typically added to store-bought commercial chips.
How do I stop my banana chips from turning brown?
You can prevent oxidation by tossing the sliced bananas in a little bit of lemon juice or a water-citric acid solution before cooking. This simple step keeps the fruit looking bright and prevents the browning that naturally occurs when the surface of the fruit is exposed to air.
Can I make banana chips without using any oil?
Absolutely. You do not need to use oil to make crispy banana chips in an air fryer. The natural sugars in the banana will caramelize and dry out sufficiently on their own, provided you keep the temperature low and ensure there is proper air circulation in the basket.
How long do homemade banana chips stay crispy?
If stored properly in an airtight container in a cool, dry place, homemade banana chips can stay crispy for up to a week. If they lose their crunch due to humidity, you can quickly restore their texture by putting them back in the air fryer for a few minutes.
Meta Description: Learn how to make banana chips in air fryer with this simple, step-by-step guide. Create healthy, crispy snacks at home using natural ingredients and easy methods.


