

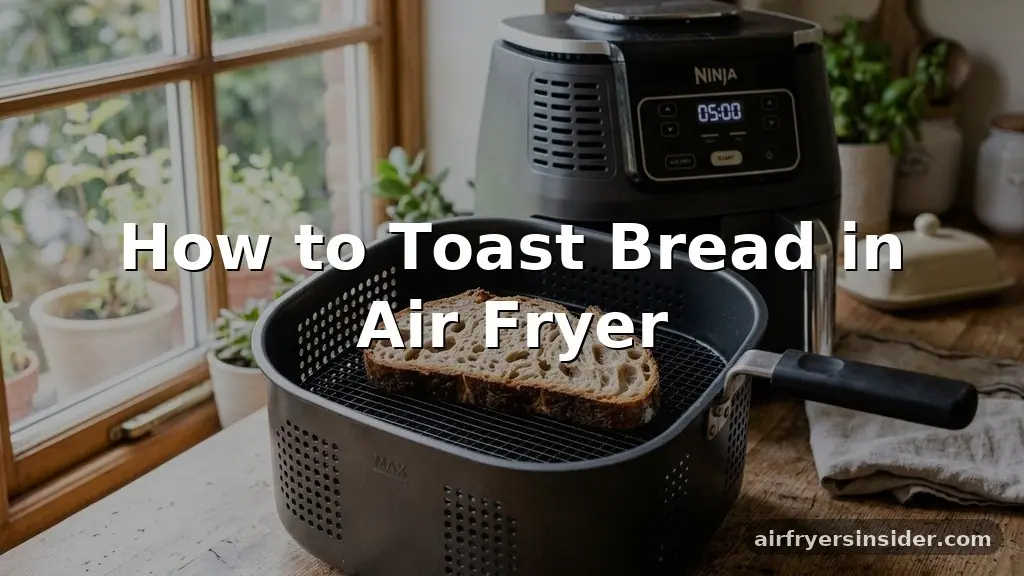
Learning how to toast bread in air fryer models is a game-changer for anyone who values a perfectly crunchy exterior without sacrificing a soft, warm center. Unlike traditional pop-up toasters that rely on radiant heat, an air fryer utilizes rapid air circulation to create an even, golden-brown finish across the entire surface of your slice.
Whether you are dealing with thin sandwich bread or hearty slices of artisan sourdough, this convection-based approach provides a level of control that standard appliances often lack. By mastering a few simple techniques, you can transform your morning routine and elevate your favorite breakfast staples into something truly exceptional.
The Mechanics of Air Fryer Toasting
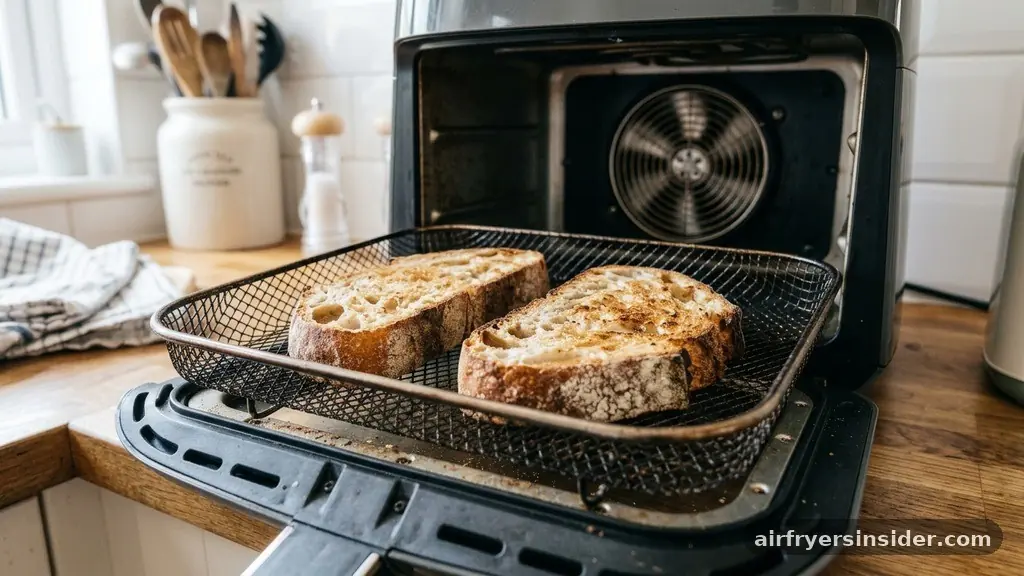
To understand why air fryers produce such consistent results, one must look at the heating element and the high-speed fan working in tandem. In a standard toaster, the wire coils glow red and heat the bread through direct infrared radiation, which can often lead to uneven patches or burnt edges.
In contrast, an air fryer surrounds the bread with a constant flow of hot air, ensuring that the browning process is uniform. This method is particularly effective for thicker slices that might struggle to brown properly in a narrow toaster slot.
When you place bread inside the basket, the thermal energy is distributed evenly, provided you do not overcrowd the cooking area. Because the appliance acts as a miniature convection oven, the moisture on the surface of the bread evaporates quickly, leaving behind that desirable crunch.
This process is essentially a form of dehydration that happens rapidly, sealing in the interior softness while the exterior develops a satisfying texture. Understanding this thermal dynamic allows you to experiment with different types of baked goods, from bagels to thick-cut brioche, with confidence.
Finding the Optimal Temperature and Timing
Achieving the perfect slice requires balancing heat and time, as every model performs slightly differently. For most standard white or wheat bread, setting your air fryer to 350°F to 375°F is the Optimal Temperature and Timing sweet spot. At this range, the bread toasts in approximately three to four minutes.
If you prefer a lighter toast, check the progress at the two-minute mark. For those who enjoy a darker, crunchier result, an extra minute or two will suffice, but vigilance is key to avoiding an over-toasted finish.
Factors such as bread moisture content and density will dictate how quickly your toast reaches perfection. A fresh, moist piece of bread will take longer to crisp than a slice that has been sitting out for a few hours.
Always keep an eye on the color; once you see that light golden hue, it is usually ready to be removed. If you are using a model with a dedicated toast setting, it can be a useful starting point, but manual adjustments are almost always necessary to suit your personal preference for crispiness.
Managing Bread Thickness and Texture
The thickness: thicker slices of bread behave differently than standard sandwich loaves, requiring slight modifications to your technique. A thick-cut slice of rustic bread or a dense bagel requires a lower temperature for a slightly longer duration to ensure the center warms through without the exterior becoming burnt. Conversely, very thin slices may toast in under two minutes, making them prone to flying around the basket due to the fan’s intensity.
To ensure success with various bread types, consider these guidelines:
- Thin Slices: Use 350°F for 2-3 minutes; monitor closely as these can dry out quickly.
- Thick Slices: Use 325°F to 350°F for 4-6 minutes to allow heat to penetrate the middle.
- Bagels and English Muffins: Slice them open and place them cut-side up to ensure the interior reaches a perfect, toasted texture.
- Frozen Bread: Add 1-2 minutes to your usual time, as the air fryer will need to thaw the slice before it begins the browning process.
Tips for Even Browning
One of the most common issues users face is uneven color, where one side appears darker than the other. To prevent this, avoid stacking slices or overlapping them in the basket, as this restricts airflow and prevents the hot air from reaching every surface. The bread needs space for the air to circulate freely. If your air fryer has a very powerful fan, light slices of bread might lift up and hit the heating element, causing them to char instantly.
To combat this, you can place a small, heat-safe rack or even a slice of heavier bread on top of the lighter slice to keep it in place. Additionally, flipping the toast halfway through the cooking cycle is a reliable way to ensure both sides achieve an identical golden-brown shade.
If you are toasting a batch, work in single layers to maintain consistent results. Remember that the residual heat inside the basket will continue to toast the bread for a few seconds after you turn it off, so it is often better to pull the toast out just slightly before it reaches your target color.
Enhancing Flavor with Butter and Toppings
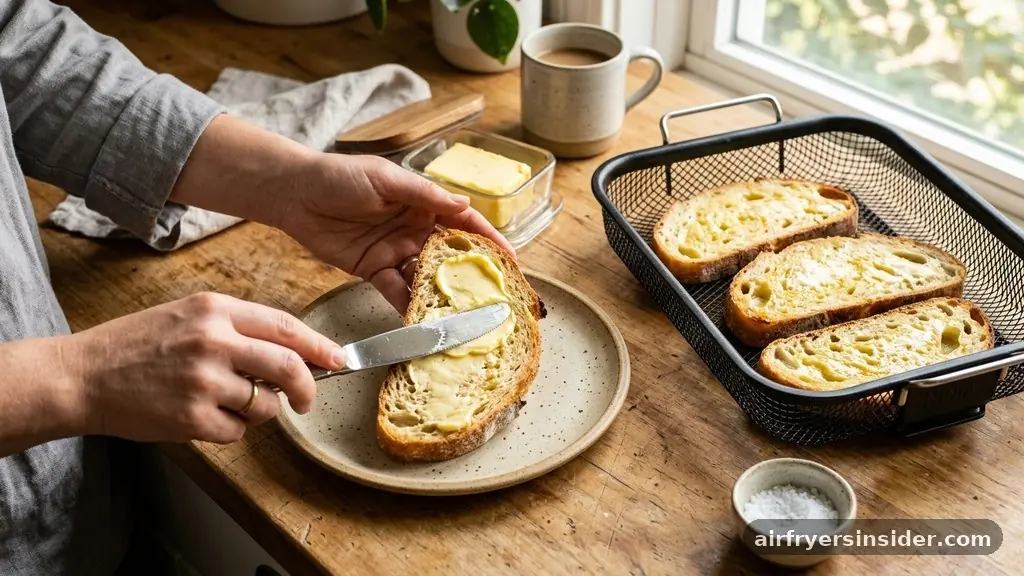
You can achieve an even, buttery char by applying your fat of choice before or during the toasting process. While many people prefer to butter their toast after it has been cooked, spreading a thin layer of softened butter on the bread before placing it in the air fryer creates a richer, more caramelized finish. If you choose to do this, watch the bread closely, as the butter can brown very quickly once the thermal energy hits it.
For those who enjoy savory snacks, variations: garlic and cheese toast are incredibly easy to prepare. For garlic toast, mix softened butter with minced garlic and parsley, spread it on your bread, and toast at 350°F for about four minutes. If you want to add your cheese, wait until the final minute of cooking.
Place the cheese on top of the bread and let it melt in the remaining heat. The air fryer is excellent for this because the fan creates a gentle, focused heat that melts the cheese perfectly without drying out the bread underneath.
Safety and Maintenance Considerations
Safety and Maintenance are crucial when using an air fryer for something as light as bread. Because bread is lightweight and dry, it can potentially get caught in the fan if the air circulation is too aggressive.
Never use parchment paper or foil unless it is weighed down by the food itself, as loose paper can be pulled into the heating element, posing a fire risk. Always ensure that the basket is clean before starting, as residual oil or crumbs from previous meals can smoke during the toasting process.
Regularly cleaning the interior of your air fryer, particularly the area around the heating element, will prevent smoke and ensure that your toast tastes like bread rather than yesterday’s dinner. If you notice crumbs accumulating at the bottom of the basket, wipe them out after the unit has cooled down. By maintaining a clean environment, you not only improve the quality of your toast but also extend the lifespan of your appliance.
Comparing Methods: Toaster vs. Air Fryer
Choosing between a traditional toaster and an air fryer often comes down to the desired texture and the amount of bread you need to prepare. While a toaster is faster for a single slice of standard white bread, the air fryer offers superior versatility for specialty items.
| Feature | Traditional Toaster | Air Fryer |
|---|---|---|
| Texture | Dry, crisp surface | Crispy outside, soft inside |
| Versatility | Limited to slots | Handles bagels, thick bread, and toppings |
| Evenness | Can be patchy | Highly consistent |
| Speed | Very fast | Slightly slower (requires preheat) |
As shown in the table, the air fryer excels in scenarios where you are adding toppings or preparing thicker, artisan-style slices. While you may have to wait a moment to preheat the unit, the quality of the final product—especially when dealing with sourdough or cheese-topped items—is often worth the extra time.
Addressing Topical Gaps
A common question that often goes unanswered is how to handle bread that is already slightly stale. Because the air fryer uses dry, circulating heat, it can actually revive day-old bread better than a standard toaster. By lightly misting the bread with a tiny amount of water before toasting, you can rehydrate the crumb while crisping the crust, effectively bringing the bread back to life.
Another gap involves the use of accessories; many users wonder if they can use silicone molds or ramekins inside the basket. You absolutely can, provided they are oven-safe, which allows for creative options like “egg-in-a-hole” toast or small, toasted bread bowls for dips.
Frequently Asked Questions
Is it necessary to preheat the air fryer before toasting bread?
While not strictly required, preheating for two to three minutes ensures that the air circulation is at the correct intensity immediately. This helps in achieving a consistent crunch without over-drying the interior of the bread, leading to a better overall texture for your toast.
Can I toast bread and cook other foods at the same time?
It is generally not recommended to toast bread alongside other foods, especially greasy items like bacon or sausages. The bread acts like a sponge and will absorb the odors and fats from the other food, which ruins the flavor and can lead to unwanted smoke in your kitchen.
What is the best way to handle cheese toppings without making a mess?
To keep cheese on your toast, add it only during the final 60 to 90 seconds of the cooking cycle. This provides enough time for the cheese to melt and bubble without dripping off the sides of the bread and creating a difficult-to-clean mess in your basket.
Why does my bread fly around the air fryer basket?
This happens because the convection fan is powerful and the bread is lightweight. To prevent this, use a small, heat-resistant metal rack to hold the bread down, or choose slightly heavier, denser slices like sourdough or whole-grain breads which are less likely to be tossed by the airflow.
Conclusion
Mastering the art of using your kitchen’s most versatile tool for a simple breakfast staple is a skill that pays off every morning. By understanding how the air circulation and temperature settings influence the final result, you can move beyond basic toasting and start experimenting with flavors and textures. Whether you are aiming for a simple, perfectly browned slice of sourdough or a decadent, cheesy snack, the air fryer provides the consistency and control needed for professional-level results at home.
Keep your basket clean, watch your timing, and don’t be afraid to experiment with different bread varieties. We would love to hear about your favorite toppings or the specific techniques you have discovered while perfecting your own air-fried toast.


