

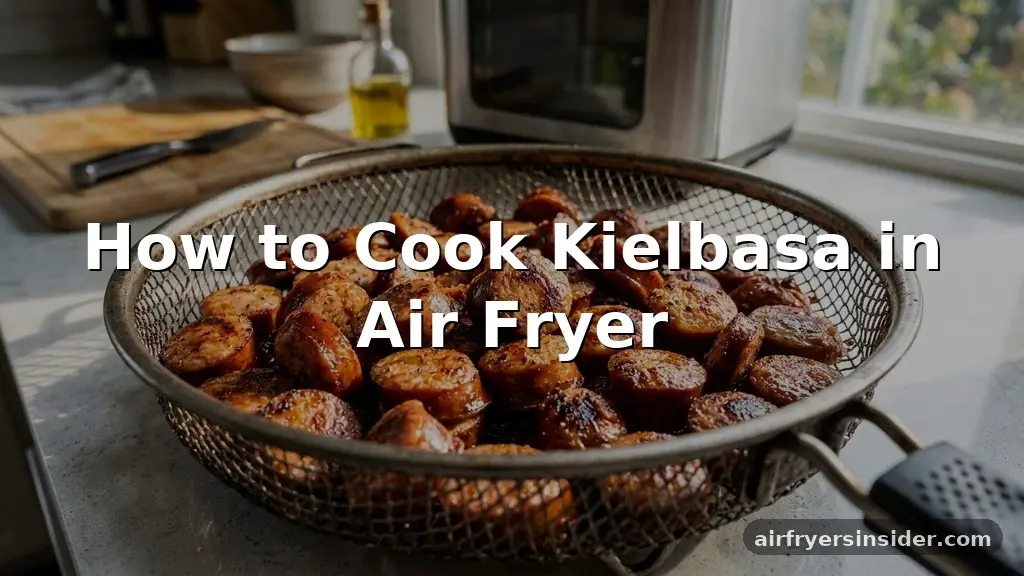
Learning how to cook kielbasa in air fryer units has transformed the way many home cooks handle this savory, traditional staple. Because these sausages are often pre-cooked and full of rich, smoky flavor, they require only a quick blast of high heat to achieve a perfect, snappy bite.
Mastering this technique allows you to bypass the greasy mess of stovetop frying while still achieving those desirable char marks. Whether you are looking for a fast weeknight dinner or an easy way to prep meat for a larger dish, understanding the nuances of air convection will ensure your sausage stays juicy on the inside while becoming beautifully browned on the outside.
Understanding the Basics of Air Frying Kielbasa
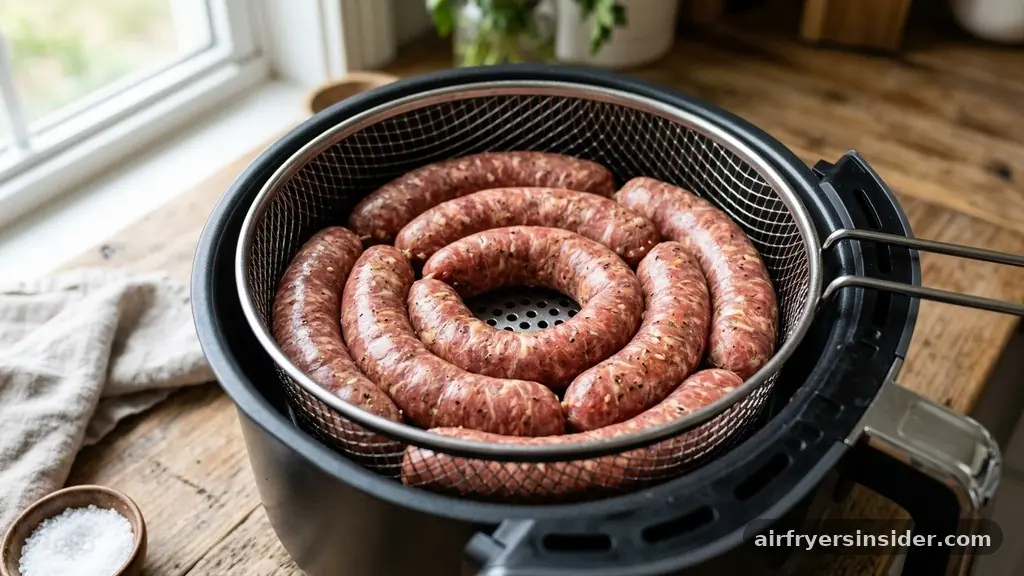
The primary advantage of using an air fryer for sausage is the speed and consistency provided by convection heating. Unlike a traditional oven that relies on radiant heat, an air fryer circulates hot air at high speeds, which is ideal for rendering fat and creating a crispy texture on the surface of the meat. Since most varieties found in grocery stores are classified as pre-cooked sausage, the goal of the cooking process isn’t necessarily to bring the center to a safe temperature from a raw state, but rather to heat it through and improve the exterior.
When you place your links into the air fryer basket, you are creating a small, enclosed environment that mimics a convection oven. This setup is perfect for smoked sausage because the intense heat crisps the casing without drying out the interior. To get the best results, you should avoid overcrowding the basket.
Proper airflow is essential for the hot air to reach all sides of the link, ensuring uniform browning and preventing any soggy spots. If you are cooking for a crowd, it is better to work in batches rather than stacking the meat.
Preparation and Slicing Techniques
Before you even turn on the machine, your slicing techniques can significantly impact the final result. You can choose to cook the kielbasa as a whole rope, in large chunks, or sliced into coins. If you prefer coins, aim for a thickness of about half an inch to an inch.
Thicker slices hold their moisture better, while thinner slices will crisp up much faster and can become quite crunchy. A popular method is to score the surface of the sausage using cross-hatching—shallow diagonal cuts that allow the heat to penetrate deeper and create more surface area for those delicious char marks.
Another important aspect of preparation is moisture management. Even though the air fryer will crisp the skin, starting with a dry surface helps the process along. Patting the sausage dry with a paper towel before adding any seasoning or oil is a pro tip that many overlook.
If you decide to add a light coating of oil, use a high-smoke-point oil spray to ensure it doesn’t burn during the process. Keep in mind that kielbasa already has a high fat content, so you rarely need extra oil to prevent sticking, but a light mist can help the exterior achieve a more uniform golden-brown color.
Optimal Cooking Times and Temperature
Determining the right cooking time depends largely on the thickness of your sausage and the specific model of your air fryer. Generally, setting your machine to 375°F (190°C) is the sweet spot. At this temperature, the fat renders efficiently, and the casing becomes taut and crisp without burning.
For whole or large-cut links, ten to twelve minutes is usually sufficient, with a quick shake or turn using kitchen tongs halfway through. If you are working with smaller coins, you can often finish the job in just six to eight minutes.
Consistency is key when using an air fryer, as these devices can vary significantly in power. If your air fryer is particularly powerful, you might find that the edges of the kielbasa char faster than expected. Always keep an eye on the progress after the five-minute mark.
Using a meat thermometer is the only way to be 100% certain that your food is ready. While you are mostly reheating, ensuring the internal temperature hits at least 165°F ensures that the meat is hot throughout. Following USDA guidelines for safe food handling is a good habit to maintain, even with pre-cooked items.
Managing the Air Fryer Environment
Managing the interior of your air fryer is about more than just temperature; it is about cleanliness and airflow. Using parchment paper specifically designed for air fryers can make cleanup significantly easier, as the rendered fat from the kielbasa can be messy.
However, be careful not to cover the entire bottom of the basket, as this can block the vents and disrupt the circulation of hot air. If you choose to use a liner, ensure it is weighted down by the food so it doesn’t fly up into the heating element.
| Cut Style | Estimated Time | Texture Outcome |
|---|---|---|
| Whole Rope | 12-15 Minutes | Snap-casing, juicy center |
| Large Chunks | 10-12 Minutes | Uniform browning |
| Sliced Coins | 6-8 Minutes | Very crispy edges |
The table above provides a general guideline for how different cuts behave under heat. Notice that smaller slices require less time, which is perfect for busy weeknights when you need dinner recipes that come together in under ten minutes. Always remember that these times are estimates; if you like your sausage extra dark or charred, feel free to add an extra minute or two, but keep a close watch to prevent the skin from splitting or burning.
Addressing Common Topical Gaps
Many people wonder if they should add water to the air fryer when cooking sausage. The answer is a definitive no. Adding water creates steam, which is the enemy of a crispy texture.
If you want a softer sausage, you should boil or steam it on the stove instead. Another common question involves whether you need to preheat the unit. While not strictly necessary, preheating for three minutes ensures that the browning process starts immediately upon contact, which helps lock in the juices.
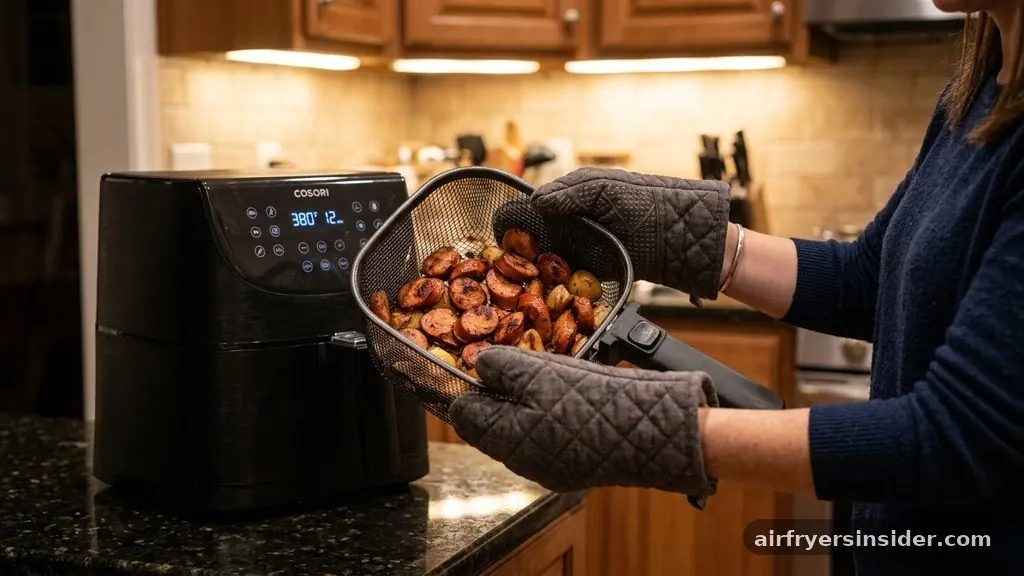
A common mistake is forgetting to shake the basket. Because the air hits from the top down, the bottom of the sausage will often stay pale if not moved. Using a pair of kitchen tongs to flip the pieces ensures an even, appetizing color on all sides.
Additionally, some people worry about the smoke generated by rendering fat. If your kielbasa is particularly fatty, you can add a tablespoon of water to the bottom of the air fryer tray (under the basket) to catch the grease and prevent it from smoking, provided your specific model allows it.
Pairing and Serving Suggestions
Once you have perfected the art of cooking kielbasa, the next step is building a meal around it. Because the meat is so savory and salty, it pairs beautifully with acidic or sweet side dishes. Traditional options like sauerkraut provide a tangy contrast that cuts through the richness of the pork.
A dollop of spicy mustard is almost mandatory, as the sharpness helps balance the smoky profile of the sausage. Other excellent sides include roasted root vegetables, mashed potatoes, or a fresh cabbage salad.
Consider these serving ideas for a balanced meal:
- Classic Polish-style plate with warm sauerkraut and crusty rye bread.
- Sliced kielbasa tossed into a hearty potato hash with bell peppers and onions.
- A quick appetizer board featuring air-fried coins, pickles, and several types of gourmet mustard.
- Mixed into a warm lentil stew to add depth and a smoky aroma to the broth.
These combinations turn a simple protein into a substantial, well-rounded dinner. Because the air fryer does most of the heavy lifting, you can spend more time preparing your sides or enjoying a glass of beer or cider while the meat crisps to perfection.
Mastering Meal Prep and Reheating
Kielbasa is an incredible asset for meal prep. By cooking a large batch on Sunday, you have a versatile protein ready to go for the rest of the week. Air-fried sausage stores well in the refrigerator for up to four days.
When you are ready to eat, you can either enjoy it cold in a salad or reheat it quickly. If you choose to reheat, the air fryer is once again the best tool for the job. Simply pop the slices back in for three to four minutes at 350°F to bring back that original crispy texture.
Avoid using the microwave for reheating if you want to maintain quality. The microwave tends to make the casing rubbery and can dry out the interior meat. By using the air fryer, you ensure that the second meal is just as enjoyable as the first.
This efficiency makes it a staple for those who value time-saving cooking methods without sacrificing flavor. Whether you are adding it to an omelet, a quick pasta dish, or a sandwich, having pre-cooked, air-fried kielbasa on hand makes meal planning significantly easier.
Food Safety and Quality Control
While most kielbasa is sold pre-cooked, it is still crucial to follow basic food safety standards. Always check the packaging to see if the product is ready-to-eat or if it requires a full cook. If you are dealing with raw fresh sausage, the requirements change significantly; you must ensure the internal temperature reaches 160°F to 165°F consistently throughout the meat.
A meat thermometer is an essential piece of kitchen equipment for this purpose. Never guess when it comes to raw poultry or pork products.
Quality control also involves observing the appearance of the sausage before cooking. If the casing feels slimy or has an off-putting odor, discard it immediately. When purchasing, look for high-quality smoked sausages that list meat as the first ingredient.
The quality of the sausage itself will dictate the final flavor profile, regardless of how well you cook it. Investing in a brand that uses high-quality spices and authentic smoking processes will yield a much better result than a lower-end, highly processed variety.
Advanced Techniques for Flavor Enhancement
For those who want to take their air-fried kielbasa to the next level, consider marinating or seasoning the meat before it hits the air fryer. While it is already flavorful, a quick toss in a mixture of honey, soy sauce, and a hint of chili flakes can create a beautiful glaze that caramelizes under the high heat.
Another option is to dust the sausages with smoked paprika or garlic powder. Because the air fryer creates such a clean environment, these extra flavors really shine through.
You can also experiment with different types of wood-smoked sausages. Variations like turkey kielbasa or those containing cheese or jalapeños react differently to heat. For example, a cheese-filled variety requires a slightly lower temperature to prevent the cheese from leaking out too quickly.
By adjusting your heat and timing based on the specific type of sausage, you can customize your results to suit your personal preferences. The versatility of this cooking method is limited only by your imagination and your willingness to experiment with different ingredients.
Frequently Asked Questions
How long does it take for kielbasa to be fully heated in an air fryer?
For most pre-cooked kielbasa, you should air fry at 375°F for about 8 to 12 minutes. If you are cooking the entire rope, aim for the longer end of that spectrum, while individual slices will be ready in as little as 6 minutes. Always flip halfway through.
Is it necessary to use oil when cooking kielbasa in an air fryer?
No, it is not strictly necessary. Kielbasa has a high natural fat content that renders out during the cooking process, which prevents it from sticking to the basket. However, a very light spray of oil can help achieve an extra golden, uniform color on the outside.
Can I cook frozen kielbasa directly in the air fryer?
Yes, you can cook it from frozen, but you will need to increase the cooking time by about 3 to 5 minutes. Start at a slightly lower temperature of 350°F to ensure the center thaws before the outside becomes too dark, then finish at a higher heat.
What is the best way to prevent the sausage from drying out?
To keep the interior juicy, avoid overcooking. Use a meat thermometer to pull the sausage out as soon as it reaches an internal temperature of 165°F. Additionally, cooking the kielbasa in larger chunks or as a whole rope helps retain more moisture than slicing it into thin coins.
Conclusion
Mastering the process of cooking kielbasa in an air fryer is a straightforward way to elevate a simple, reliable ingredient into a standout meal. By focusing on temperature control, proper airflow, and the right slicing techniques, you can achieve a perfect balance of a smoky, crispy exterior and a succulent, flavorful interior. This method removes the inconvenience of greasy pans and long cleanup times, leaving you with more room to enjoy your dinner.
Whether you are serving it alongside traditional sides or incorporating it into a complex recipe, the air fryer provides the precision needed for consistent results every time. Start experimenting with your favorite varieties today and see how quickly this becomes a staple in your kitchen.
Meta Description: Learn how to cook kielbasa in air fryer units to achieve a perfectly crispy, juicy result every time with these expert tips and techniques.


