

Determining how long does an air fryer take to preheat depends largely on your specific appliance model and the temperature you hope to reach. While many modern countertop convection cookers are designed for speed, understanding the mechanics behind these machines helps you achieve better results. Most home cooks find that their devices reach the desired temperature in just a few minutes, significantly faster than a traditional oven.
By grasping the relationship between wattage and thermal mass, you can streamline your kitchen routine and improve the quality of your meals. This analysis explores the nuances of heating cycles and why timing your preheat properly matters for achieving that perfect, crispy texture.
The Mechanics of Rapid Air Technology
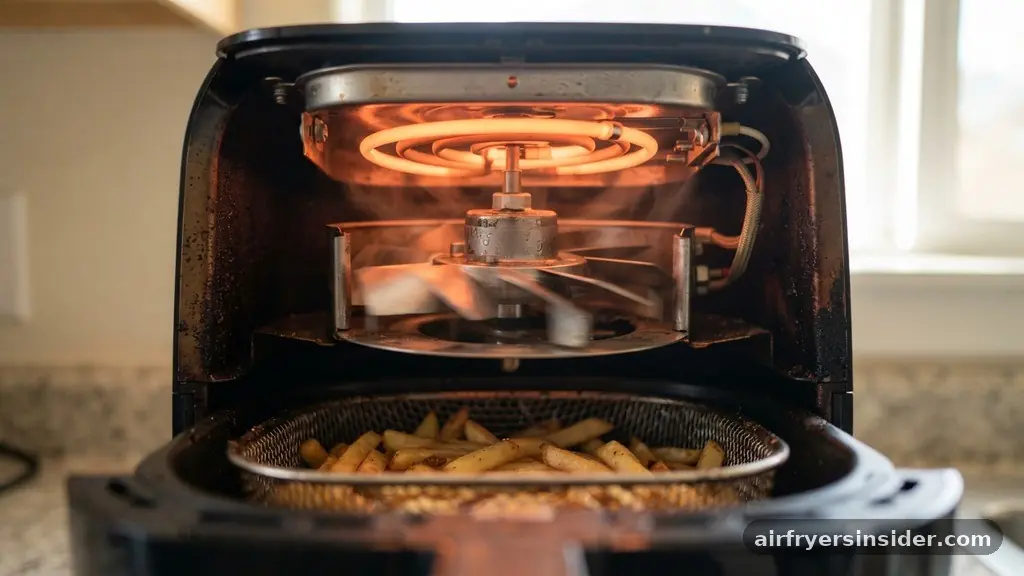
At the core of every air fryer is a powerful heating element paired with a high-speed fan. This combination creates the environment necessary for convection cooking, where hot air is forced rapidly around the food.
When you activate the device, the goal is to stabilize the internal chamber temperature so that the Maillard reaction—the chemical process that browns food and creates flavor—begins the moment your ingredients hit the basket. Unlike a conventional oven, which relies on radiant heat from coils, an air fryer uses forced air to minimize heat dissipation.
Because the chamber is relatively small compared to a standard oven, the volume of air that needs to be heated is quite low. This is why you rarely need to wait longer than five minutes. The internal thermostat monitors the ambient temperature continuously, cycling the heating element on and off to maintain your target.
If you open the basket frequently, you lose that built-up heat, forcing the unit to work harder to recover. Understanding this cycle helps you realize that the preheat phase is not just about the device reaching the number on the dial, but about saturating the internal components with enough energy to maintain a consistent environment during the actual cook time.
Factors Influencing Preheat Duration
Several variables dictate the speed at which your appliance warms up. The most significant factor is the wattage of the unit. A high-wattage air fryer, such as a 1700-watt model, will naturally reach 400 degrees much faster than a lower-wattage, compact unit.
Additionally, the physical size of the basket plays a role; a larger basket has more surface area and more metal to heat up before the air inside reaches equilibrium. If your appliance has a heavy-duty metal basket, it will act as a heat sink, requiring a longer initial blast of power to get up to temperature compared to a lighter, thinner basket design.
Ambient temperature also plays a subtle but measurable role. If your kitchen is particularly cold, or if you are storing your air fryer in a drafty area, the unit may take an extra minute or two to compensate for the initial thermal deficit. Furthermore, the starting temperature of the basket itself matters.
If you have just finished a batch of cooking and are starting another, the residual heat will significantly shorten the preheat cycle. Conversely, starting from a cold, room-temperature state requires the full duration of the cycle to ensure the appliance is ready for immediate, efficient cooking.
Standard Preheat Times by Target Temperature
Most users wonder if they need a different strategy for different heat settings. While the physics remains the same, the time required to reach a specific temperature can vary. Generally, a range of three to five minutes is sufficient for most recipes.
If you are aiming for a lower temperature, like 320 degrees for gentle roasting, you might find the unit signals readiness in under three minutes. For higher temperatures, such as 400 degrees, you should allow the full five minutes to ensure the heating element has properly saturated the chamber.
| Target Temperature | Estimated Preheat Time |
|---|---|
| 300°F – 320°F | 2-3 Minutes |
| 350°F – 375°F | 3-4 Minutes |
| 380°F – 400°F | 4-5 Minutes |
It is helpful to keep in mind that these are estimates. Some premium models, such as the Ninja Foodi or the Instant Vortex, are engineered with advanced sensors that track the air temperature more aggressively.
These units often reach their set point faster than budget-friendly models. When you are following specific recipe requirements, it is safer to err on the side of a slightly longer preheat than a shorter one, as this ensures your food begins to cook at the intended intensity immediately upon insertion.
The Role of the Preheat Indicator Light
Many modern air fryers include a preheat indicator light or an audible beep that tells you when the chamber has reached the target temperature. This feature is designed to remove the guesswork from the process.
When the light turns on or the chime sounds, the internal thermostat has confirmed that the air circulation has stabilized. Ignoring this signal can lead to uneven cooking, as the food may start in a “ramp-up” phase where the temperature is fluctuating, which is particularly detrimental when you are trying to achieve a uniform crust on delicate items like breaded chicken or vegetables.
However, some users prefer manual preheating, especially if they have an older model that lacks an automated sensor. In these cases, you are the timer. Setting a manual timer for five minutes is a reliable workaround.
It is important to remember that the indicator light only reflects the temperature of the air, not necessarily the temperature of the basket or the food you are about to add. If you are cooking frozen food preparation, the cold mass of the ingredients will cause an immediate temperature drop. A thorough preheat ensures the system has enough “thermal headroom” to recover quickly from that initial drop.
Addressing Common Misconceptions
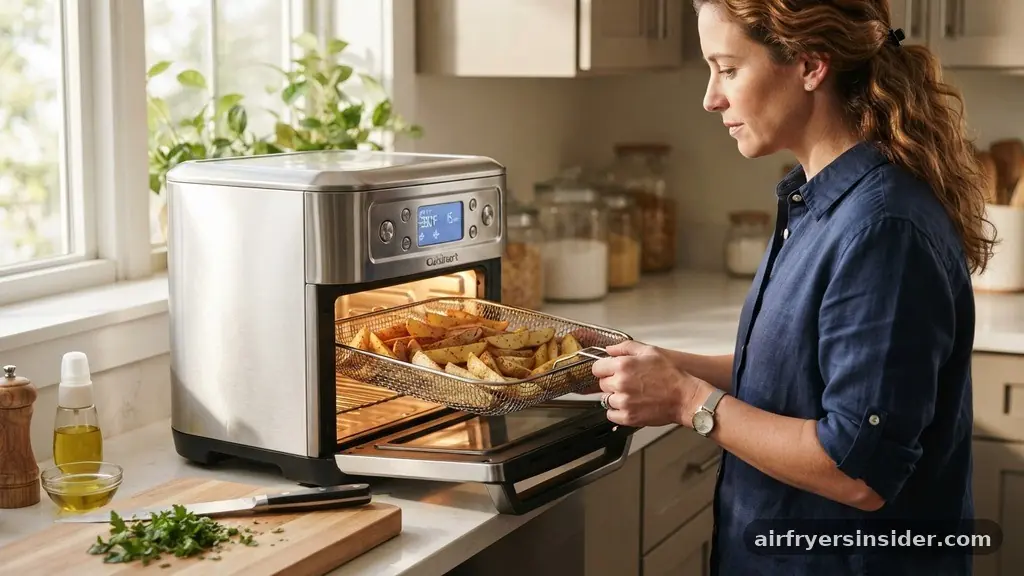
A common myth is that preheating an air fryer is optional. While it is true that you can technically start cooking without preheating, doing so often ruins the texture of the finished product. Without a preheated chamber, the food spends extra time in the appliance while the air slowly warms up.
This extra time allows moisture to seep out of the food before the surface has a chance to crisp, leading to a soggy or steamed result rather than the desired crunchy exterior. For recipes that depend on high heat to sear, such as steak or bacon, preheating is non-negotiable.
Another misconception involves the placement of the basket during the preheating phase. You should always keep the basket inserted while the unit warms up. Removing the basket during preheating causes the internal temperature to plummet instantly, wasting the energy consumption you just spent to heat the air.
Furthermore, the basket itself needs to be hot to ensure the food begins cooking on all sides simultaneously. By leaving the basket in, you allow the metal to heat up, which contributes to the overall thermal efficiency of the cooking process.
Specific Considerations for Popular Brands
Different manufacturers design their air fryers with slightly different internal airflow dynamics. Owners of the Ninja Foodi, for instance, often note that these units have very high-powered fans that move air aggressively, which can lead to faster heat recovery times.
The Cosori line is known for consistent temperature regulation, often providing a very stable preheat cycle that rarely deviates from the set point. Understanding your specific model’s behavior can help you refine your timing.
Instant Vortex and Similar Models
The Instant Vortex often features a “Preheat” button that automatically sets the timer for a standard duration. This is an excellent feature for beginners, but advanced cooks might find that they prefer to manually adjust this based on the volume of food. If you are cooking a large batch, you might want to extend the preheat by an additional minute to account for the increased density of the ingredients.
Compact vs. Large Capacity Units
Smaller, compact air fryers generally reach temperature faster because there is less air volume to displace. If you have a large-capacity, multi-zone air fryer, be aware that the larger cavity will naturally take longer to reach the same temperature. Always consult your user manual for the manufacturer’s recommended preheat times, as they have calibrated their sensors based on the specific thermal mass of the unit’s interior.
Optimizing for Energy Consumption
While air fryers are generally more energy-efficient than traditional convection ovens, the preheat cycle is where most of that energy is consumed. Because the heating element is running at maximum capacity during this phase, minimizing the length of the preheat can save electricity over the long term.
You can maximize your energy efficiency by ensuring the air fryer is placed on a stable, heat-resistant surface with adequate clearance for ventilation. If the unit is cramped against a wall, it may struggle with heat dissipation, causing the thermostat to cycle inefficiently and prolonging the time it takes to reach the target temperature.
Another way to save energy is to plan your cooking sessions to minimize the number of times you have to start the machine from a cold state. If you are preparing a multi-course meal, try to schedule the air-fried portion to follow another task that requires the unit, or cook multiple batches back-to-back.
The residual heat from the first batch will significantly reduce the preheat time for the second, effectively utilizing the energy you have already spent. This approach not only saves time but also reduces the wear and tear on the heating element.
Topical Gaps: Addressing Frequent Questions
Many users search for information regarding preheating without a basket or specific temperature settings like 360 or 200 degrees. One of the most common questions is whether the basket must be empty during the preheat.
The answer is yes; you should never preheat with food already inside unless the recipe specifically dictates it, as this prevents the Maillard reaction from occurring properly. Regarding specific temperatures, the duration does not change drastically between 360 and 400 degrees; the heating element simply works until the thermostat detects the set point.
Another gap in common knowledge is how to adjust cook time when you choose not to preheat. If you decide to skip the preheat, you must add approximately three to five minutes to your total cook time. However, this is a risky strategy for delicate foods.
If you are baking in the air fryer, the lack of a preheated environment can prevent cakes or muffins from rising properly. Always prioritize preheating for baking and high-heat searing, while you might get away with skipping it for simple tasks like reheating leftovers or warming up pre-cooked snacks.
Culinary Precision and Food Safety Standards
Achieving consistent results in the kitchen is a matter of managing variables, and preheating is perhaps the most overlooked variable in air frying. Culinary precision requires that the environment be controlled from start to finish.
When you adhere to food safety standards, particularly when cooking poultry or dense proteins, starting at the correct temperature ensures that the internal temperature of the food reaches the safe threshold within the expected timeframe. If the unit is still heating up, you might find that the exterior is cooked while the center remains under-temperature, which is a major food safety concern.
Maintaining this level of control requires a bit of patience, but the payoff is a significantly higher quality of food. By treating the preheat cycle as a necessary component of the cooking process rather than an annoyance, you elevate your home cooking to a professional standard.
Whether you are using a basic model or a high-end appliance, the principles of thermal efficiency and air circulation remain the same. Take the time to learn how your specific unit behaves, respect the preheat signal, and you will find that your air fryer becomes a more reliable and versatile tool in your kitchen.
FAQ
How do I know when my air fryer is preheated?
Most modern air fryers feature an indicator light that turns off or a digital display that chirps when the set temperature is reached. If your model is manual, simply set a timer for five minutes, which is generally sufficient to ensure the chamber is fully heated.
Do I always need to preheat my air fryer?
While not strictly mandatory for every single dish, preheating is highly recommended for recipes requiring a crisp exterior or a specific rise, such as baked goods or seared meats. Skipping it can lead to soggy textures and longer, less predictable cook times for your ingredients.
Can I preheat the air fryer with the basket inside?
Yes, you should always keep the basket inside the unit while it preheats. The basket needs to reach the target temperature along with the air in the chamber to ensure the cooking process starts immediately and evenly the moment you add your food.
How much time should I add if I do not preheat?
If you choose to skip the preheat cycle, you should generally add three to five minutes to the total recipe cook time. However, be aware that this may not yield the same crispy results, as the food will begin cooking in a gradually warming environment rather than a hot one.
Conclusion
Mastering your appliance’s performance is the key to consistent results. Knowing how long does an air fryer take to preheat allows you to plan your kitchen prep effectively, ensuring that your meals are cooked with the precision required for perfect textures and flavors. By respecting the preheat cycle, you allow the heating element and fan to create an environment where the Maillard reaction can occur instantly, locking in moisture while creating a crispy exterior.
While it might be tempting to rush the process, those few minutes of preparation contribute directly to the quality of your finished dish. As you become more familiar with your specific unit’s habits, you will find that these intervals become second nature, making your daily cooking routine smoother and more efficient. Start incorporating these simple habits today to get the most out of your kitchen technology.
Meta Description: Learn how long does an air fryer take to preheat and why this step is essential for achieving the perfect crispy texture in your daily home cooking.


