

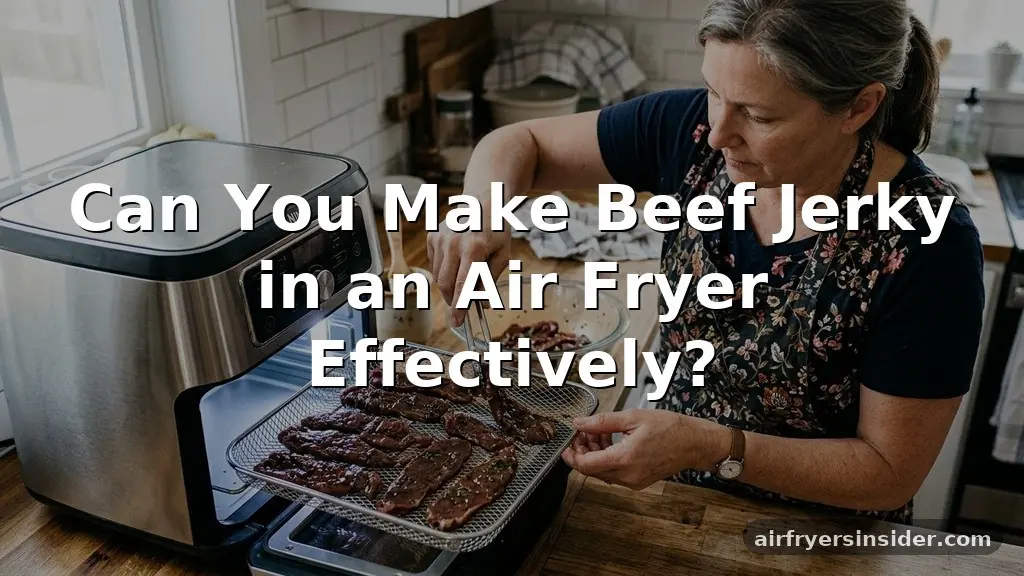
Many home cooks wonder if they can make beef jerky in an air fryer, and the short answer is yes, provided your appliance features a dedicated dehydrator setting or can maintain very low temperatures. While traditional dehydrators are designed specifically for this purpose, air fryers use a powerful convection fan to circulate heat, which mimics the drying process quite well.
If you have a model that allows you to drop the heat to 150°F or 160°F, you are perfectly positioned to create high-quality, chewy snacks right in your kitchen. Achieving the right texture requires patience, proper meat preparation, and careful monitoring of the drying process.
Selecting the right cut of meat is the foundation of any successful batch of homemade snacks. Because you want to avoid excess fat, which turns rancid during the preservation process, choosing lean beef is absolutely critical for long-term storage. The most common and reliable cuts for this purpose include eye of round or flank steak.
These cuts are naturally low in fat and hold up well to the slicing process. If you have access to a meat slicer, you can achieve uniform strips that dry evenly, though a sharp chef’s knife works perfectly fine if you are careful to slice against the grain.
Once you have your meat sliced, the next step involves creating a flavorful jerky marinade. A classic base typically combines soy sauce and Worcestershire sauce, which provide the necessary salt content to help with food preservation. Many enthusiasts also add a splash of liquid smoke to replicate that authentic campfire flavor that usually requires a smoker.
If you are planning to store your jerky for longer than a few weeks, consider using curing salt or Prague powder (pink curing salt) to inhibit bacterial growth. Always mix your ingredients thoroughly and allow the meat to soak in the refrigerator for at least 12 hours, though 24 hours often produces a much deeper flavor profile.
Understanding Air Fryer Mechanics for Dehydration
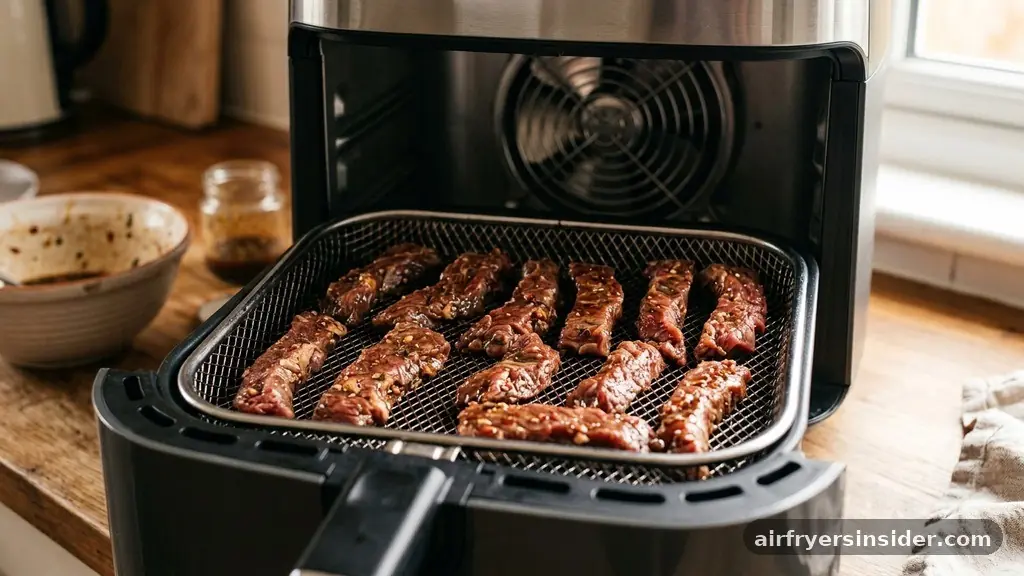
When asking if you can make beef jerky in an air fryer, you must understand how the convection fan inside your unit functions. Unlike a standard oven, which might have hot spots, an air fryer is built to move air rapidly around the cooking chamber. This constant movement is exactly what you need to wick moisture away from the meat.
However, standard air frying usually happens at high temperatures (350°F to 400°F). For jerky, you need the opposite: low temperature cooking.
If your air fryer doesn’t have a specific dehydration mode, verify that it can maintain a constant temperature between 150°F and 170°F. If the heat is too high, the outside of the meat will “cook” and harden before the inside has time to lose its moisture content, leading to a product that spoils quickly.
You want a slow, steady removal of water. If you notice your air fryer runs hot, you may need to prop the door open slightly with a wooden spoon to allow some of that trapped heat and humidity to escape, which helps the drying process significantly.
Preparing the Meat for Optimal Texture
The secret to professional-grade jerky lies in how you slice the protein before it ever touches the heat. You should aim for strips that are roughly 1/8 to 1/4 inch thick.
Thinner slices will dry out much faster, while thicker pieces may remain soft in the center, creating a risk for spoilage. Using a meat slicer is the most efficient way to ensure consistency, but if you are doing it by hand, putting the meat in the freezer for about 45 minutes until it is firm but not frozen solid makes it much easier to achieve uniform cuts.
Always slice against the grain if you prefer a more tender, easy-to-chew result. If you enjoy a tougher, more traditional “pull” to your jerky, slice with the grain. Once sliced, trim away any visible white fat.
Fat does not dehydrate; it remains soft and can cause your finished jerky to go rancid much faster than lean muscle tissue. After trimming, place the strips in your jerky marinade and ensure every piece is submerged. Proper marination not only adds flavor but also helps break down some of the muscle fibers, resulting in a better overall tenderness once the drying cycle is complete.
Managing Food Safety During the Process
Because you are working with raw meat and a low-temperature environment, food safety must be your top priority. Bacteria thrive in the “danger zone” between 40°F and 140°F.
Since dehydration happens at these temperatures, it is vital to get the meat temperature up quickly and keep the air moving. Some experts recommend pre-heating the meat in an oven to an internal temperature of 160°F before putting it in the air fryer to ensure any pathogens are destroyed, though this can sometimes affect the final texture.
To prevent cross-contamination, treat your air fryer basket and racks as you would any surface that has touched raw meat. Wash them thoroughly with hot, soapy water immediately after the jerky is removed. If you use parchment paper to line your basket for easier cleanup, ensure it doesn’t block the airflow.
If the air cannot circulate, the meat will steam rather than dehydrate, which is a significant safety hazard. Always store your finished jerky in an airtight container or use a vacuum sealer to remove all oxygen, which significantly extends the shelf life of your snack.
Setting Up Your Air Fryer for Success
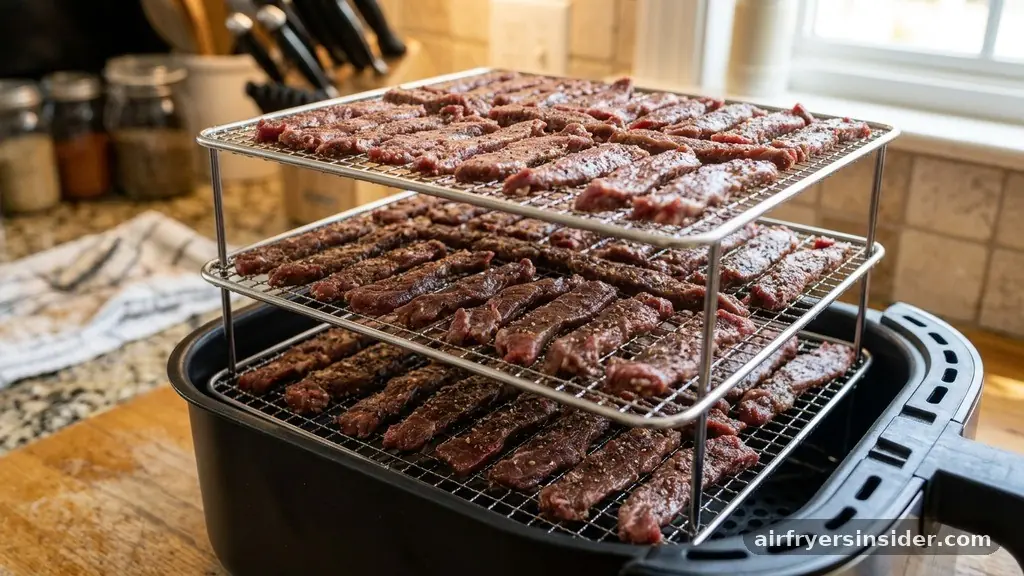
Arranging the meat inside the air fryer requires a bit of finesse. You cannot simply pile the strips on top of each other, or the center of the pile will remain moist and prone to mold.
If air fryer comes with a food-grade rack or multiple levels, use them to spread out the meat strips so that air can flow freely around every single piece. And you only have the main basket, lay the strips in a single layer without them touching.
If you find that your air fryer doesn’t have enough rack space, you can purchase aftermarket stainless steel racks that stack inside the basket. This is a game-changer for batch production. Ensure that the airflow is not obstructed by the meat itself.
If you are using a basket-style fryer, you may need to flip the pieces halfway through the process to ensure even drying on both sides. Check the strips periodically; jerky is done when it bends and cracks slightly without snapping in two. If it snaps, it is likely over-dried; if it feels squishy, it needs more time.
Comparing Traditional Dehydrators to Air Fryers
It is helpful to look at how these two methods stack up against each other. While the air fryer is versatile, it isn’t always the most efficient tool for large-scale production.
| Feature | Air Fryer | Traditional Dehydrator |
|---|---|---|
| Capacity | Limited (usually 1-2 lbs) | High (up to 5-10 lbs) |
| Airflow | Powerful, directional | Gentle, multi-directional |
| Temperature Control | Variable (often high minimums) | Precise, low-range focus |
| Energy Usage | Higher per unit of food | Efficient for long cycles |
As the table shows, if you are a casual snacker, an air fryer is perfect. If you plan on making jerky in bulk for hiking or camping trips, the capacity limitations of the air fryer might become frustrating. The convection fan in an air fryer is much more powerful than the fan in a standard dehydrator, which means you must monitor the meat more closely to avoid over-drying.
Addressing Common Topical Gaps
Many enthusiasts ask about the “five foods you shouldn’t put in an air fryer,” and while jerky is generally safe, there are nuances. One common gap in information is the use of non-stick sprays.
Avoid using aerosol cooking sprays on your air fryer basket before adding jerky, as the chemicals can build up and ruin the non-stick coating over time. Instead, use a light brush of oil or simply rely on the natural properties of the meat.
Another gap involves the “tackiness” of the jerky. If your jerky feels sticky even after the recommended time, it might be due to the sugar content in your marinade. Honey, maple syrup, or brown sugar can caramelize and remain sticky even when the meat is dried.
If you prefer a dry-to-the-touch finish, reduce the sweeteners in your recipe or opt for a savory, soy-based marinade. Finally, always use a meat thermometer to verify the internal temperature if you are concerned about safety, especially if your air fryer’s digital display isn’t calibrated perfectly.
Essential Tips for Flavor and Longevity
The flavor profile of your beef jerky can be adjusted endlessly, but the ratio of salt to liquid remains the most important factor for preservation. Do not skimp on the salt; it is the primary preservative. If you want to experiment with different profiles, consider these additions:
- Red pepper flakes or cayenne for a spicy kick.
- Garlic powder and onion powder for a savory depth.
- Cracked black pepper for a classic, bistro-style bite.
- Pineapple juice in the marinade to help tenderize the meat.
- Smoked paprika to boost the smoky undertones.
Once the jerky is finished, let it cool completely on a wire rack before packaging it.
If you put warm jerky into a sealed bag, the residual heat will create condensation, which is the fastest way to invite mold growth. Patience during the cooling phase is just as important as the drying phase itself.
Troubleshooting Common Jerky Issues
Sometimes, even with the best intentions, the process doesn’t go as planned. If your jerky turns out too tough, you likely used a cut with too little connective tissue or sliced it with the grain.
If it turns out too crumbly, you have over-dried it. To fix the “too tough” issue, try increasing the acidity in your marinade next time, perhaps by adding a little vinegar or citrus juice, which helps soften the fibers during the soak.
If you find that your jerky is drying unevenly, it is almost certainly an issue with placement. In an air fryer, the air follows the path of least resistance. If one side of the basket is crowded, that side will stay wet while the other side dries out.
Always leave at least a quarter-inch of space between pieces. If your air fryer has a “rotate” or “shake” function, disable it for jerky.
The constant movement can cause the strips to overlap, which ruins the airflow. Keep the basket stationary and handle the strips manually for the best possible results.
FAQ: Frequently Asked Questions
How long does it typically take to make beef jerky in an air fryer?
The process usually takes between 3 to 5 hours, depending on the thickness of your meat slices and the specific temperature settings of your appliance. Always start checking the texture around the 3-hour mark to ensure the pieces don’t become too brittle or over-dried.
Can I use any cut of beef for jerky?
While you can use various cuts, lean beef is essential. Cuts like eye of round, top round, or flank steak are preferred because they have very little fat. Fat does not dehydrate properly and can cause your jerky to spoil quickly, so trim all visible fat before marinating.
Why is my air fryer jerky still soft after several hours?
If your jerky remains soft, it likely contains too much moisture. This could be due to thick slices, low-quality airflow, or a temperature that is too low. Ensure your slices are uniform and thin, and if necessary, leave the air fryer door slightly ajar to let humidity escape.
Do I really need to use curing salt?
Curing salt, or Prague powder, is recommended if you plan to store your jerky at room temperature for an extended period. It prevents botulism and helps maintain the meat’s color. For short-term refrigeration, it is optional, but it is highly recommended for safety and longevity.
Conclusion
Making delicious, shelf-stable snacks at home is entirely possible when you learn how to balance temperature and airflow. Whether you are using a high-end air fryer or a basic model, the principles remain the same: keep the meat lean, slice it thin, and maintain a low, consistent heat to gently remove moisture. By paying attention to the specific needs of your machine and ensuring proper preparation, you can produce professional-quality results that far exceed store-bought alternatives.
Now that you know you can make beef jerky in an air fryer with just a few simple adjustments, you have the freedom to experiment with your own custom spice blends and marinades. Start with a small batch to calibrate your device’s settings, and you will soon be creating your own signature snacks with ease.


