

Achieving tender, flavorful results when learning how to cook ribs in an air fryer is entirely possible if you follow a few specific techniques. While many people associate barbecue with long hours over a charcoal grill or a slow smoker, the air fryer offers a surprisingly efficient alternative for smaller portions.
By utilizing high-velocity convection cooking, you can mimic the effects of a traditional oven while significantly reducing the prep time and energy consumption. Mastering this process transforms a rack of ribs into a quick weeknight meal, delivering that signature savory crust and succulent meat texture without needing a backyard setup.
Selecting the Right Cut for Your Air Fryer
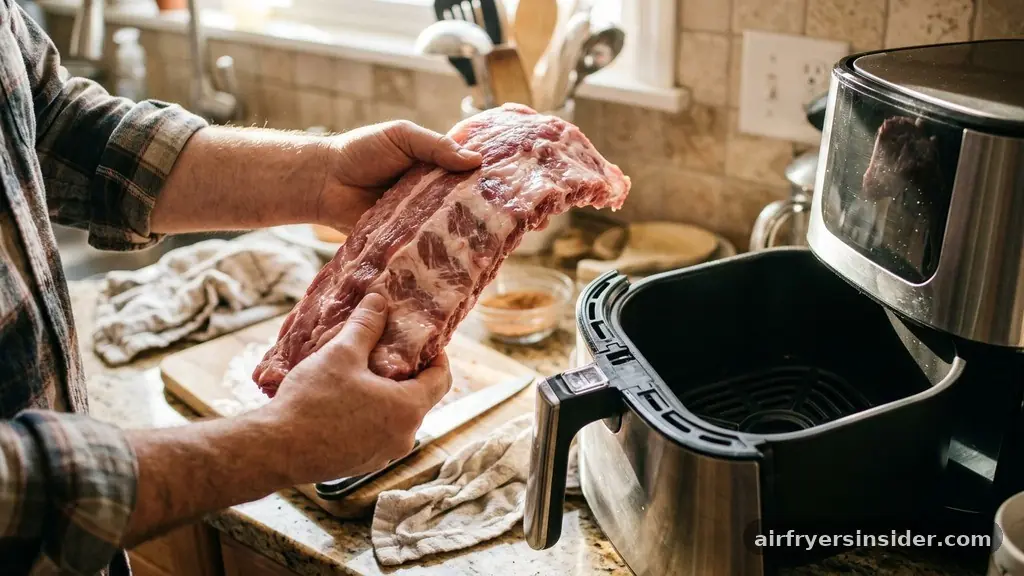
The first step in any successful rib endeavor is choosing the right meat. Because air fryer baskets are generally smaller than an oven rack, you need to consider the physical dimensions of the pork you purchase.
Baby back ribs are typically the best choice for air frying because they are shorter, leaner, and more curved, which allows them to fit more naturally into the circular or square baskets common in most countertop appliances. Spare ribs, while meatier and often more flavorful due to a higher fat content, are generally flatter and much longer, often requiring significant cutting to fit inside the machine.
When you head to the butcher or grocery store, look for a rack that feels heavy for its size and has a consistent layer of meat between the bones. Avoid racks with excessive, loose fat caps, as this can lead to smoking in the air fryer. If you are shopping at a warehouse club, you might find pre-cut portions, which are ideal for air frying.
If you find a full rack, prepare to cut it into three or four-bone sections. This division is essential for proper airflow, as crowding the basket will result in steamed, soggy meat rather than the desirable roasted texture you want.
Proper Membrane Removal and Preparation
The membrane, often called the silver skin, is a tough, fibrous layer found on the underside of a rack of ribs. Removing this is non-negotiable if you want your ribs to be tender rather than rubbery. This connective tissue does not break down during the relatively short cooking duration of an air fryer, so leaving it on will result in a chewy, unpleasant mouthfeel.
To remove it, use a butter knife to gently pry up a corner of the membrane near one of the middle bones. Once you have a grip, use a paper towel to hold onto the slippery tissue and pull it away in one steady motion.
After the silver skin is gone, pat the meat dry thoroughly with paper towels. Moisture is the enemy of a good crust; if the surface is wet, the meat will steam instead of developing that delicious, dark sear. Once dry, you can apply your seasoning blend.
Whether you prefer a store-bought mix or a homemade dry rub, ensure you coat every surface of the meat. Massage the spices into the crevices between the bones to ensure maximum flavor penetration. Let the seasoned meat sit at room temperature for about twenty minutes before cooking; this allows the salt to draw out a little moisture and create a tacky surface that holds the spices in place.
Utilizing Aluminum Foil for Tenderness
One of the most effective ways to ensure your ribs don’t dry out is to use the foil method. Because the convection fan in an air fryer blows hot air at high speeds, the surface of the meat can quickly become dehydrated before the interior is fully cooked.
By wrapping your ribs in aluminum foil for the first stage of the process, you create a mini-steaming environment that breaks down the connective tissue. This mimics the “Texas Crutch” method used by professional pitmasters to tenderize meat quickly without sacrificing juiciness.
To do this, lay out a large sheet of heavy-duty foil and place your seasoned, cut ribs in the center. Fold the edges up to create a sealed pouch, adding a splash of apple cider vinegar or apple juice inside before closing it tight. This little bit of liquid provides moisture that keeps the meat succulent.
Place this packet directly into your air fryer basket. Cooking the ribs in this foil pouch for the first 25 to 30 minutes at a moderate temperature—around 325 degrees Fahrenheit—will soften the pork significantly. Once this phase is complete, you will remove the foil to finish the cooking process, allowing the surface to crisp up and achieve that perfect texture.
Mastering the Cooking Duration and Temperature
Managing the heat is the most technical aspect of the process. Because air fryers are essentially high-powered convection ovens, they cook much faster than traditional methods. If you set your temperature too high initially, you will burn the outside of your rub before the inside of the meat reaches a safe internal temperature.
We recommend starting at 325 degrees Fahrenheit for the covered phase, then increasing the heat to 375 or 400 degrees Fahrenheit for the final stage. This transition allows for the necessary breakdown of fat and collagen followed by a quick, high-heat finish for the exterior.
The total cooking time typically ranges between 35 to 45 minutes, depending on the thickness of the meat and the specific model of your appliance. Always rely on a reliable meat thermometer rather than just the clock. You are looking for an internal temperature of at least 190 to 200 degrees Fahrenheit.
At this range, the collagen has sufficiently broken down, making the meat pull away from the bone easily. If the ribs are not quite there, add time in five-minute increments. Remember that every time you open the basket, you lose heat, so be efficient with your checks to keep the temperature consistent throughout the process.
Achieving the Perfect Crispy Bark
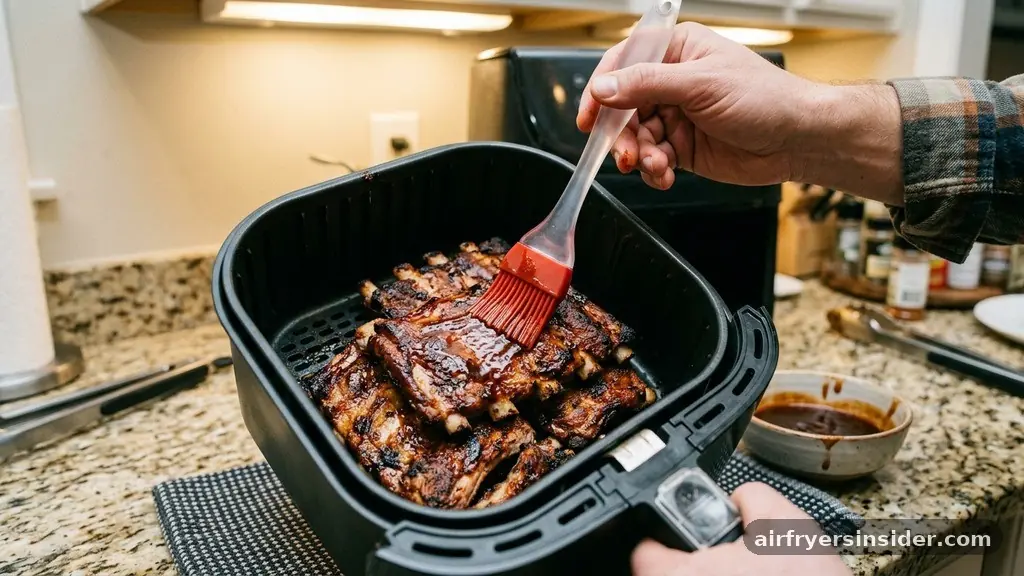
The final phase of the cooking process is where you develop the texture. After you have removed the foil, the ribs will look pale and soft; this is normal. Now, you want to apply your barbecue sauce if you choose to use it.
Be careful with sugar-heavy sauces, as the high heat and direct airflow of the air fryer can cause the sugars to burn rapidly. Apply a thin layer of sauce during the last five to seven minutes of cooking. This short window is sufficient to caramelize the sauce and create a sticky, flavorful glaze without turning it into a charred mess.
If you prefer a dry-rub style, you can skip the sauce and simply increase the temperature to 400 degrees Fahrenheit for the final five minutes. This will render out the remaining surface fat and crisp up the edges of the meat, creating a delicious, savory crust. You can also use the broiler setting on your air fryer if it has one, but watch it like a hawk.
Because the heating element is so close to the food, the transition from “perfectly charred” to “burnt” happens in a matter of seconds. Keep the basket open or use a flashlight to monitor the progress constantly during these final few minutes.
Optimizing Airflow with a Rib Rack Holder
One common frustration when learning how to cook ribs in an air fryer is the lack of space. If you stack the ribs on top of each other, the air cannot circulate, and you will end up with unevenly cooked, soggy meat. A rib rack holder is a small, inexpensive accessory that can drastically improve your results.
These metal stands allow you to stand the ribs vertically, which maximizes the amount of meat exposed to the hot air. This setup mimics the vertical smoke flow in a commercial smoker and ensures that every side of the rib gets equal exposure to the heat.
If you don’t have a specific rib rack, you can improvise by rolling up balls of aluminum foil and placing them under the ribs to prop them up, or by carefully leaning them against the sides of the basket. However, investing in a rack is worth it if you plan on making ribs frequently.
By keeping the pieces separated, you eliminate the “dead zones” where air gets trapped. This leads to a more consistent, professional-looking result where the bark is uniform across the entire surface of the rack, rather than just on the outer edges.
Addressing Common Challenges and Topical Gaps
Many home cooks struggle with the “falling off the bone” versus “mushy” dilemma. If your ribs turn into mush, it usually means they were cooked in the foil for too long. The steaming process is powerful; if you leave the ribs in that humid environment for more than 40 minutes, the meat will lose its structural integrity and become stringy.
Conversely, if the ribs are tough, you likely didn’t cook them long enough or you didn’t remove the silver skin. Remember that connective tissue needs time and steady, moist heat to dissolve.
Another common issue is the smoke point of your rub ingredients. Many store-bought spice blends contain high amounts of paprika, brown sugar, and dried herbs, all of which have different tolerance levels for high heat. If you find your ribs are tasting bitter, check your spice blend.
You might be burning the dried herbs or the sugar in your rub. To fix this, try using a rub with less sugar and add the sauce only at the very end. If you are using a high-heat oil to coat the ribs, ensure it has a high smoke point, such as avocado or grapeseed oil, rather than extra virgin olive oil or butter.
| Stage | Temperature | Duration | Goal |
|---|---|---|---|
| Preparation | N/A | 15 mins | Membrane removal and seasoning |
| Steam Phase | 325°F | 30 mins | Tenderizing via foil wrap |
| Crisping Phase | 400°F | 5-8 mins | Caramelization and bark formation |
| Resting | N/A | 10 mins | Juice redistribution |
The Importance of the Resting Period
It is tempting to dive into your ribs the second they come out of the air fryer, but resting is a critical step that many people skip. When you cook meat at high temperatures, the juices are forced toward the center of the muscle fibers.
If you slice into the ribs immediately, those juices will run out onto your cutting board, leaving you with dry meat. Allowing the ribs to rest for at least ten minutes on a plate or cutting board gives the muscle fibers time to relax and reabsorb those juices.
During this resting period, the residual heat continues to cook the meat slightly, ensuring the internal temperature is perfectly even throughout. You can tent the ribs loosely with a piece of aluminum foil to keep them warm without steaming them further.
This brief pause also gives you time to prepare your sides or clean up your station. While it might feel like an eternity when you are hungry, this short wait is the difference between good ribs and truly great, succulent ribs that hold their moisture even after they have been sliced.
Food Safety and Best Practices
When working with pork, food safety should always be a priority. While the air fryer is efficient, it is still an appliance that relies on air circulation.
Ensure that you are not overloading the basket, as this can lead to pockets of undercooked meat, particularly near the bone. Always use a digital meat thermometer inserted into the thickest part of the meat to verify that you have reached an internal temperature of at least 145 degrees Fahrenheit for safety, though 190 degrees is the target for tenderness.
Clean your air fryer basket thoroughly after each use, especially when cooking fatty meats like ribs. Rendered fat can accumulate at the bottom of the drawer; if it gets too hot, it will smoke and create a strong, unpleasant smell that can permeate your kitchen. Use a degreasing dish soap to remove all traces of fat between batches.
If you are cooking multiple racks, wash the basket between rounds to prevent old, burnt fat from affecting the flavor of your second batch. Proper maintenance of your equipment is just as important as the quality of your ingredients when it comes to consistent, safe, and delicious results.
FAQ
What is the best way to cook ribs in the air fryer to ensure they are tender?
The key to tenderness is the foil-wrapped steam phase. By sealing the ribs in aluminum foil with a splash of liquid for the first 30 minutes, you break down the tough connective tissue. Finishing them unwrapped at a higher temperature provides the necessary texture and crust.
Can you put barbecue sauce in the air fryer?
Yes, but timing is crucial. Barbecue sauce contains sugar, which burns quickly at high temperatures. Always apply your sauce during the final 5 to 7 minutes of the cooking process. This allows it to caramelize and become sticky without turning into a burnt, bitter layer on your meat.
How long should I cook ribs in an air fryer at 350 degrees?
At 350 degrees, you should plan for about 40 to 50 minutes total. Use the foil wrap for the first 35 minutes to ensure the meat becomes tender. Remove the foil for the final 10 minutes to crisp the exterior, checking the internal temperature to ensure it reaches 190 degrees.
Is it necessary to remove the silver skin from the ribs?
Yes, removing the silver skin is essential for quality. This membrane is a tough, fibrous tissue that does not break down during cooking. Leaving it on results in a chewy, unpleasant texture that ruins the experience of eating the ribs, regardless of how well you season them.
Conclusion
Mastering the art of cooking ribs in an air fryer is a rewarding skill that brings the joy of barbecue into your kitchen on any night of the week. By focusing on proper preparation, such as removing the silver skin and utilizing a foil-wrapped steam phase, you can achieve results that rival a traditional smoker in a fraction of the time. Remember that the secret lies in balancing the initial low-heat tenderizing with a final high-heat sear.
With the right technique, your air fryer will quickly become your go-to tool for preparing succulent, flavorful pork. Now that you have the steps, try experimenting with different dry rubs and sauces to find your perfect flavor profile, and enjoy the convenience of this modern cooking method.


