

Learning how to cook thin chicken breast in air fryer settings efficiently is a skill that saves weeknight dinners from becoming dry or bland. Because thin cuts have less mass than standard breasts, they cook remarkably fast, which is a double-edged sword. If you aren’t careful, the high-speed convection can pull moisture out before you even realize the timer is running.
By mastering the right temperature and timing, you can achieve a juicy interior and a perfectly crisp exterior every single time. This approach transforms a humble piece of poultry into a versatile protein for salads, wraps, or quick pasta dishes.
Understanding the Mechanics of Rapid Air Circulation
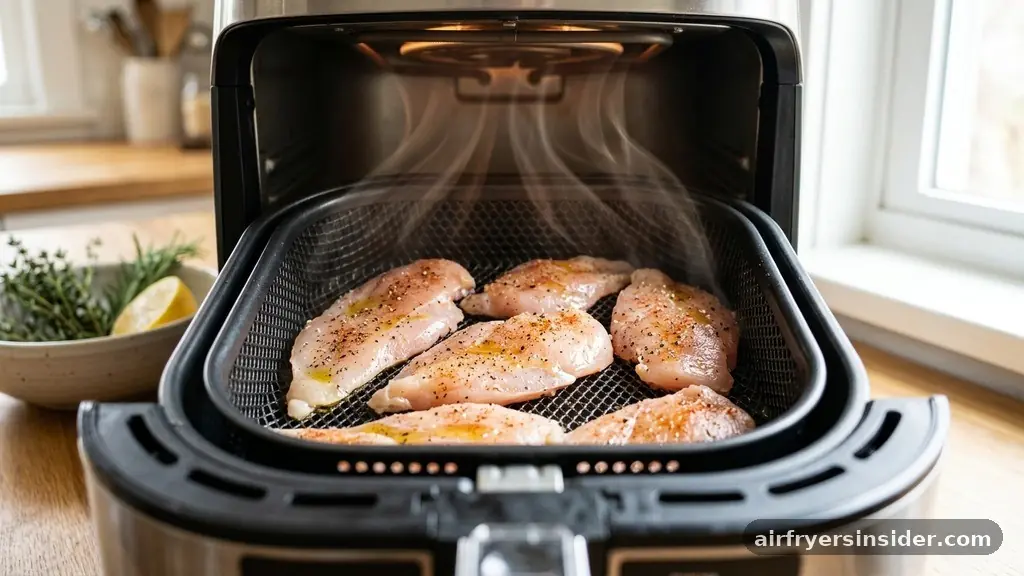
When you use an air fryer, you aren’t actually frying the food. Instead, you are utilizing a powerful fan to circulate hot air at high speeds around the food basket. This creates a miniature convection oven effect that is far more intense than a standard oven.
For thin chicken breasts, this intensity is the primary challenge. Because the meat is thin, the heat penetrates to the center almost instantly. If the temperature is too high for too long, the proteins tighten up quickly, leading to a rubbery texture that nobody enjoys.
The secret lies in the interaction between the hot air and the surface of the meat. To get that appetizing golden brown finish, you need a little bit of fat on the surface to facilitate the Maillard reaction. This chemical process happens when amino acids and reducing sugars brown under heat, creating complex flavors.
Without a light coating of oil, thin chicken tends to dehydrate and turn grey rather than developing a savory crust. Understanding that your air fryer is essentially a high-velocity dehydrator helps you adjust your preparation to keep the moisture locked inside the fibers.
Proper Preparation for Optimal Results
Before you even think about turning the machine on, your prep work determines the final outcome. Thin chicken breasts are often uneven, with one end thicker than the other. Taking a moment to use a meat mallet to pound the thicker parts ensures the entire piece of chicken has a uniform thickness.
This prevents the edges from burning while the middle remains raw. If you skip this step, you will find it nearly impossible to cook the meat evenly.
Once the thickness is uniform, pat the meat completely dry with paper towels. Excess surface moisture is the enemy of crispiness. If the surface is wet, the air fryer will spend the first few minutes of the cook time steaming the chicken rather than browning it.
After drying, apply a light coating of olive oil or use a high-quality cooking spray. This fat acts as a conductor for the heat and helps your seasoning adhere to the surface of the poultry. Whether you prefer a simple salt and pepper mix or a complex dry rub, applying it to a dry, oiled surface ensures it stays put during the cooking process.
Selecting the Right Temperature and Timing
Choosing the right temperature is a point of contention for many home cooks. While some swear by 400 degrees Fahrenheit to get a fast sear, 375 degrees is often the sweet spot for thinner cuts.
At 375 degrees, the heat is intense enough to crisp the exterior without vaporizing the internal moisture too aggressively. If you are working with very thin slices, 375 degrees gives you a slightly wider margin of error, meaning you are less likely to overcook the chicken in the span of a few seconds.
Factors Influencing Cook Time
- Thickness: Even a quarter-inch difference can add or subtract two minutes from your total cook time.
- Crowding: If you overlap the chicken in the basket, the air cannot circulate properly, which increases cook time and leads to uneven browning.
- Preheating: Preheating the unit for three to five minutes ensures the cooking process starts immediately upon placing the meat inside.
- Starting Temperature: Chicken taken directly from the refrigerator will take slightly longer to cook than chicken that has sat at room temperature for ten minutes.
The Role of Brining and Marinades
If you find that your air-fried chicken consistently ends up dry, the issue might not be the cooking method, but the state of the meat before it enters the basket. Brining is a powerful technique for moisture retention.
By soaking your thin chicken breasts in a saltwater solution for 30 minutes, you allow the muscle fibers to absorb extra liquid. This extra water weight helps the chicken withstand the high heat of the air fryer without turning into leather.
Marinades work similarly but add flavor profiles deep into the meat. A good marinade should contain an acid, such as lemon juice or vinegar, to help break down some of the tough connective tissues. However, avoid marinating for too long, as the acid can eventually turn the texture of the meat mushy.
When using a marinade, always remember to wipe off the excess liquid before placing the chicken in the air fryer. If the chicken is dripping wet when it hits the basket, you will get steamed, pale chicken instead of the crispy, golden result you want.
Ensuring Food Safety and Perfect Doneness
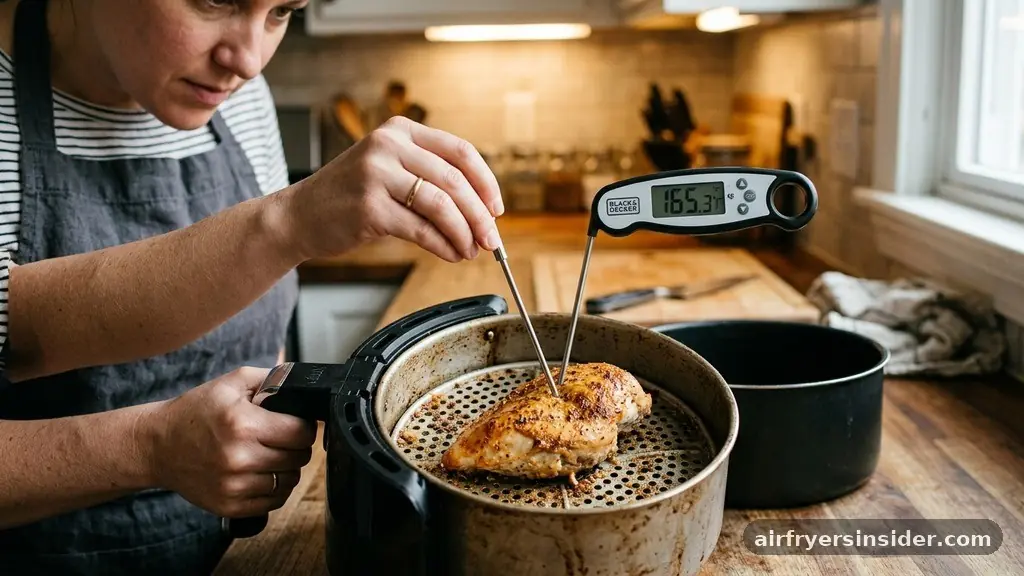
Food safety is non-negotiable when dealing with poultry. Cross-contamination is a real risk in any kitchen, so always wash your hands and surfaces after handling raw chicken. The only way to know for sure if your chicken is done is by using a reliable meat thermometer.
Relying on the clock alone is risky because air fryer models vary significantly in power and airflow efficiency. You want the internal temperature to reach 165 degrees Fahrenheit at the thickest part of the breast.
When checking the temperature, insert the probe carefully. If you hit the metal basket or the very bottom of the tray, you might get a false reading.
Pulling the chicken out when it hits 160 degrees is often safe, as the residual heat will continue to cook the meat during the rest period. This small trick is a common professional secret that prevents the meat from drying out while sitting on the cutting board.
Comparison of Cooking Methods for Thin Chicken
To understand why the air fryer is so effective, it helps to compare it to other common kitchen techniques. The table below outlines how the air fryer stacks up against traditional pan-searing and oven roasting for thin chicken breasts.
| Method | Crispiness Level | Speed | Moisture Retention |
|---|---|---|---|
| Air Fryer | High | Very Fast | Moderate |
| Pan-Searing | Moderate | Fast | High |
| Oven Roasting | Low | Slow | High |
Managing the Ninja Foodi and Similar Devices
Many people use a Ninja Foodi or similar multi-cooker air fryer combo. These units are often more powerful than standalone air fryers, which means you need to be extra vigilant.
The compact nature of these pots can trap steam if you aren’t careful, so avoid overcrowding. If you are using a basket-style air fryer, flipping the chicken halfway through is essential for even color.
Flipping allows both sides of the chicken to experience the direct blast of the heating element. Without flipping, the bottom of the breast often stays pale and soft while the top gets dark.
If you have a rack-style air fryer, the air circulation is usually better, but you should still check the chicken at the halfway mark. Remember that the air fryer fan can sometimes blow lighter seasonings like dried herbs off the meat; if this happens, try using a slightly heavier coating of oil or adding fresh herbs after the cooking is complete.
Topical Gaps: Addressing Common Kitchen Frustrations
A common frustration is the “stuck” breast. Thin chicken often adheres to the metal basket, tearing apart when you try to flip it. To prevent this, ensure the basket is properly seasoned or lightly greased.
If you are using a parchment paper liner, make sure it is specifically designed for air fryers and has holes to allow for airflow. Never place parchment paper in the basket without food on top, as the fan will blow it into the heating element, creating a fire hazard.
Another gap in knowledge is how to handle breaded thin chicken. If you are making chicken cutlets, the breading adds a layer of insulation that protects the meat from the harsh heat. However, breading can fall off if not pressed firmly into the meat.
Use the classic flour-egg-breadcrumbs method, and let the breaded chicken sit on a rack for ten minutes before cooking. This allows the breading to “set” and adhere to the surface, resulting in a much crunchier final product that stays intact during the flip.
The Importance of Resting Time
Even though thin chicken breasts cook in just a few minutes, they still require a resting period. When you pull the hot chicken out of the air fryer, the juices are concentrated in the center of the meat.
If you slice into it immediately, those juices will run out onto your cutting board, leaving you with dry meat. Resting the chicken for three to five minutes allows the juices to redistribute throughout the fibers.
This short pause is the difference between a mediocre meal and a succulent one. During this time, the internal temperature will stabilize, and the crust will firm up slightly. If you are worried about the chicken getting cold, you can tent it loosely with a piece of aluminum foil, but don’t seal it tight, or the steam will soften the crispy exterior you worked so hard to achieve.
FAQ
How long do thin chicken breasts take in the air fryer?
Thin chicken breasts typically take between 8 to 12 minutes at 375 degrees Fahrenheit. The exact time depends on the specific thickness of your chicken and the wattage of your air fryer. Always use a meat thermometer to ensure the internal temperature reaches 165 degrees Fahrenheit.
How do you keep chicken breast from drying out in an air fryer?
To keep chicken moist, ensure you don’t overcook it by checking the internal temperature early. Brining the meat for 30 minutes beforehand also helps. Additionally, applying a light coating of oil or marinade prevents the dry air from sapping all the moisture from the surface during the cooking process.
Is it better to air fry chicken at 375 or 400?
For thin chicken breasts, 375 degrees Fahrenheit is generally better. It provides a gentler heat that cooks the meat through without scorching the exterior too quickly. 400 degrees can be used for thicker cuts or if you want a very dark, crispy crust, but it requires much closer monitoring.
Why does my chicken stick to the air fryer basket?
Chicken sticks when the surface proteins bond with the metal basket during the initial heat-up phase. Prevent this by ensuring the basket is clean, lightly oiled, or by using a perforated parchment liner. Always preheat your air fryer so the surface of the meat begins searing the moment it enters.
Conclusion
Mastering the process of how to cook thin chicken breast in air fryer equipment is all about respecting the speed of the machine. By focusing on uniform thickness, proper seasoning, and monitoring the internal temperature, you can avoid the common pitfalls of dry or unevenly cooked poultry. Whether you are prepping for a healthy salad or a quick dinner, this method provides a reliable way to get high-quality protein on the table in under fifteen minutes.
Start with a simple salt and pepper base to get a feel for your specific air fryer’s heat, then experiment with your favorite dry rubs and marinades. Once you dial in your timing, you’ll find that this becomes your go-to technique for effortless, delicious meals.


