
Discovering how long to cook frozen steak in air fryer setups can transform your weeknight dinner plans when you forget to thaw the meat. While traditional culinary wisdom insists on fully thawing proteins before cooking, modern convection technology offers a surprisingly effective shortcut for those last-minute cravings.
By understanding the interaction between rapid air circulation and frozen fibers, you can achieve a respectable crust and a juicy interior without the usual wait. This approach relies on careful temperature management and the use of a reliable meat thermometer to ensure your dinner is both delicious and safe to eat.
The Science of Convection Cooking with Frozen Proteins
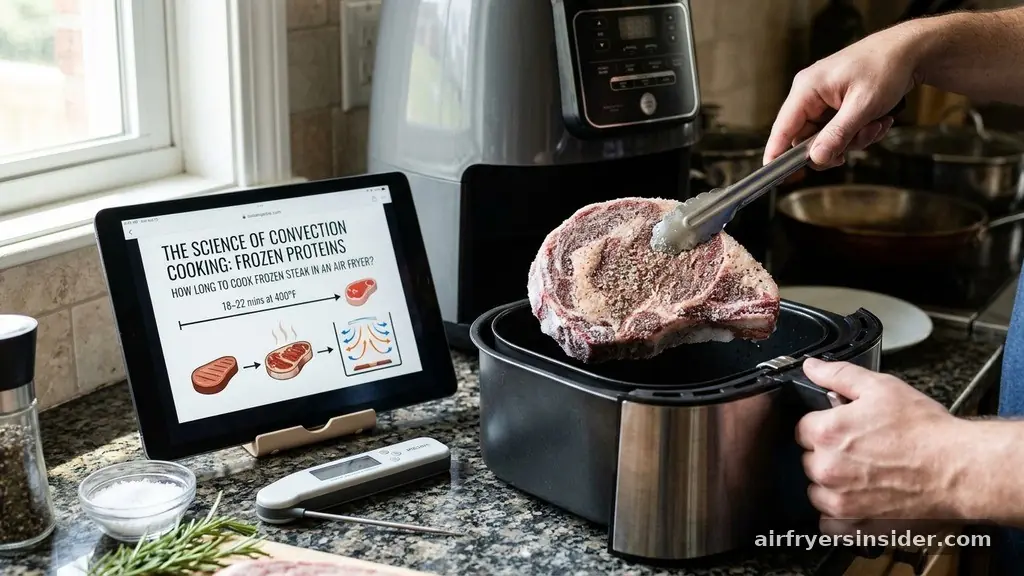
When you place a frozen piece of beef directly into the air fryer basket, you are essentially harnessing the power of rapid air technology to perform two tasks simultaneously: thawing and searing. Unlike a standard oven, an air fryer uses a powerful fan to circulate heat at high speeds, which helps mitigate the temperature drop that occurs when cold food enters a hot cooking chamber. The surface of the steak begins to dehydrate almost immediately, which is a necessary precursor to achieving a decent crust.
Because the interior remains frozen while the exterior begins to cook, the challenge lies in balancing the heat transfer. If the temperature is too high, the outside will burn or become tough before the center reaches your desired doneness.
If the temperature is too low, the steak will steam rather than sear, resulting in a grey, unappealing exterior. Mastering the technique requires a delicate balance of heat intensity and duration, ensuring the Maillard reaction—the chemical process responsible for browning and flavor development—occurs effectively on the surface.
Determining the Correct Cooking Time
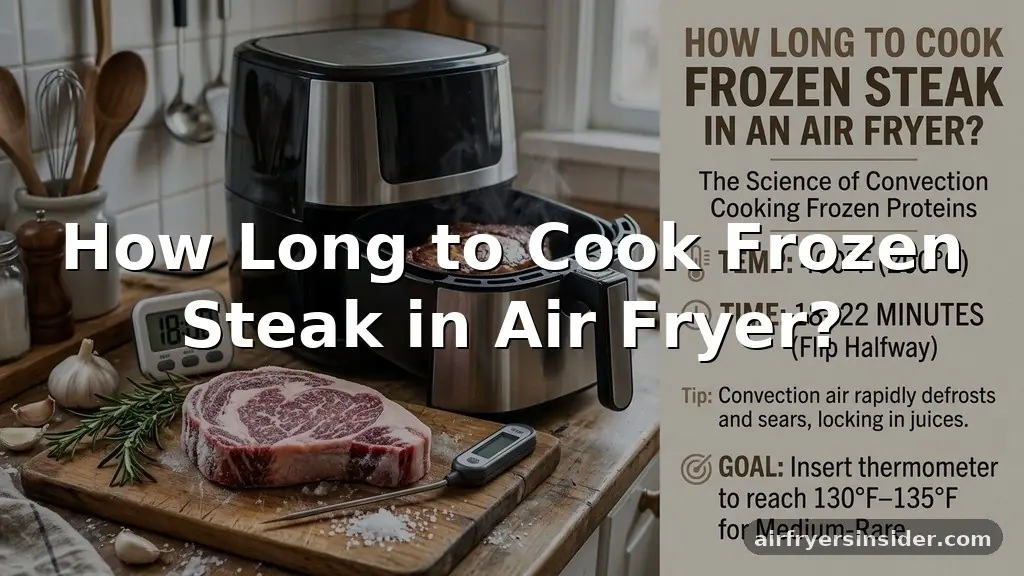
The question of how long to cook frozen steak in air fryer hardware depends heavily on the thickness of the cut and the power of your specific appliance. On average, a one-inch-thick ribeye or sirloin requires approximately 15 to 20 minutes at 400 degrees Fahrenheit to reach a medium-rare finish. Thicker cuts, such as a two-inch filet, will naturally require more time, potentially pushing the cooking duration toward 25 minutes.
It is critical to remember that these timeframes are estimates rather than hard rules. Factors like the initial temperature of your freezer, the density of the steak, and how crowded the basket is will influence the actual cooking time. You should treat the air fryer as a tool that requires active monitoring.
Start checking the progress around the 12-minute mark, especially if you are using a smaller, high-wattage unit that concentrates heat quickly. Consistent performance is achieved by keeping the steak centered and ensuring the air can circulate freely around the meat.
Safety Considerations and USDA Guidelines
Adhering to food safety protocols is non-negotiable when preparing frozen proteins. According to USDA guidelines, it is technically safe to cook meat from a frozen state, provided the internal temperature reaches a safe level to kill potential pathogens.
For beef, the USDA safe minimum internal temperature is 145 degrees Fahrenheit, followed by a mandatory resting period. This ensures that any surface bacteria that might have been present before freezing are neutralized during the high-heat cooking process.
Using a high-quality meat thermometer is the only way to guarantee that your steak is safe to consume. Digital instant-read thermometers are preferred because they provide near-instant feedback, minimizing the amount of heat lost while the air fryer basket is open.
Avoid relying on color or texture alone, as frozen-to-cooked transitions can occasionally produce misleading visual cues. By verifying the temperature, you satisfy the requirements for safe consumption while maintaining control over the final texture of the beef.
Preparing Your Steak for the Best Results
Even though you are starting with a frozen steak, you can still apply seasoning to enhance the final flavor profile. Since the surface is initially frozen, traditional dry rubs may slide off once the meat begins to defrost.
A clever workaround involves applying a thin layer of olive oil or a neutral high-smoke-point oil to the surface before adding your seasonings. This oil acts as a binder for your kosher salt, black pepper, and garlic powder.
If you prefer a more robust crust, consider applying the bulk of your seasoning halfway through the cooking process. Once the surface has thawed slightly and the initial moisture has evaporated, the spices will adhere much better to the meat. This two-stage seasoning approach prevents the salt from pulling out too much moisture too early and ensures that your chosen spices don’t burn under the intense, direct heat of the air fryer’s top heating element.
Managing the Maillard Reaction
The Maillard reaction is the “holy grail” of steak cooking, and it is admittedly more difficult to achieve when starting with frozen meat. Because the steak releases moisture as it thaws, this liquid can create steam, which effectively inhibits the browning process.
To combat this, ensure your steak is not encased in a heavy layer of ice crystals before you put it in the basket. A quick rinse under cold water to remove surface frost, followed by a thorough pat-down with paper towels, can make a significant difference.
If you find that the exterior is not browning to your satisfaction, you have a few options. You can increase the temperature for the final three minutes of cooking to encourage a stronger sear.
Alternatively, some enthusiasts prefer to finish the steak in a searing pan on the stovetop for 60 seconds per side after it comes out of the air fryer. This hybrid method provides the convenience of the air fryer for the bulk of the cook while guaranteeing a professional-grade crust that rivals a traditional grill.
Common Mistakes to Avoid
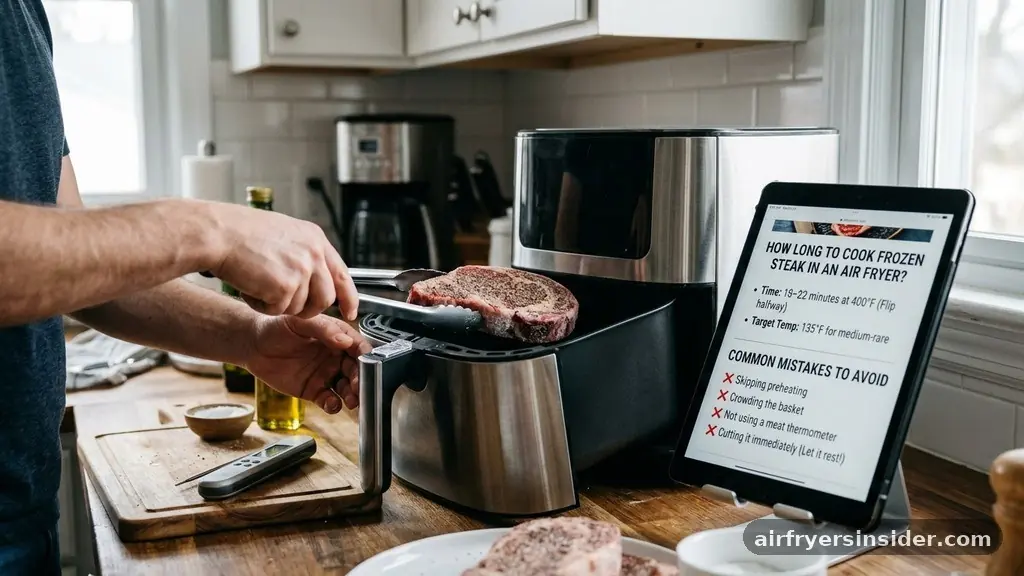
Many home cooks encounter issues because they treat frozen steak exactly like a thawed one. One of the most frequent errors is overcrowding the air fryer basket. When you place multiple steaks in the basket, you restrict airflow, which causes the temperature to plummet and the moisture to pool.
This results in a steamed, grey steak that lacks the desired texture. Always cook in batches if necessary, ensuring there is at least an inch of space between each piece of meat.
Another common mistake is neglecting the resting period. Even when cooked in an air fryer, the internal juices need time to redistribute throughout the muscle fibers. Cutting into the steak immediately after removing it from the basket causes all those flavorful juices to run out onto your cutting board, leaving you with a dry, disappointing piece of meat.
Allow the steak to rest on a warm plate for at least 5 to 10 minutes. This carryover cooking will also help the internal temperature rise slightly, ensuring a perfectly even cook from edge to center.
Optimizing for Different Cuts
Different cuts of beef respond differently to the rapid air environment. A ribeye, which is typically well-marbled with fat, performs exceptionally well in an air fryer because the rendering fat helps baste the meat from the inside out.
Sirloin, being leaner, requires more careful attention to avoid overcooking. If you are cooking a very lean cut, you may want to pull it from the air fryer a degree or two before it hits your target temperature to account for the carryover cooking effect.
| Steak Cut | Recommended Temp | Est. Time (Frozen) |
|---|---|---|
| Ribeye (1 inch) | 400°F | 15-18 minutes |
| Sirloin (1 inch) | 400°F | 14-16 minutes |
| Filet Mignon (1.5 inch) | 380°F | 18-22 minutes |
The table above provides a general reference for timing based on standard cuts. Remember that the “cooking time” includes the initial thaw phase.
If you are using a smaller air fryer, you might need to reduce the temperature by 25 degrees to prevent the outside from cooking too quickly relative to the center. Always adjust based on your specific kitchen equipment and the thickness of the protein.
Addressing Topical Gaps in Air Fryer Cooking
Many readers ask if they should preheat the air fryer when cooking from frozen. While air fryers heat up quickly, preheating is highly recommended when dealing with frozen items.
Starting with a hot chamber ensures the searing process begins the moment the basket is inserted, which is vital for developing a crust before the center overcooks. Skipping the preheat often results in a longer, slower cook that yields a tougher, less juicy steak.
Another gap in common knowledge is the placement of the steak within the basket. Many people place the steak flat on the bottom of the basket, but using a rack or a trivet can improve results by allowing air to circulate underneath the meat.
This prevents the bottom of the steak from sitting in any rendered juices or moisture, promoting more even browning on both sides. If you don’t have a rack, flipping the steak halfway through is essential to ensure both sides receive equal heat exposure.
Refining Your Technique for Success
To truly master the craft of air frying frozen beef, you must be willing to experiment with your specific machine. Every model has a different air velocity and heating element intensity.
Document your results the first few times you attempt this, noting the thickness of the steak, the temperature used, and the final internal temperature achieved. This personal data will be far more accurate than any general chart found online.
- Pat the steak dry with paper towels to remove excess ice before seasoning.
- Use a high-smoke-point oil like avocado or grapeseed to help with the crust.
- Flip the steak at the halfway point for uniform heat distribution.
- Always use a meat thermometer to confirm the internal temperature.
- Let the steak rest for at least 5-10 minutes before slicing.
- If you prefer a deeper sear, finish the steak in a hot skillet for one minute per side.
By following these practical steps, you can reliably produce a high-quality meal even when your schedule is compromised by frozen inventory. The key is patience, precision, and an understanding of how your specific air fryer handles heat. Over time, this method will become a reliable part of your culinary repertoire, providing a convenient solution for those busy nights when you need a high-protein meal without the hours of preparation.
Frequently Asked Questions
Can I cook a frozen steak directly from the freezer without any preparation?
While you can technically place a frozen steak directly into the air fryer, it is highly recommended to pat it dry and apply a light coating of oil. This simple step helps the seasoning adhere and promotes a better crust, significantly improving the final flavor and texture of the meat.
How do I know when the steak is done if I can’t see the inside?
The only reliable way to determine doneness is by using a digital meat thermometer. Insert the probe into the thickest part of the steak, ensuring it does not touch any bone. Aim for 130-135 degrees Fahrenheit for medium-rare, keeping in mind that the temperature will rise during the resting period.
Is it necessary to flip the steak while it is cooking?
Yes, flipping the steak halfway through the cooking process is essential. Because air fryers rely on convection, the air is often directed from the top down. Flipping ensures that both sides of the steak receive adequate heat, leading to a more consistent cook and a better overall sear.
Does cooking a steak from frozen affect its tenderness?
Cooking from frozen can result in a slightly different texture compared to a fresh, room-temperature steak. However, when done correctly, the difference is minimal. The key is to avoid overcooking the exterior, which can happen if the temperature is too high, and to allow for proper resting to keep the juices locked in.
Concluding Thoughts on Air Frying Frozen Steak
Successfully preparing a frozen steak in an air fryer is a matter of managing heat and moisture effectively. By focusing on the internal temperature rather than just the clock, you ensure that every meal meets safety standards while maintaining the quality you expect from a premium cut of beef. While this technique may not replace the traditional grill for every occasion, it is an invaluable skill for modern kitchens.
Start by monitoring your next batch closely, adjust your settings based on the thickness of your specific cut, and enjoy the convenience of a perfectly cooked dinner that was ready in minutes. Experimenting with different seasonings and resting times will help you tailor this method to your personal preferences, making it a staple in your rotation for busy evenings.