

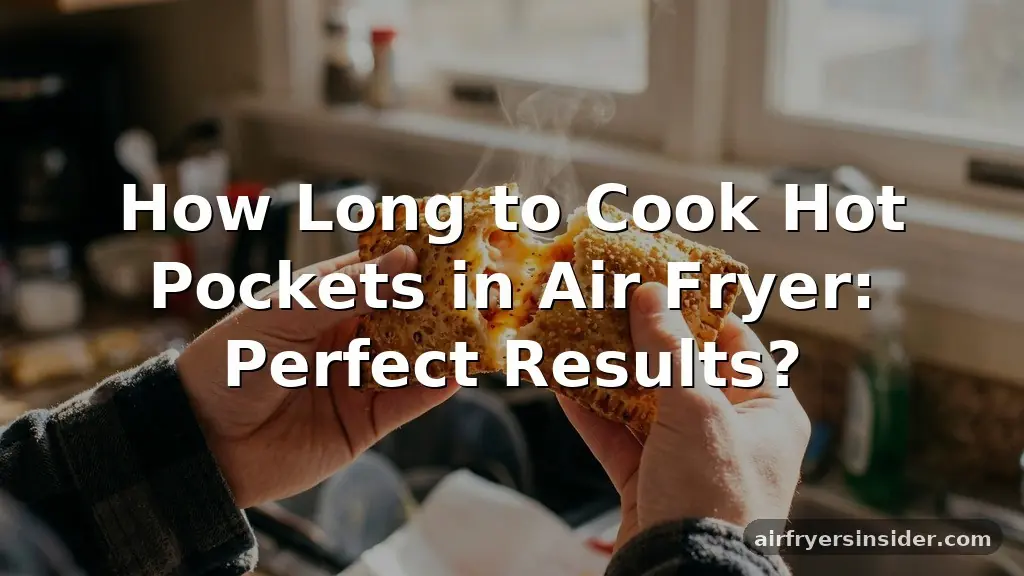
If you have ever been disappointed by a soggy crust after microwaving a frozen snack, you have likely wondered how long to cook Hot Pockets in air fryer units to get that perfect crunch. While the microwave is undeniably faster, it often leaves the pastry dough limp and unappealing.
By using an air fryer, you leverage intense convection heat to transform a standard frozen item into something resembling a bakery-style pastry. Understanding the balance between time and temperature is the secret to ensuring the filling is piping hot without burning the outer shell.
Why the Air Fryer Outperforms the Microwave
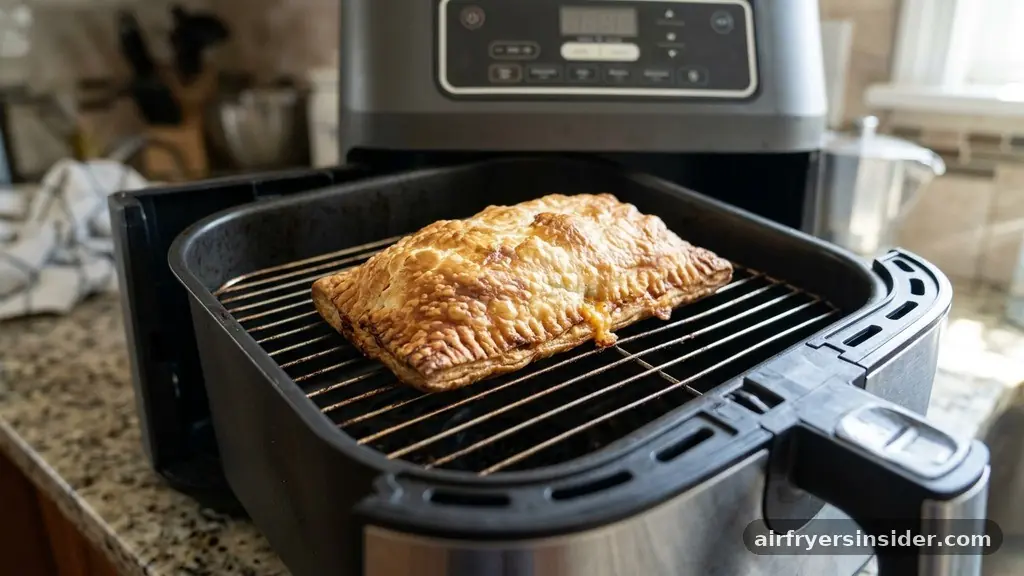
When you compare microwave vs air fryer methods, the difference in quality is stark. Microwaves work by exciting water molecules, which creates steam inside the food.
This trapped steam is exactly what turns a crisp pastry into a soft, chewy mess. In contrast, an air fryer circulates hot air rapidly around the food, effectively dehydrating the surface just enough to create a distinct, satisfying crunch.
This process mimics a traditional oven but does so much more efficiently. Because the appliance is smaller and the fan speed is high, the browning process happens quickly. When you want to achieve the best results, you need to treat the air fryer like a mini convection oven.
The result is a consistent golden brown finish that the microwave simply cannot replicate. Furthermore, the air fryer helps render any fat in the pastry, leading to a lighter, flakier texture that feels fresher and more appetizing.
Determining the Ideal Temperature and Time
To answer the question of how long to cook Hot Pockets in air fryer setups, you generally want to aim for a temperature of 360°F to 375°F. While some people push the heat to 400 degrees, this often results in the outside burning before the center is fully thawed and heated. At 360°F, you allow the heat to penetrate the frozen core while the exterior develops a beautiful color.
For a standard single Hot Pocket, you are looking at a total cooking time of about 12 to 15 minutes. Start by setting your timer, and after the first 12 minutes, check the internal temperature to ensure it has reached a safe level. If the center is still cold, continue cooking in 2-minute increments.
This incremental approach prevents overcooking, which is the most common mistake made by beginners. Always remember that every appliance varies in wattage, so your first attempt should be treated as a trial run to calibrate your specific machine.
Step-by-Step Preparation for Even Cooking
Proper preparation is the foundation of a great meal, even when dealing with frozen snacks. Start by removing the product from all packaging, including the silver crisping sleeve.
While the sleeve is necessary for microwave use to help with browning, it is unnecessary and potentially obstructive in an air fryer. Placing the sleeve inside the basket can actually block airflow, preventing the hot air from reaching the bottom of the pastry.
When loading the air fryer basket, ensure they are not touching. Air circulation is the primary mechanism that makes this appliance work, so crowding the basket will lead to uneven cooking. If you are cooking more than one at a time, leaving space between them is vital for airflow.
If they are stacked, the sides touching will remain soft and doughy, while the exposed tops may become overly dark. Arrange them in a single layer for the most uniform texture.
The Importance of Preheating and Airflow
Many home cooks skip the preheating step, but it is a critical component of successful air frying. Preheating your air fryer for three to five minutes ensures the cooking chamber is at the target temperature the moment the food enters. This initial blast of heat helps set the pastry dough immediately, which creates that desirable crisping effect before the interior filling has a chance to leak out.
If you don’t preheat, you are essentially “thawing” the food as the machine warms up, which can lead to a mushy texture. Think of it like searing a steak; you need the surface of the pan to be hot before the meat hits it. The same logic applies to frozen food.
By maintaining a steady, hot environment, you ensure the pastry texture remains firm throughout the entire cooking process. If your model doesn’t have a preheat setting, just run it empty at 360°F for a few minutes before adding your snack.
Managing Multiple Hot Pockets at Once
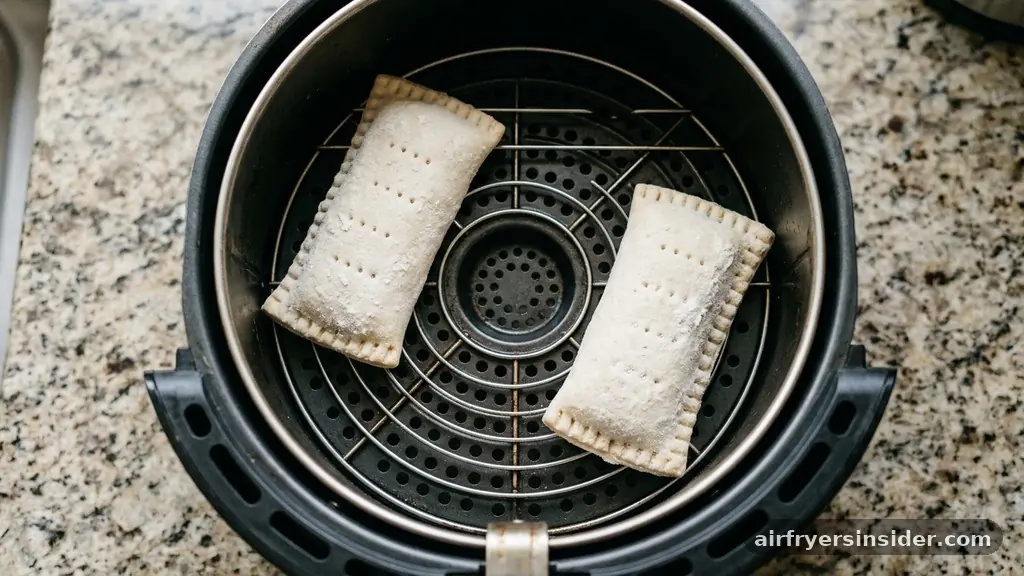
Cooking for a crowd? It is tempting to fill the basket to the brim, but you must resist this urge to maintain quality.
If you find yourself needing to prepare multiple snacks, it is better to cook in batches rather than cramming them all in at once. Overloading the basket restricts the convection heat, causing the air to swirl around the outer items while leaving the center items undercooked or soggy.
If you must cook several at once, be prepared to increase the total cooking time slightly. Because the air fryer is now working harder to circulate air around a larger mass of frozen material, it will take longer to reach the necessary internal temperature.
Always prioritize space over speed. If you have a larger air fryer, you might be able to fit two or three comfortably, but always check them at the 12-minute mark to see how they are progressing.
Safety and Troubleshooting
Food safety is paramount when reheating or cooking frozen items. You must ensure the center reaches a temperature that kills any potential bacteria.
Using a meat thermometer is the most reliable way to check, but if you don’t have one, the “touch test” can work. The center should feel firm, not squishy, and the edges should be hot to the touch.
If you notice the pastry is browning too quickly but the center remains frozen, your temperature is likely too high. Simply lower the heat by 25 degrees and add a few minutes to the cooking time. Conversely, if the pastry is pale after 15 minutes, you may need to bump the temperature up slightly.
Remember that these kitchen appliances vary significantly in power. A high-wattage air fryer will cook much faster than a lower-wattage model, so keep a close eye on your food during the last few minutes.
Common Issues and Quick Fixes
- The filling leaked: This usually happens if the pastry was already damaged or if the cooking temperature was too high, causing the filling to boil over. Lower the heat next time.
- The crust is too hard: You may have overcooked it. Try reducing the time by two minutes in your next session.
- The bottom is soggy: This occurs when air cannot circulate underneath. Ensure you are using a rack or a basket with adequate holes, and don’t overcrowd the tray.
- Uneven browning: Flip the items halfway through the cooking time to ensure all sides receive equal exposure to the convection air.
Comparing Cooking Methods
To help you decide which method fits your schedule and quality standards, the following table breaks down the differences between traditional microwave, oven, and air fryer preparation.
| Method | Texture | Time Required | Best For |
|---|---|---|---|
| Microwave | Soft/Chewy | 2-3 Minutes | Maximum speed |
| Oven | Crispy/Even | 20-25 Minutes | Large batches |
| Air Fryer | Crunchy/Flaky | 12-15 Minutes | Quality & Speed |
As shown in the table, the air fryer occupies the “sweet spot” between the speed of a microwave and the high-quality finish of a conventional oven. While the oven is great for cooking a dozen at once for a party, it takes too long for a quick snack. The air fryer saves you time while providing that professional, golden-brown result that makes a quick lunch feel like a deliberate meal.
Addressing Topical Gaps
Many readers often ask about using accessories like parchment paper or silicone liners. While these items make cleanup easier, they can significantly hinder the air circulation required for a crispy crust.
If you choose to use a liner, ensure it has perforations specifically designed for air fryers. Without these holes, you effectively turn your air fryer into a standard oven, negating the benefits of the convection fan.
Another common question involves whether you need to brush the pastry with oil. Generally, the dough used in these snacks already contains enough fat that additional oil is unnecessary. Adding oil might make it slightly crispier, but it can also lead to smoking if your air fryer is prone to it.
Stick to the product as-is for the cleanest, most consistent results. If you find the crust is consistently dry, a very light mist of cooking spray before the final two minutes can add a bit of sheen, but it is rarely required.
Optimizing Your Kitchen Workflow
Mastering the air fryer is about building a routine that works for your specific appliance. Once you have identified the exact time and temperature that yields the best result for your model, you can rely on that process every time.
Keep a small note near your appliance with the preferred settings. This removes the guesswork and ensures that every time you crave a quick snack, you get the same high-quality texture without having to experiment from scratch.
Remember that the goal is to enjoy your food, not to spend extra time cleaning or troubleshooting. By keeping your air fryer basket clean and ensuring proper airflow, you keep the machine running efficiently.
A clean basket also prevents old food particles from burning and creating smoke, which can negatively impact the flavor of your current meal. Treat your air fryer with care, and it will reward you with perfectly cooked, crispy, and delicious snacks for years to come.
Frequently Asked Questions
Do I need to flip the Hot Pockets while air frying?
Flipping them halfway through the cooking process is a great way to ensure even browning on both the top and bottom. While it is not strictly mandatory for every model, doing so will give you the most consistent texture and color across the entire pastry.
Can I cook them directly from frozen?
Yes, you should cook them straight from frozen. There is no need to thaw them beforehand. In fact, thawing them can lead to a soggy crust because the moisture from the ice crystals will be released before the pastry has a chance to crisp up in the heat.
What is the best temperature for a crispy crust?
The consensus among home cooks is that 360°F is the sweet spot. It is high enough to crisp the exterior effectively but low enough to ensure the center filling heats through completely without burning the pastry shell. Always verify with your specific appliance’s manual.
Why is my pastry still cold in the middle?
This usually means the temperature was too high, causing the outside to brown before the heat could reach the center. Lower the temperature by 25 degrees and increase the total cooking time, or ensure you are not crowding the basket, which restricts necessary airflow.
Conclusion
Achieving the perfect snack experience comes down to understanding how your appliance interacts with frozen food. By opting for the air fryer over the microwave, you prioritize quality, ensuring a crisp, golden-brown crust every single time. Remember to keep the temperature steady, allow for proper airflow by not overcrowding the basket, and always check the internal temperature before diving in.
Mastering how long to cook Hot Pockets in air fryer units is a simple skill that transforms a basic frozen item into a satisfying treat. With these tips in your repertoire, you can skip the soggy microwave results and enjoy a superior texture in just a few minutes. Happy cooking, and enjoy your perfectly prepared meal!
Meta Description: Learn exactly how long to cook Hot Pockets in air fryer for a perfect, crispy crust. Follow our expert tips on timing, temperature, and airflow.


