

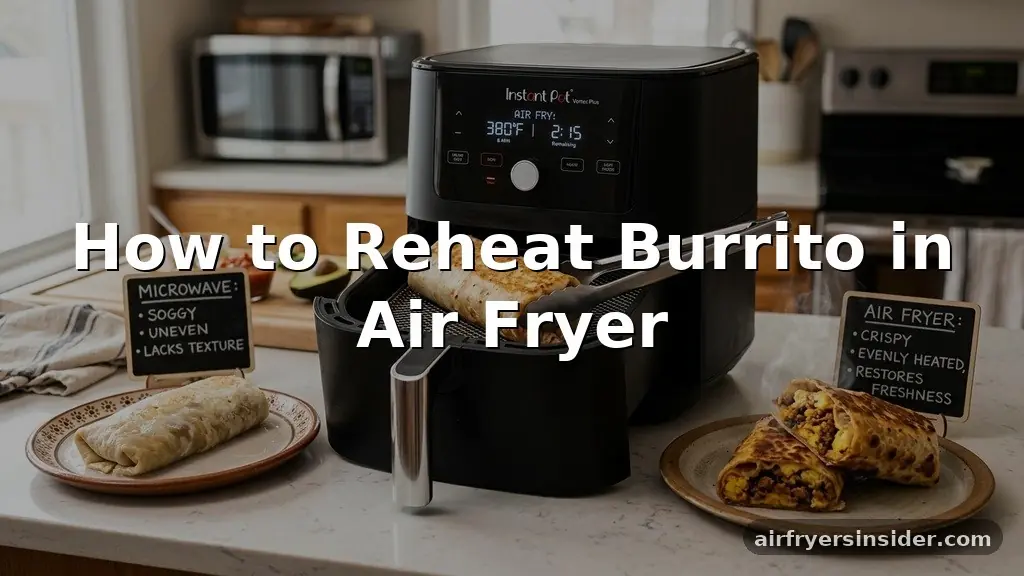
Mastering the art of reheating a burrito in an air fryer transforms yesterday’s leftovers into a meal that tastes like it just came off the grill. While many people reach for the microwave, that method often leaves the flour tortilla rubbery or soggy. By leveraging the rapid air technology of your appliance, you can achieve a perfectly crispy exterior while ensuring the center remains hot and flavorful.
This technique is ideal for anyone who values texture and wants to avoid the dreaded microwave-induced mushiness. Whether you are dealing with a fresh wrap or a frozen burrito, following these specific temperature and timing adjustments will yield restaurant-quality results every single time.
Why the Air Fryer Outperforms Traditional Reheating Methods
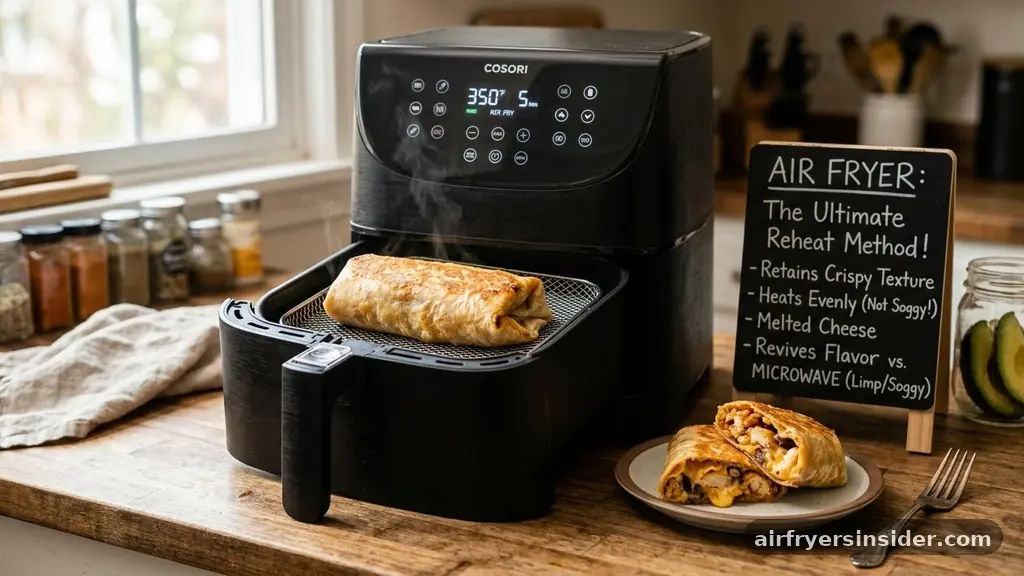
Most reheating methods struggle to balance two competing needs: heating the dense, cold center of the burrito without turning the outer layer into a dry, charred shell. Microwaves utilize water molecule agitation, which often leads to steam trapped inside the wrap, resulting in a soggy tortilla that loses its structural integrity. Conversely, the stovetop skillet method is excellent for crisping but requires constant attention and flipping, which can be difficult if the burrito is stuffed with delicate ingredients like avocado or sour cream.
The air fryer bridges this gap by utilizing intense, circulating heat. Because it functions as a compact convection oven, it promotes consistent air circulation around the entire surface of the wrap. This thermal conductivity ensures that the heat penetrates the layers of rice, beans, and meat while simultaneously drawing out excess moisture from the surface of the flour tortilla.
The result is a crunch that mimics a deep-fried chimichanga without the need for additional oil. By managing the airflow, you effectively create a controlled environment where the exterior undergoes a Maillard reaction, turning it a beautiful golden brown while the interior stays moist.
Preparing Your Burrito for the Best Results
Before you place your meal into the basket, a few preparation steps can significantly improve the final outcome. If you are starting with a refrigerated burrito, let it sit on the counter for about ten minutes to reach room temperature.
This reduces the time required for the heat to reach the center, which helps prevent the outer shell from drying out before the middle is warm. If the burrito is wrapped in plastic or paper, be sure to remove all original packaging, as these materials can scorch or block the airflow necessary for a proper crisping process.
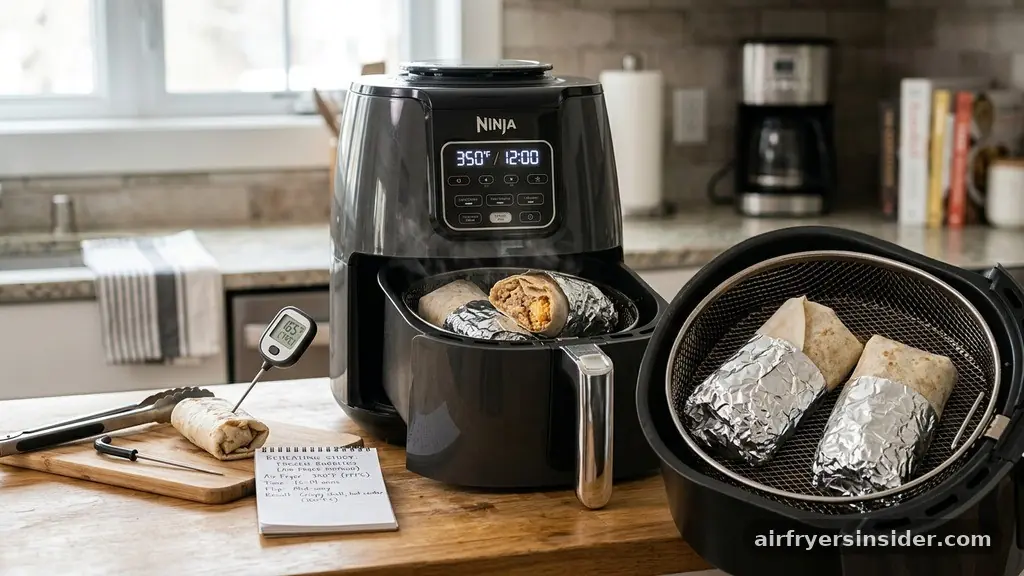
If your burrito is particularly large or stuffed with high-moisture ingredients like salsa or guacamole, you might consider wrapping it loosely in a small piece of parchment paper or aluminum foil for the first half of the cycle. This acts as a shield, preventing the exterior from browning too quickly while the core warms through. After a few minutes, you can remove the wrap to finish the crisping process.
This hybrid approach is particularly useful for massive, overstuffed wraps that require a longer reheating time. Always ensure the burrito is placed seam-side down initially to help seal the wrap as it heats.
Understanding Optimal Temperature Settings
Temperature control is the most critical factor when using an air fryer for leftovers. Many users make the mistake of setting the temperature to the maximum limit, which leads to a burnt exterior and a frozen or cold center.
For most standard-sized burritos, a setting between 350°F and 375°F (175°C to 190°C) is the sweet spot. This medium-high heat is sufficient to activate the crisping process on the flour tortilla without incinerating the delicate edges.
If you are dealing with a particularly thick or frozen burrito, lower the temperature to 325°F to allow for a longer, more gentle penetration of heat. Think of this as a slow-roast stage. Once you feel the burrito is nearing the target internal temperature, you can bump the heat up for the final two minutes to ensure that golden brown finish.
Consistency is key, so if your air fryer model is known for having a significant hot spot, make sure to rotate the burrito halfway through the cooking process. This prevents one side from becoming overly crunchy while the other remains soft.
The Science of Reheating Frozen Burritos
Reheating a frozen burrito in an air fryer requires a slightly different tactical approach compared to one that has been chilled in the fridge. Because the interior is essentially a block of ice, you need to manage the transition from frozen to piping hot carefully.
A common pitfall is trying to blast the frozen item with high heat immediately. Instead, use a two-stage method: start with a lower temperature to thaw the center, then finish with high heat to crisp the exterior.
Many experts recommend a quick microwave pre-heating session if the burrito is rock-solid frozen. By microwaving it for just 45 to 60 seconds on a medium power setting, you take the edge off the internal frost. This shortens the total time needed in the air fryer, which preserves the texture of the flour tortilla.
If you prefer to skip the microwave entirely, simply increase the total reheating time in the air fryer by five to seven minutes and keep the temperature steady at 325°F. Always check the internal temperature with a food thermometer to ensure the center reaches at least 165°F for food safety standards.
Comparing Reheating Methods for Burritos
Choosing the right tool depends on your time constraints and your preference for texture. The following table outlines how different appliances impact the final quality of your meal.
| Method | Texture Result | Time Efficiency |
|---|---|---|
| Air Fryer | Crispy, golden, firm | Moderate (8-12 mins) |
| Microwave | Soft, potentially soggy | Fast (1-2 mins) |
| Oven | Dry, consistent | Slow (20+ mins) |
| Stovetop | Crunchy, uneven | High maintenance |
As indicated by the data, the air fryer offers the best balance of texture and efficiency. While the microwave is undeniably faster, it sacrifices the structural integrity of the burrito fillings. The oven provides even heating but requires a significant preheat time, making it impractical for a quick lunch or dinner.
Addressing Common Topical Gaps
When searching for advice on how to reheat a burrito, many users find themselves asking about specific edge cases, such as dealing with leaking fillings or reheating multiple burritos simultaneously. One common issue is the “soggy wrap” syndrome caused by residual moisture escaping from the burrito fillings.
To combat this, ensure the burrito is tightly rolled. If you notice leakage during the process, you can lightly dust the outside of the tortilla with a tiny bit of cornstarch, which helps absorb surface moisture and encourages a crunchier crust.
Another gap in standard advice is how to handle crowded air fryer baskets. If you are reheating two or more burritos, avoid stacking them. Air circulation is the fundamental mechanism of the device; if you block the flow of air by overcrowding, you lose the benefits of convection cooking.
If you must cook multiple items, place them side-by-side with at least an inch of space between them. If they don’t fit, it is far better to cook in two separate batches rather than compromising the quality of the final result.
Essential Tips for Food Safety and Texture
Reheating leftovers carries an inherent risk if not done correctly, particularly with meat-heavy burrito fillings. Always ensure that the internal temperature reaches 165°F to kill any bacteria that may have proliferated while the food was stored in the refrigerator.
Using a digital food thermometer is the only way to be certain. Simply poke the probe into the thickest part of the burrito; if it reads below 165°F, keep it in the air fryer for another minute or two.
To maintain the best texture, avoid adding extra oil unless the tortilla is extremely dry. Flour tortillas often contain enough fat from the initial cooking process that they will crisp up naturally under the intense heat.
However, if you are working with a low-fat or whole-wheat wrap, a very light spritz of avocado oil or olive oil can prevent it from turning brittle. The goal is to achieve a balance where the exterior is crisp enough to hold the burrito together, but the interior remains soft and cohesive.
- Always remove plastic or paper wrappers before starting.
- Use a food thermometer to confirm the internal temperature hits 165°F.
- Rotate the burrito halfway through to avoid localized hot spots.
- Allow the burrito to rest for one minute after removal to let the heat distribute.
- If the tortilla starts to darken too quickly, lower the temperature by 25 degrees.
Advanced Techniques for Ninja Foodi and Similar Units
If you are using a multi-cooker like the Ninja Foodi, you have additional control options that standard air fryers might lack. Many of these units allow you to use a “broil” or “grill” function, which can be used for the final 60 seconds of the reheating cycle.
This is an excellent way to get that deep, charred, restaurant-style finish on the tortilla. However, be extremely careful, as this setting is much more aggressive than standard air frying and can turn a perfectly good meal into charcoal in less than a minute.
Another advanced tip for Ninja Foodi users is to utilize the rack accessory. By elevating the burrito slightly off the bottom of the basket, you increase the surface area exposed to the hot air. This creates an even crispier bottom layer, which is often the most difficult part to get right.
If you don’t have a rack, simply flipping the burrito more frequently can achieve a similar effect. Always remember that the residual moisture in the fillings will continue to steam the interior even after you pull it from the machine, so don’t be afraid to take it out just as it reaches the desired crispness.
FAQ Section
How long should I keep the burrito in the air fryer?
For a refrigerated burrito, 8 to 10 minutes at 350°F is usually sufficient. If the burrito is frozen, you will need to extend the time to 15 to 20 minutes, ideally starting at a lower temperature to ensure the middle warms up without burning the outer shell.
Can I wrap the burrito in foil to keep it from drying out?
Yes, using aluminum foil is a great way to protect the tortilla. Wrap it loosely for the first two-thirds of the cooking time to trap moisture and ensure the interior heats through, then remove the foil for the final few minutes to crisp up the exterior.
How do I know if the burrito is hot enough in the middle?
The most reliable method is using a food thermometer. Insert it into the center of the burrito; it should register at least 165°F for food safety. If you don’t have a thermometer, carefully touch the center—it should feel steaming hot to the touch.
What if my burrito has sour cream or guacamole inside?
These ingredients are prone to becoming liquid when heated. It is best to remove them before reheating if possible, or accept that the center will be slightly softer. If you choose to keep them in, ensure you don’t overheat the burrito, as this will cause the dairy to curdle.
Conclusion
Mastering the process of reheating a burrito in an air fryer is a simple way to elevate your leftovers into a meal that feels fresh and intentional. By focusing on temperature management, proper air circulation, and the occasional use of protective wraps, you avoid the common pitfalls of soggy or unevenly heated food. The key is to respect the density of the burrito and allow the heat to penetrate slowly before focusing on that final, satisfying crunch.
Whether you are working with a quick lunch from the fridge or a long-stored frozen favorite, these techniques ensure that your tortilla remains perfectly crisp while the fillings stay moist and flavorful. Experiment with your specific appliance settings, and you will soon find that you never need to rely on the microwave for your burritos again.
Meta Description: Learn how to reheat a burrito in an air fryer perfectly every time. Get pro tips for achieving a crispy tortilla and a hot, delicious center.


